

In Muzie, a classroom is your virtual teaching space for hosting lessons and giving students a consistent place to join you. In this guide, you’ll create a classroom, add a classroom name and instrument or category, choose whether to enable a waiting room, optionally invite students directly if you have a Pro account, and then share the classroom link by copying it or sending it by email.
Tip: Classrooms can be shared to students via a link, or if you use a pro account you can include students into a classroom directly.
-
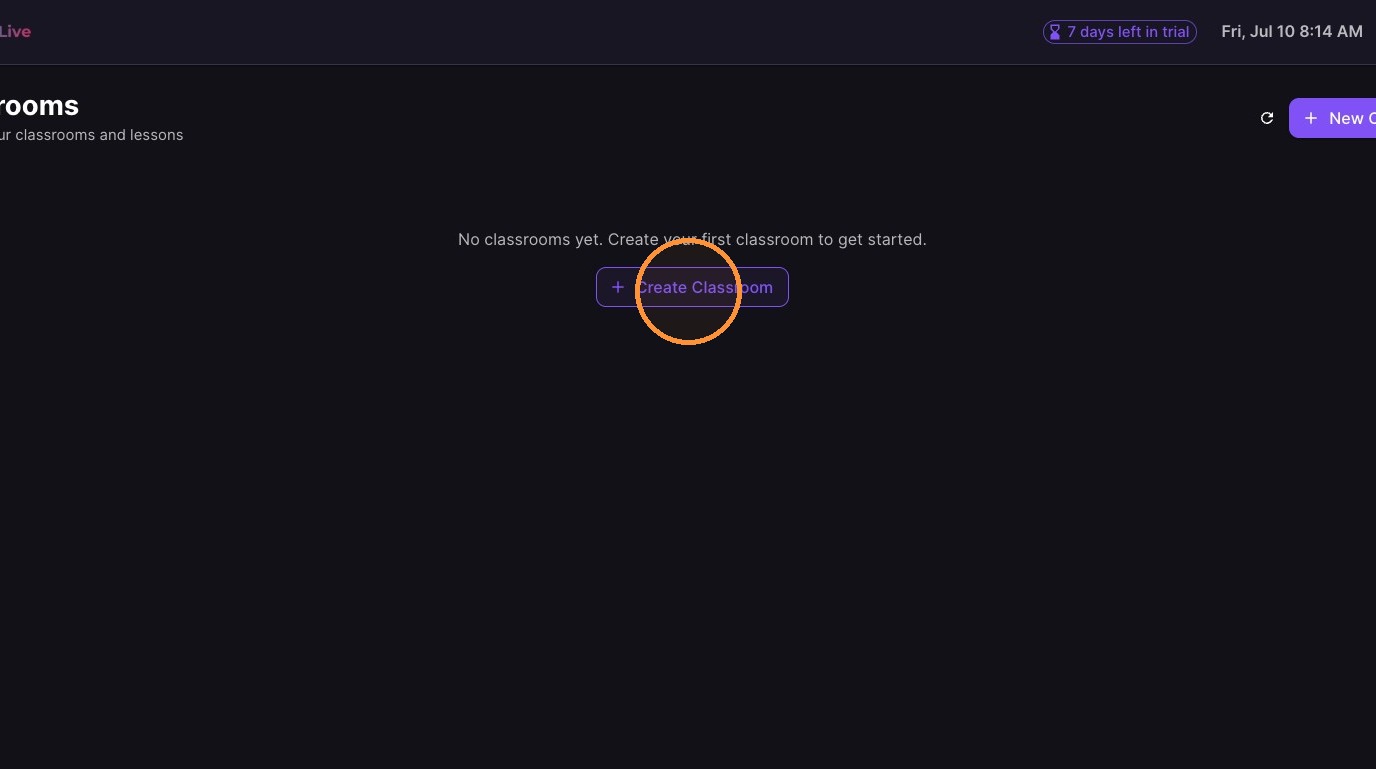
Click "Create Classroom"
-
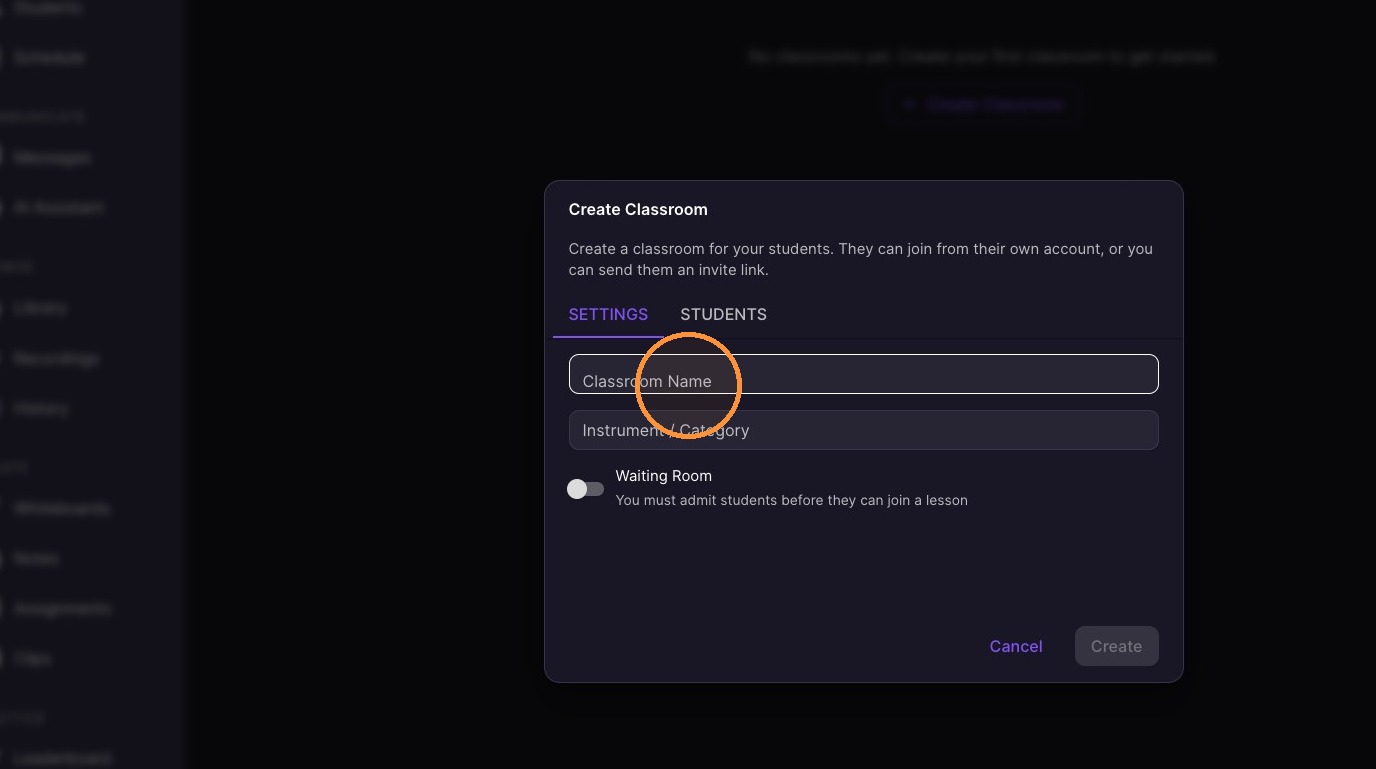
Click the "Classroom Name" & Enter a name
-
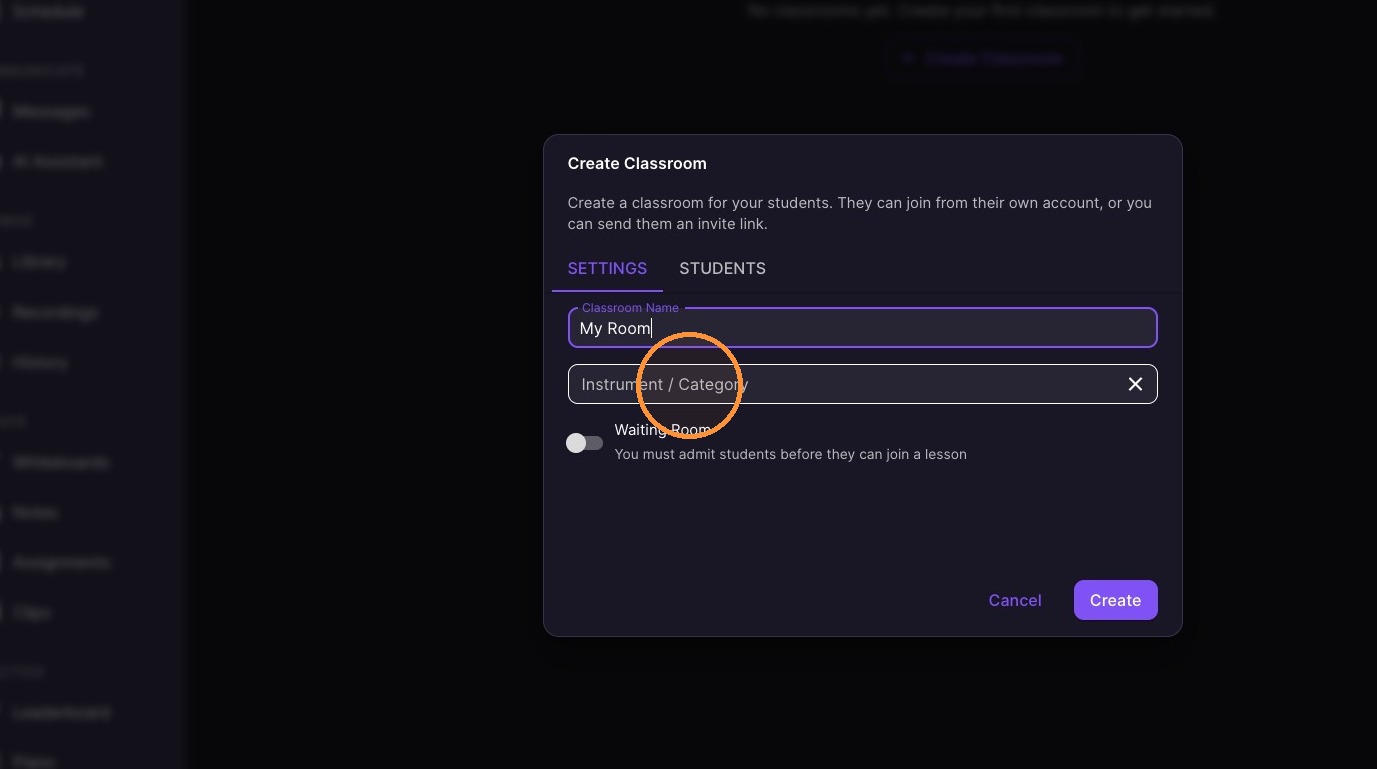
Click the "Instrument / Category" field.
-
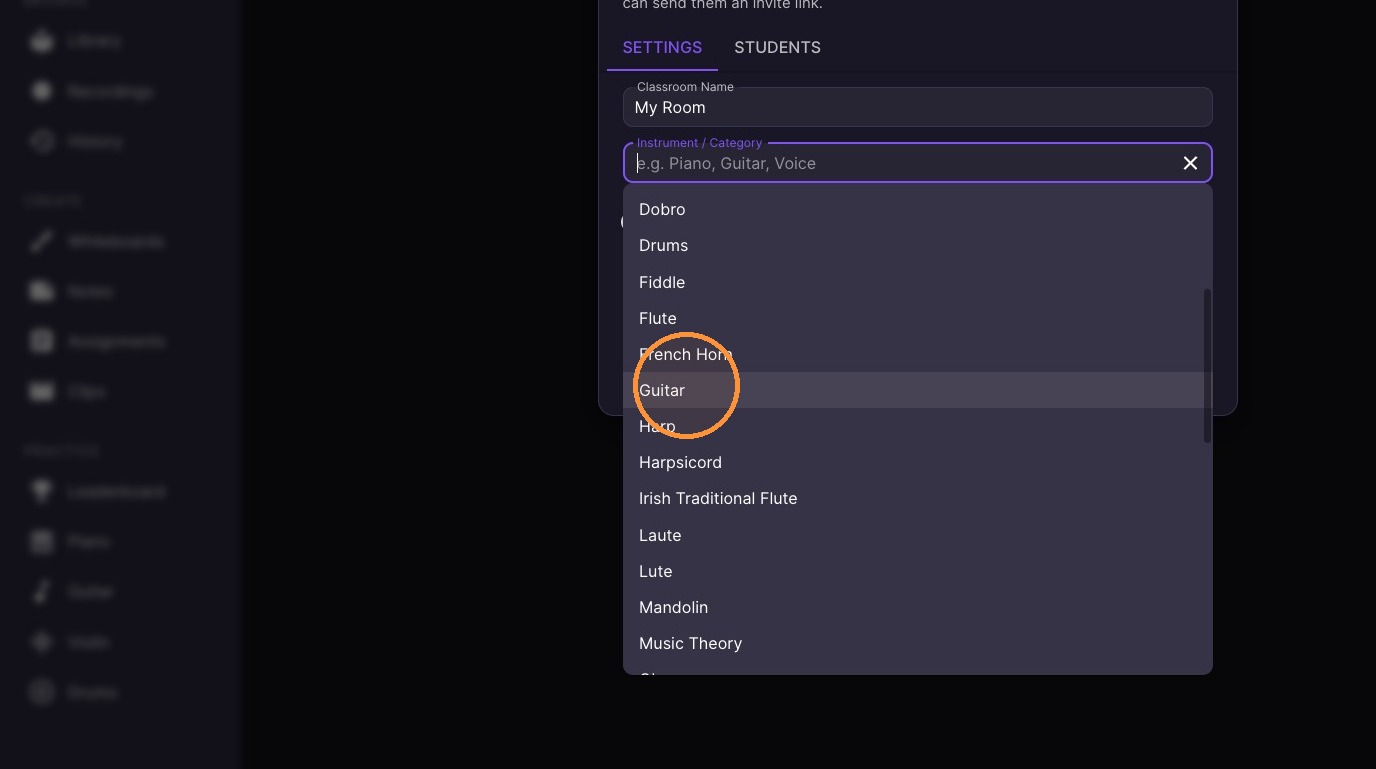
Select or type an instrument or category
-
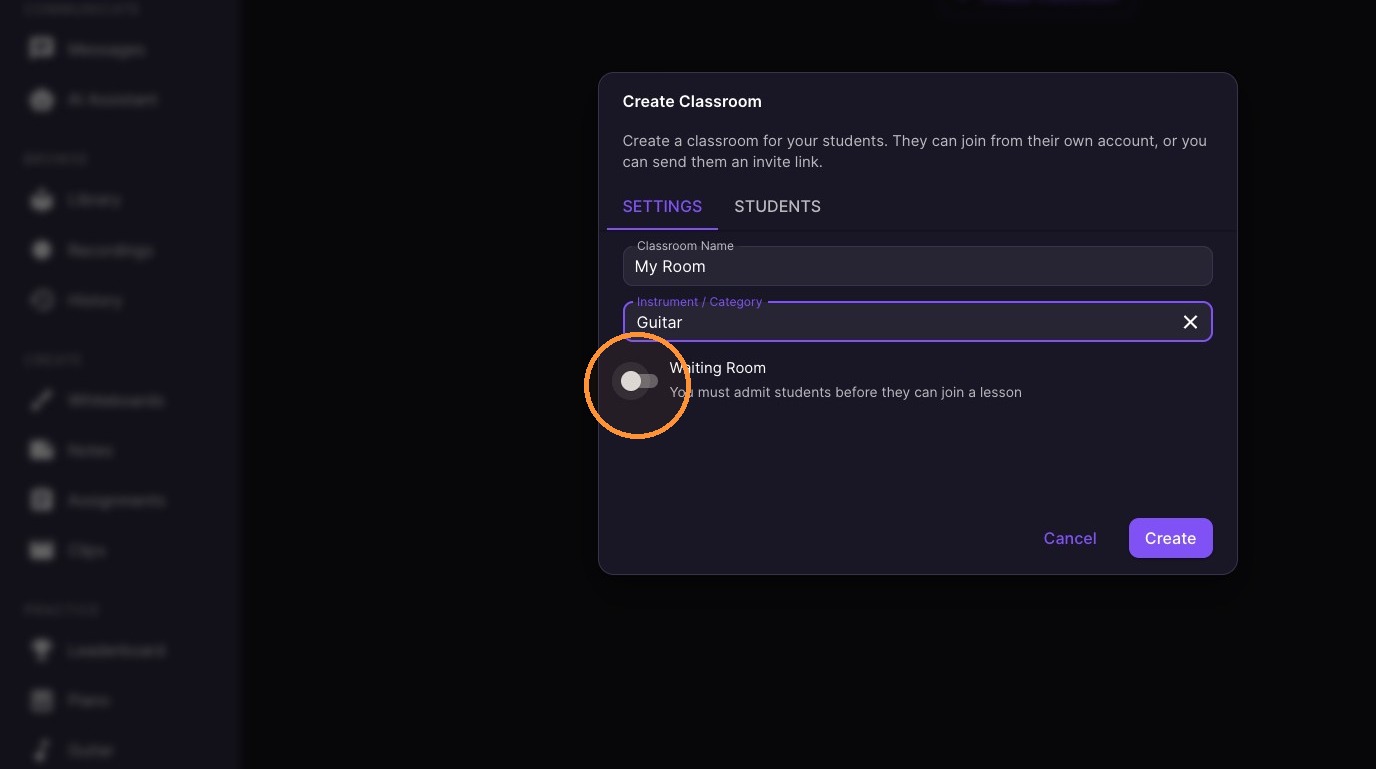
Optional** Enable Waiting Room
-
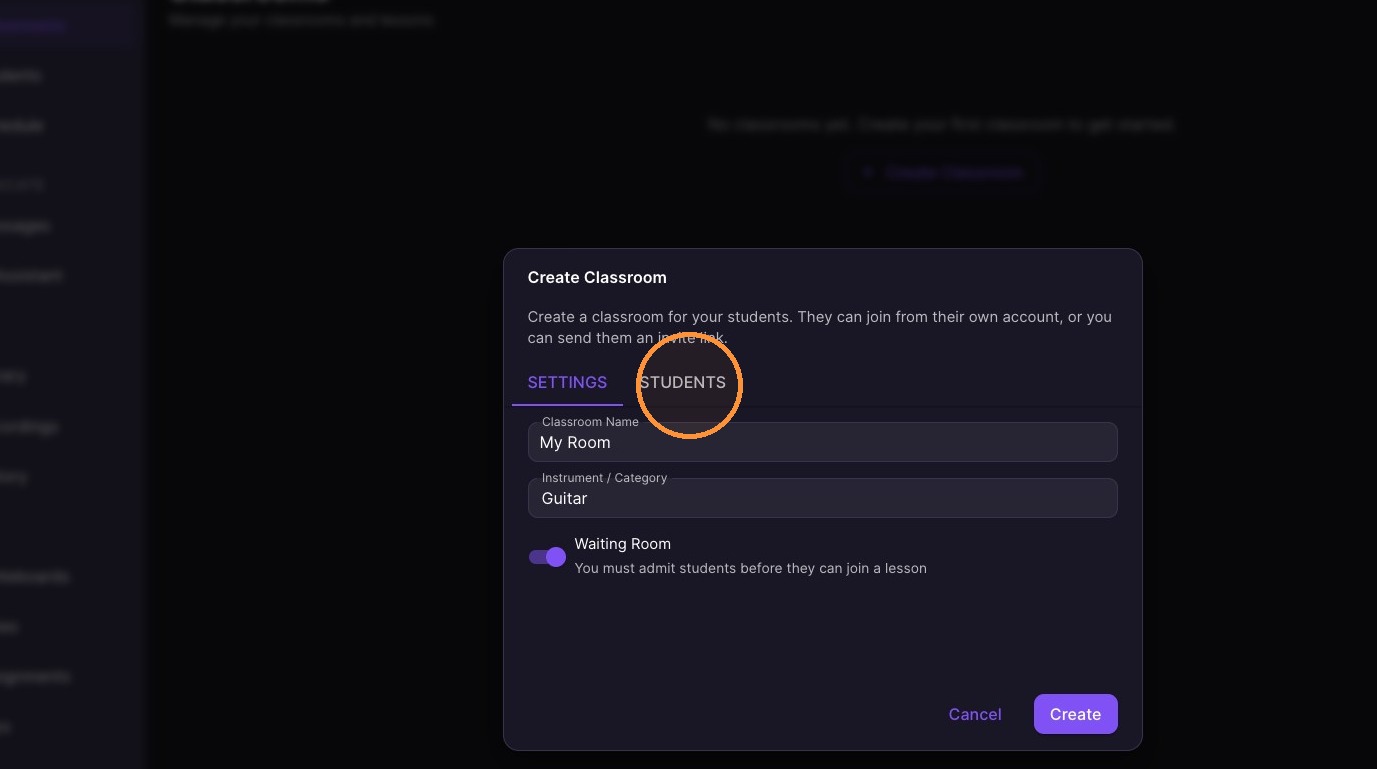
Optional** (for Pro Account) Invite students to this room
-
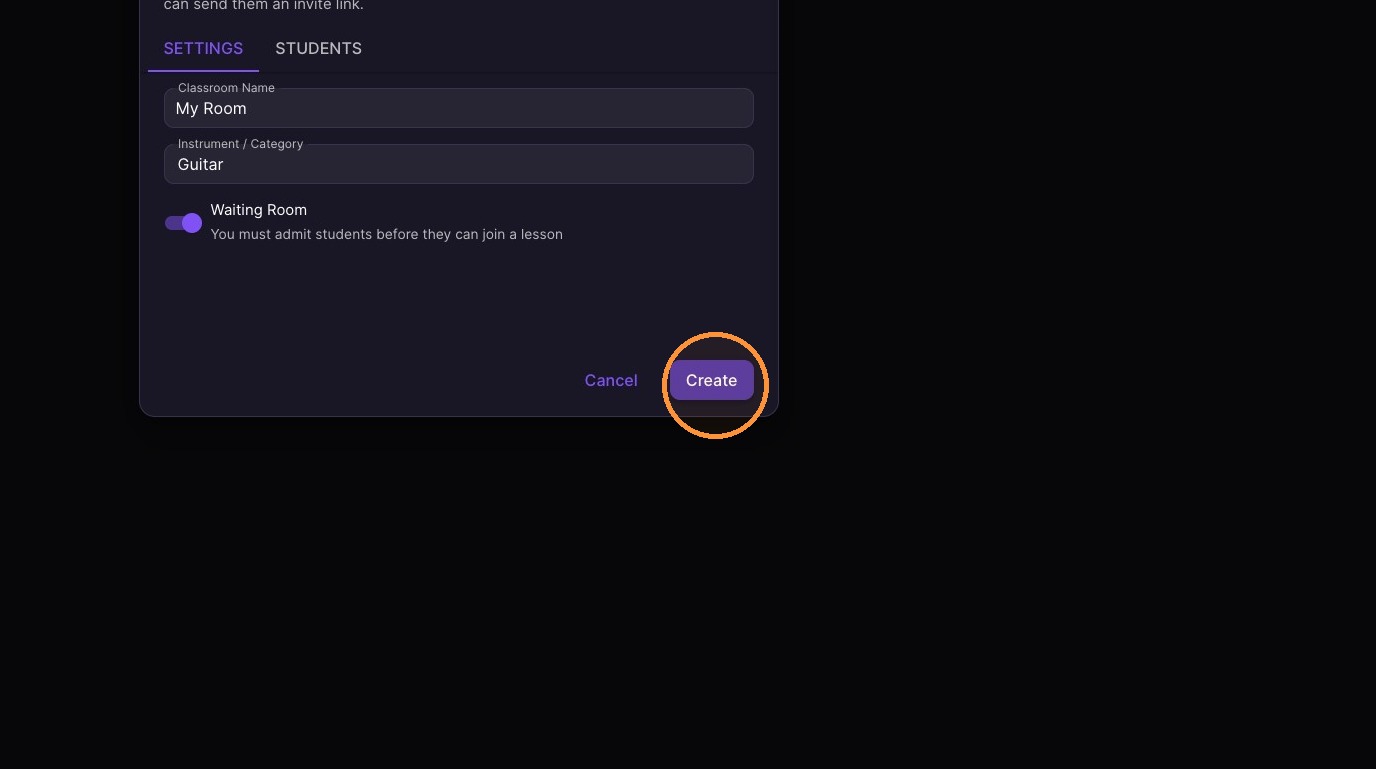
Click "Create"
-
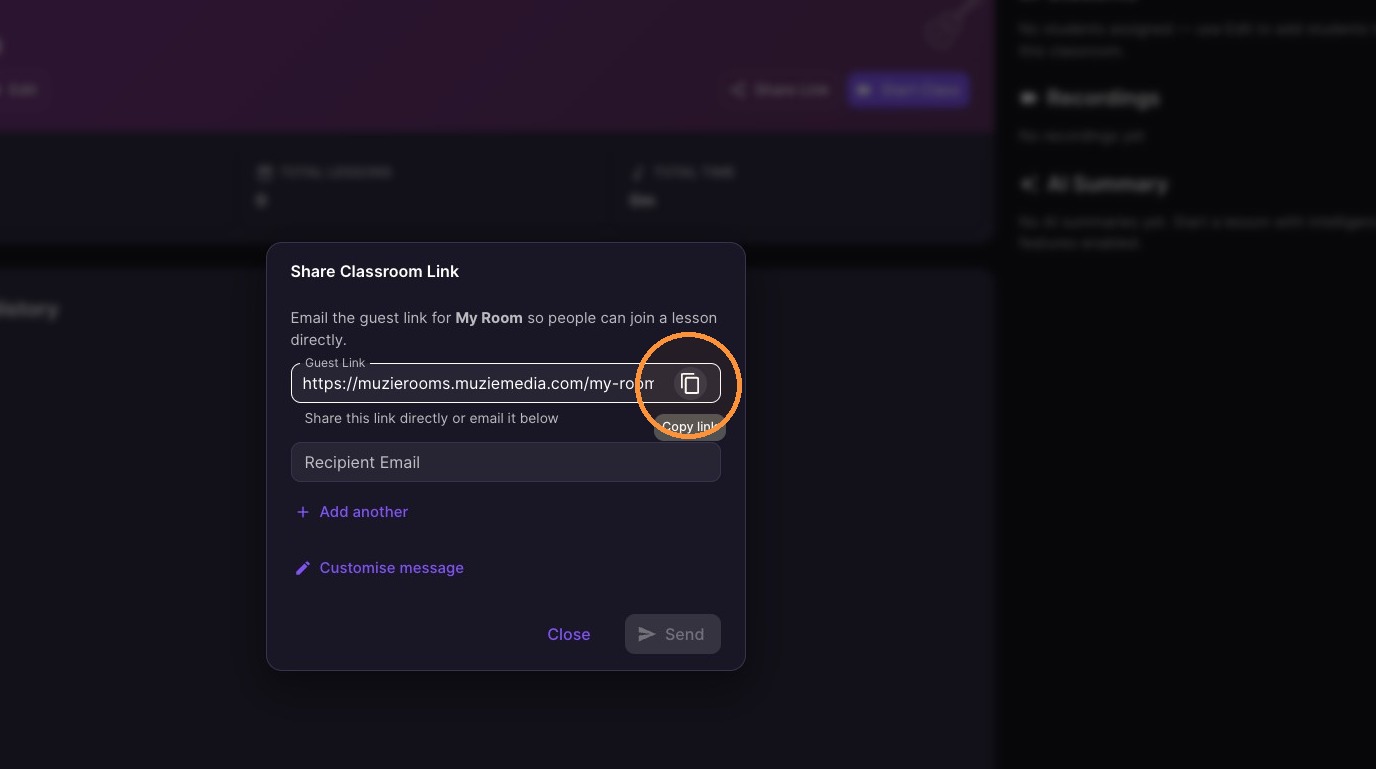
Click "Share Link"
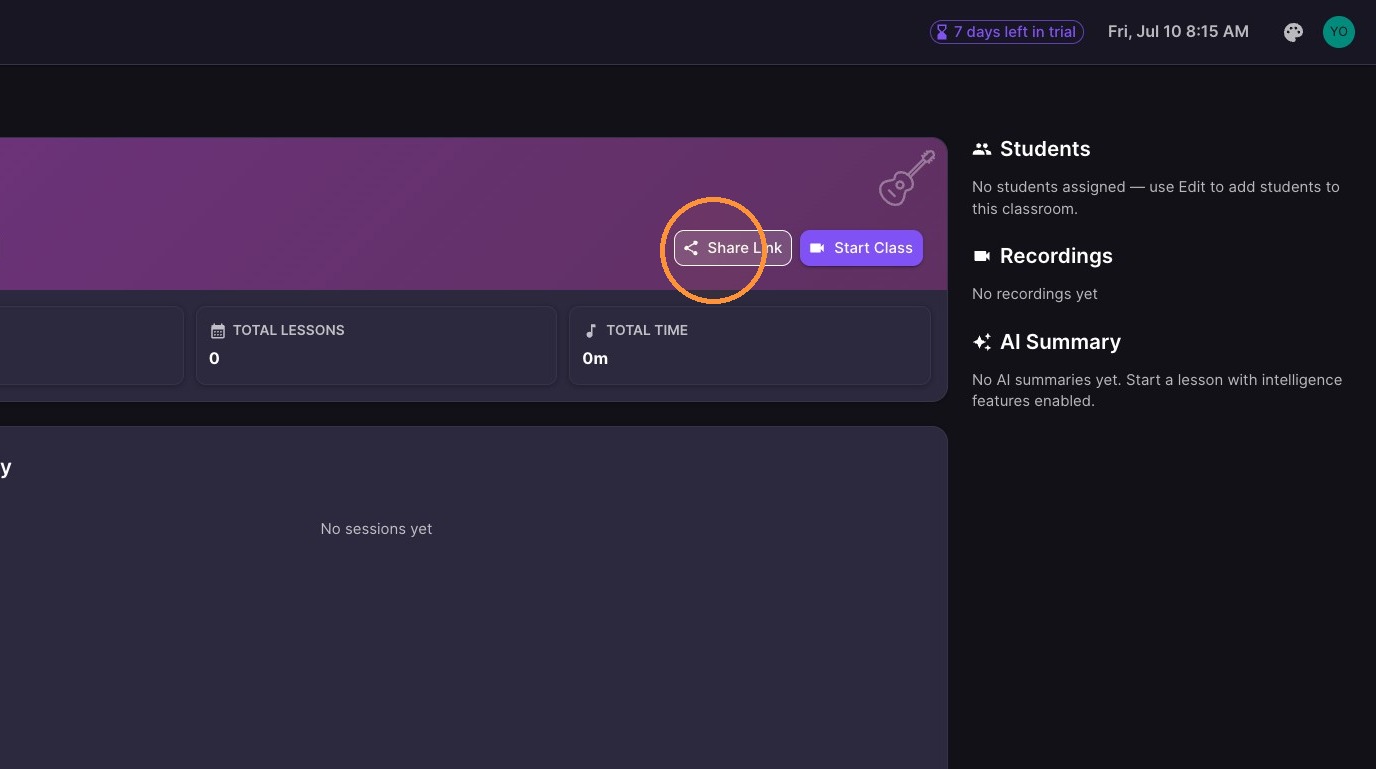
Tip: There are two ways to share a link - copy the room link and share it manually or use the build in email sending feature.
-
Option 1... Copy link URL and share it with a student(s)
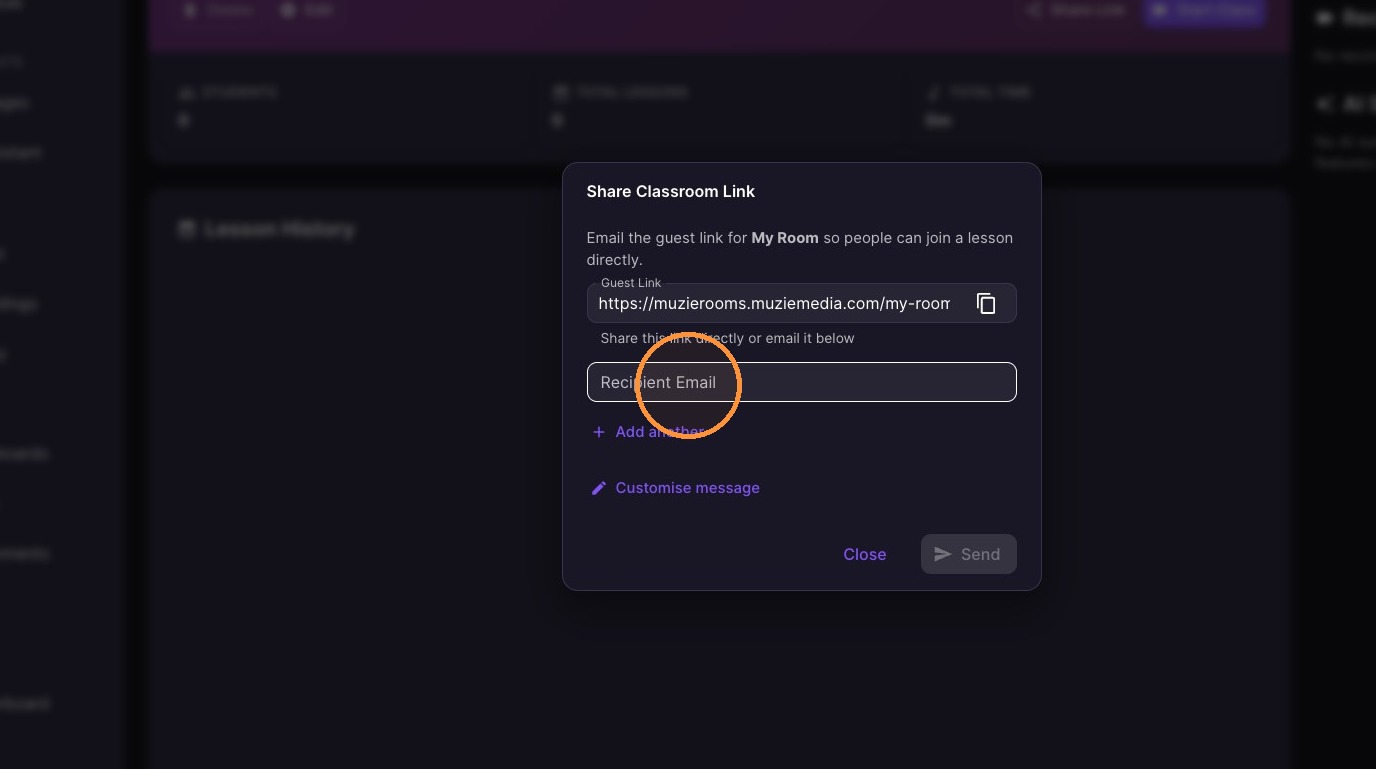
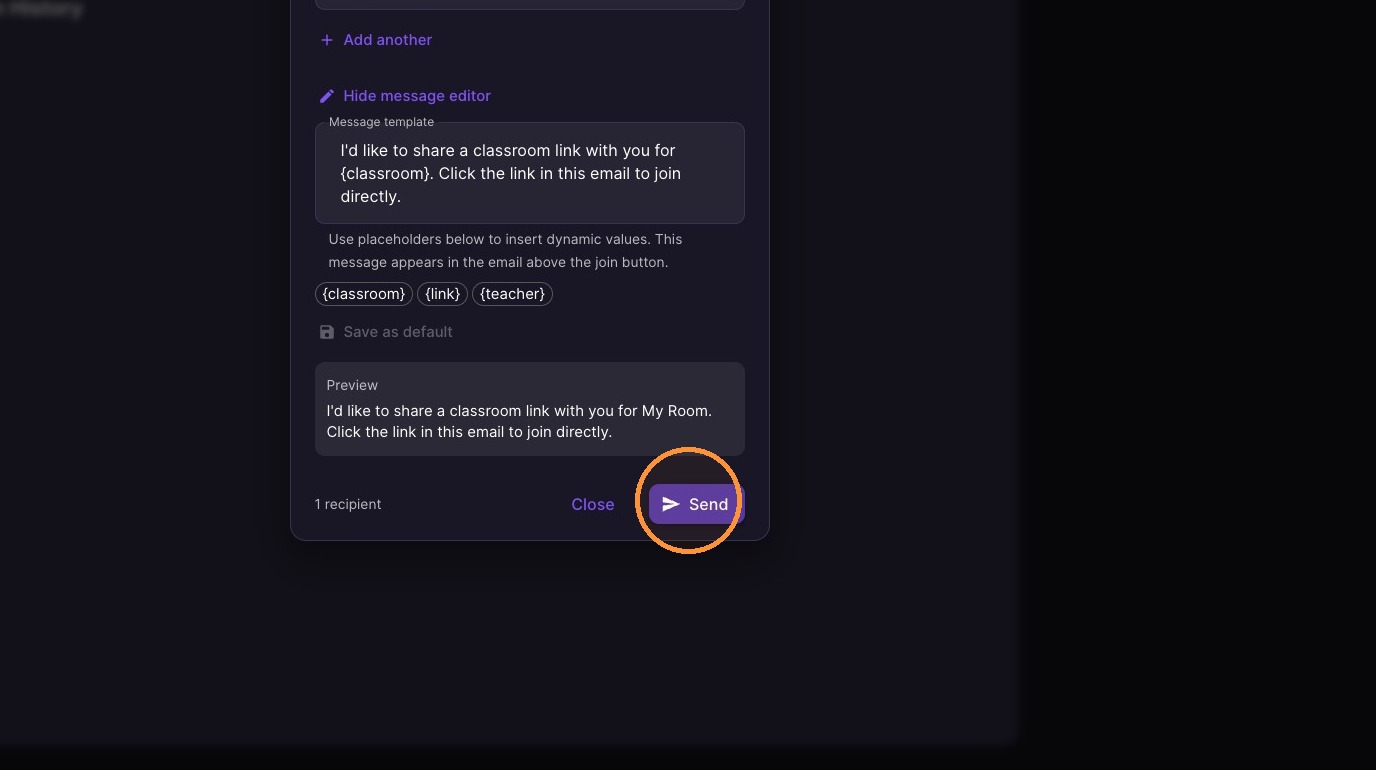
10. Option 2...Enter the email of the student you wish to share the link with
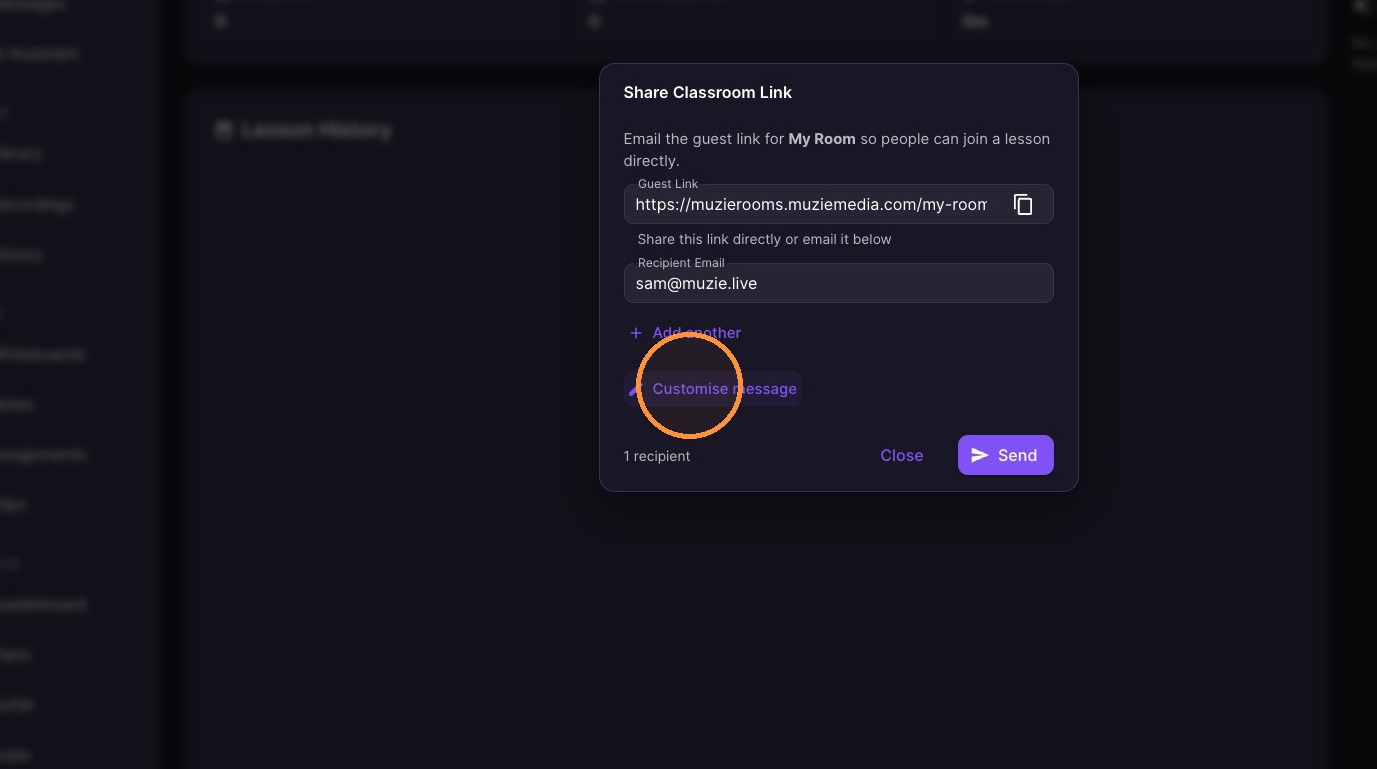
11. Optional** Click "Customise message"
12. Click the "Message template" field & edit the email template
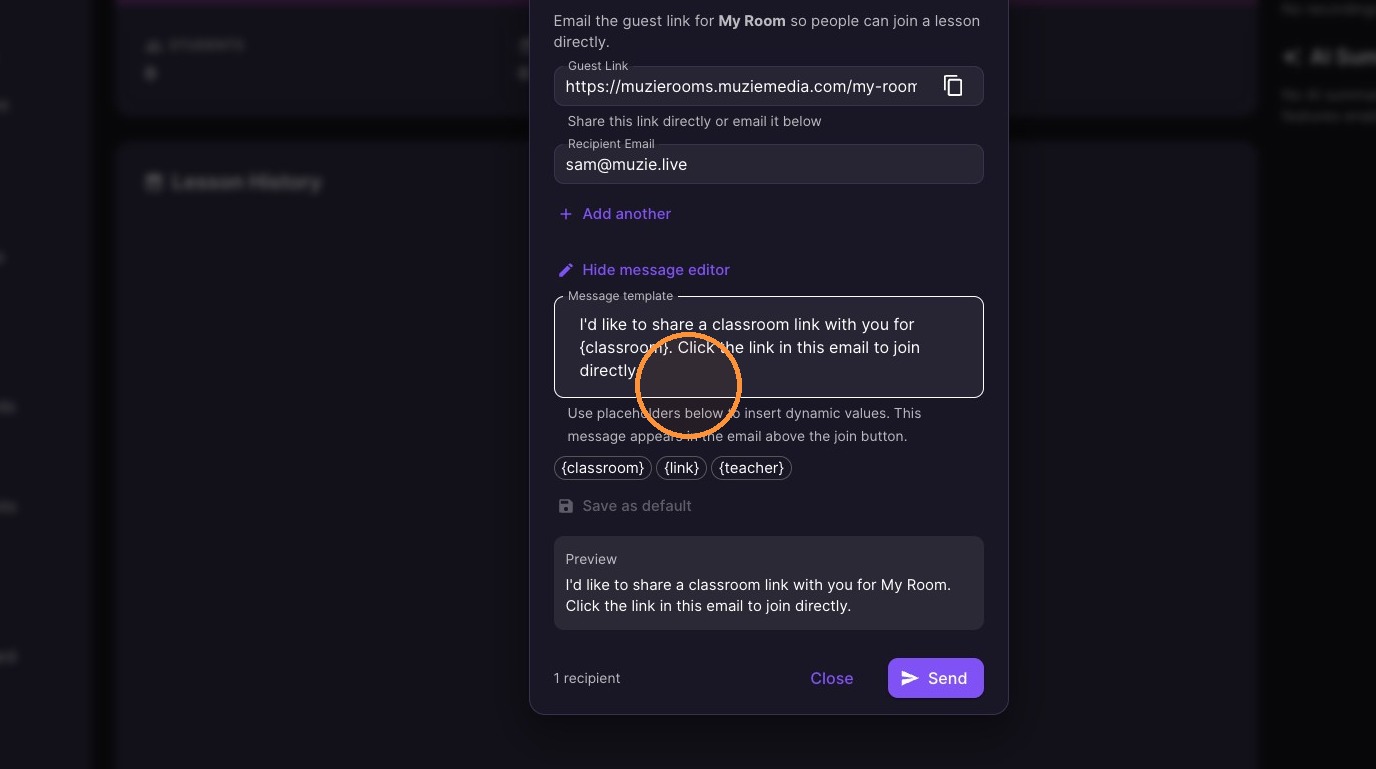
13. Click "Send"
Sharing with a guest: a classroom link can be opened by anyone you send it to, including someone who does not have a Muzie account — they join as a guest. A private lesson does not have a shareable link, but a classroom does, which is why a classroom is the way to let a parent or grandparent watch a lesson. The same link works every week, so it only has to be sent once.
Admitting someone from the waiting room: when the waiting room is enabled and somebody arrives, a pop-up appears asking whether to admit them. Click Admit and they join the room.
Classrooms cannot be renamed — the name is part of the join link. Create a new classroom with the name you want instead.
"Guest Link" classrooms appear when you use Copy guest invite link in a lesson — they are separate rooms for guests and do not carry a student's files or assignments.