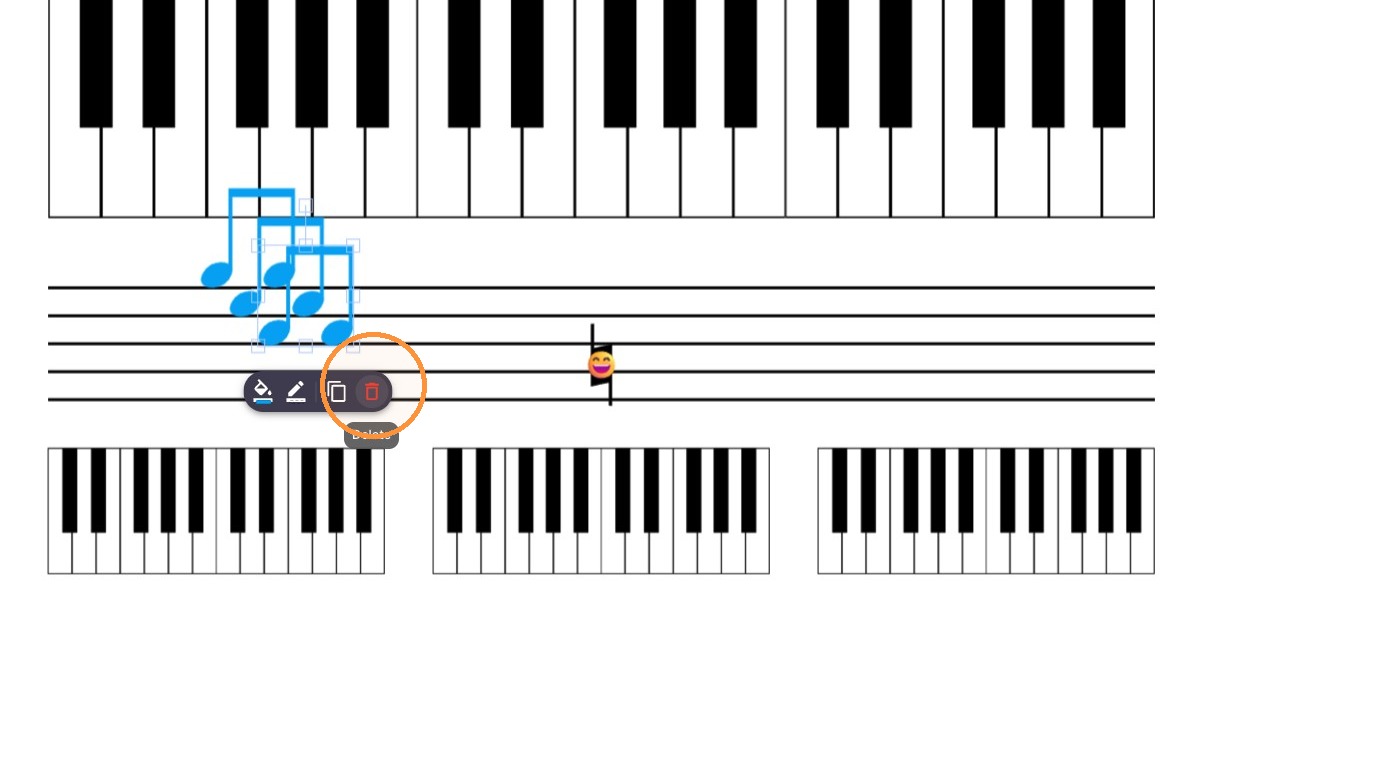

The Whiteboard is your shared workspace for teaching in real time—use it to write, draw, annotate, and mark up lesson materials together during and between lessons. You and your students can all use the same tools, so you can demonstrate concepts, highlight key moments, and collaborate on the same canvas as you teach.
Whiteboard Initialization
-
Navigate to Whiteboards
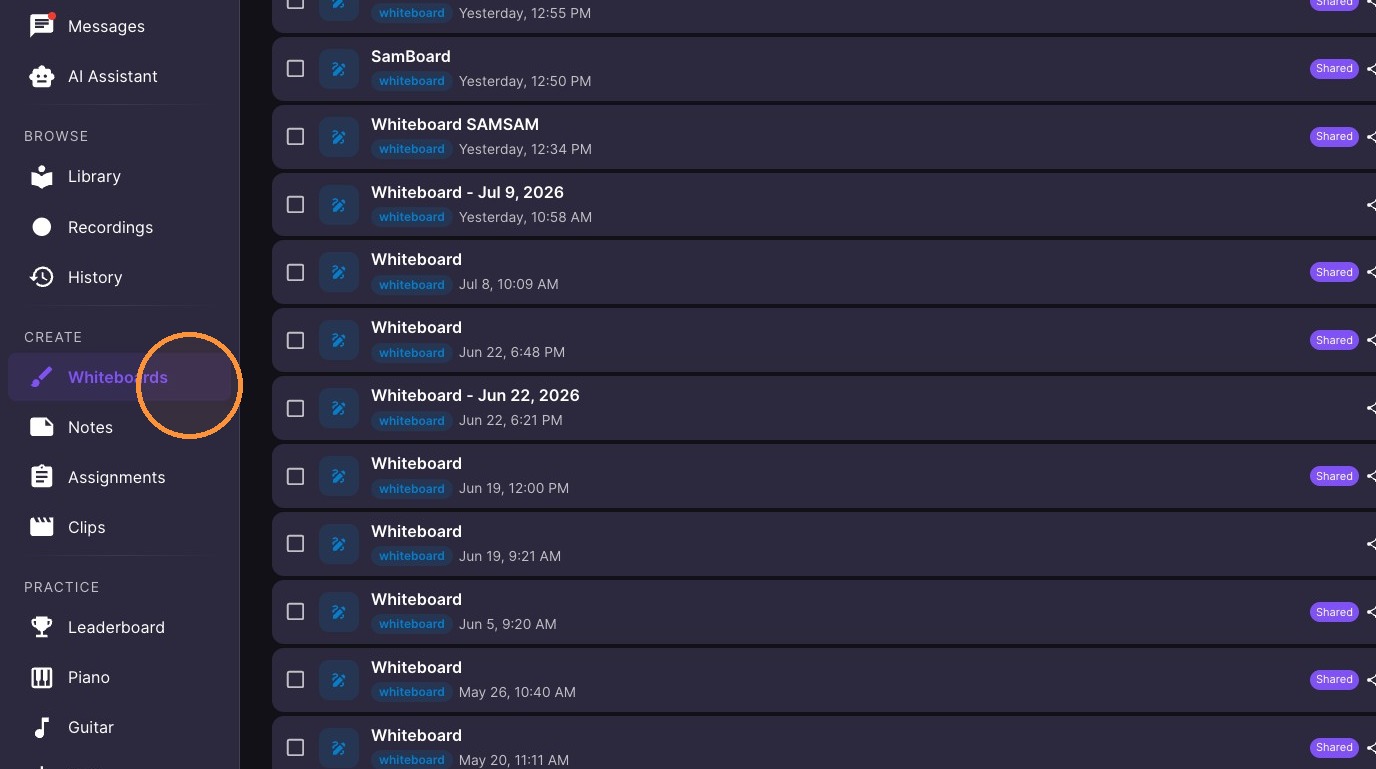
-
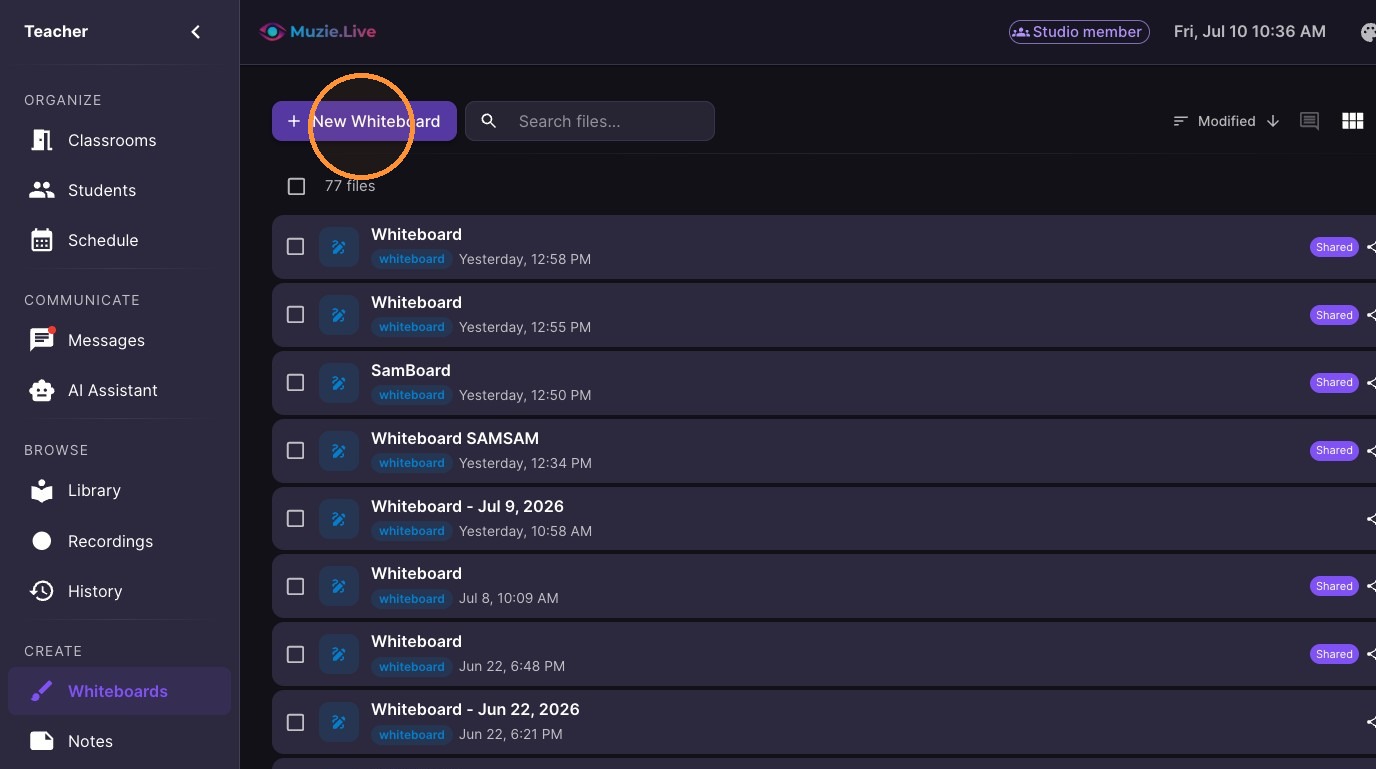
Create a new whiteboard
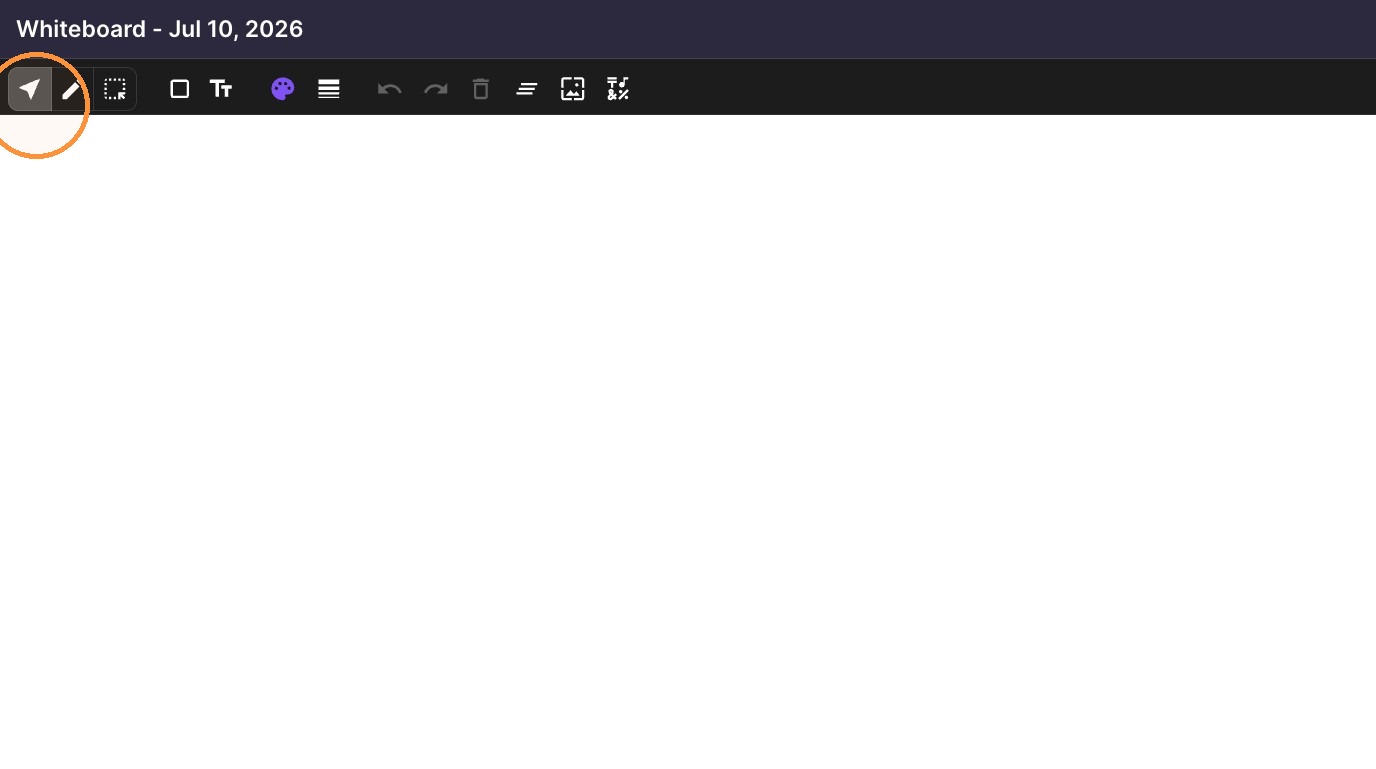
Toolbar Feature Tour
-
The "Selection" tool - Allows you to drag and move elements
-
Select the Pencil tool to draw
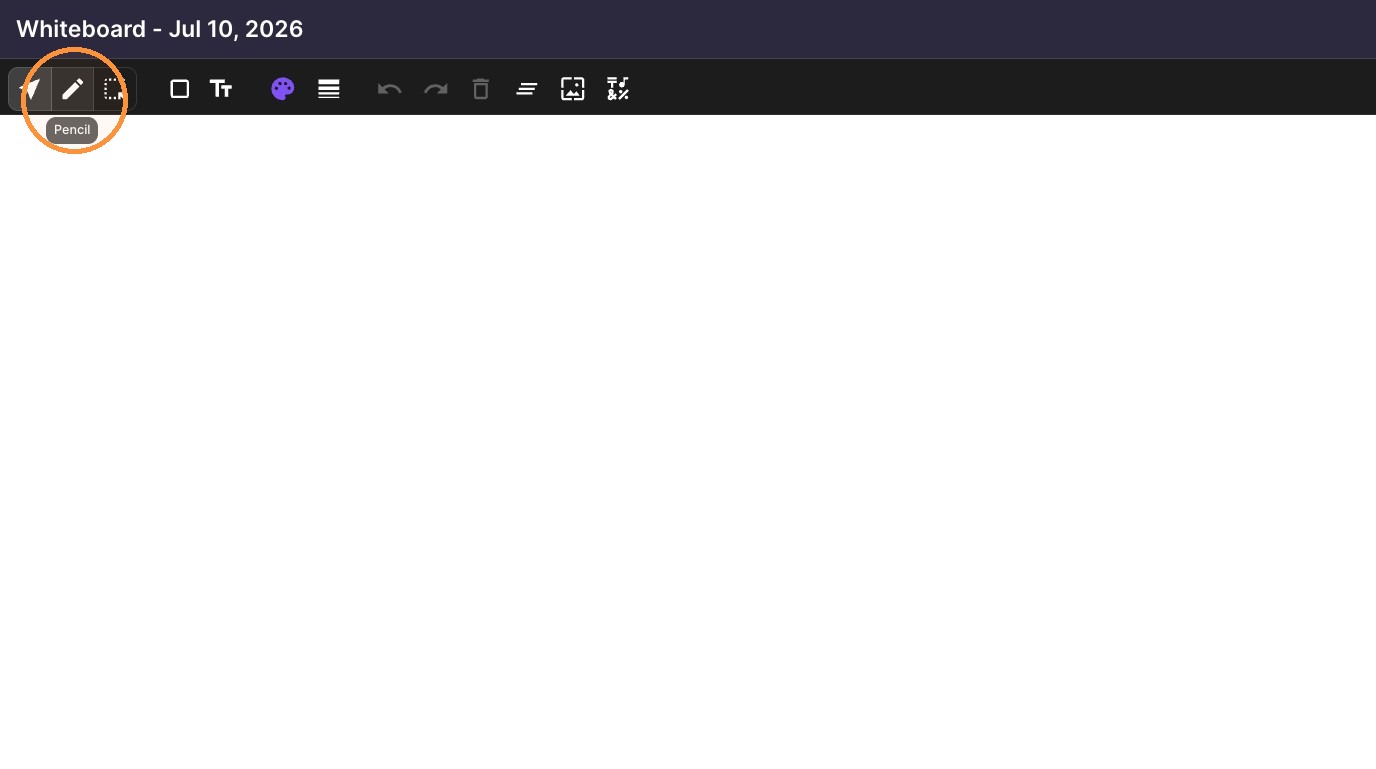
-
Select the Laser Pointer tool - (students can see where your cursor is on the whiteboard)
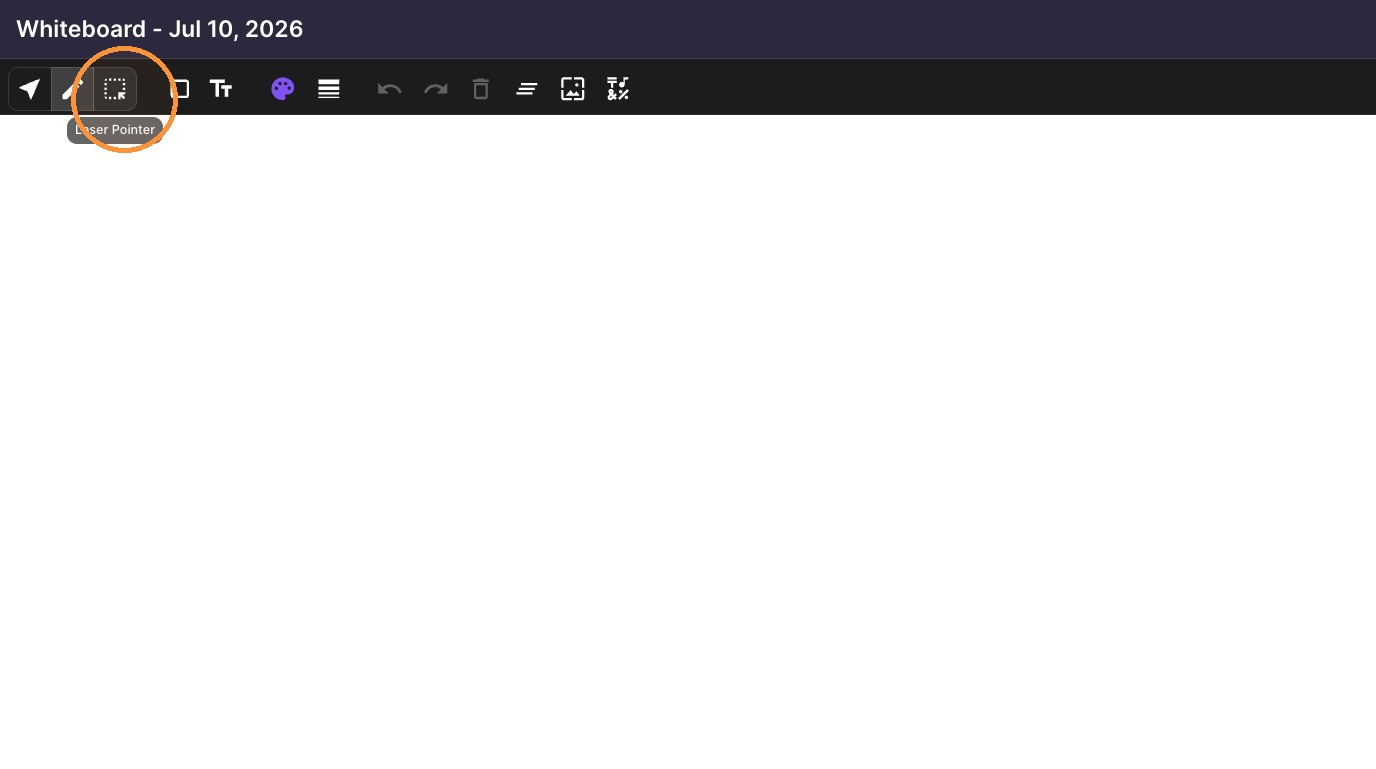
-
Open the Shapes menu
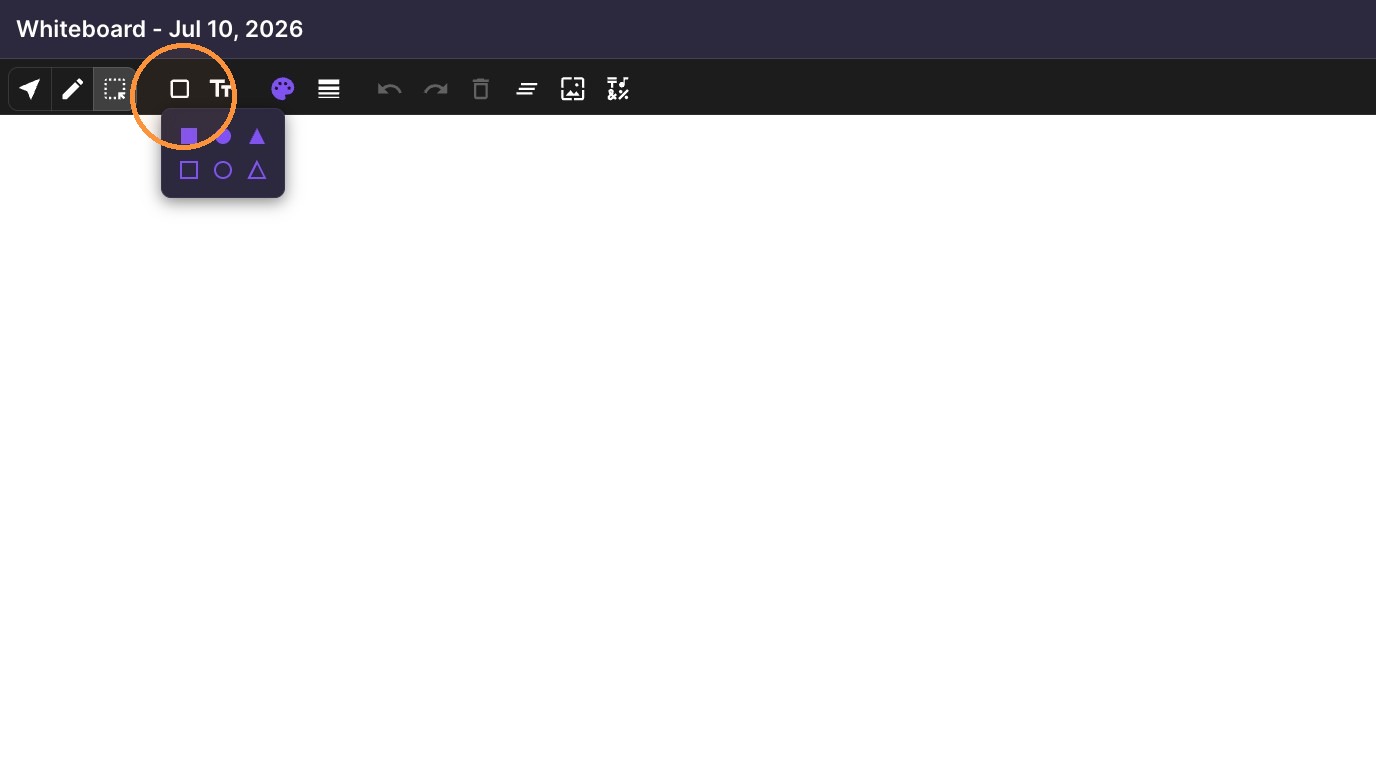
-
Select the Text tool
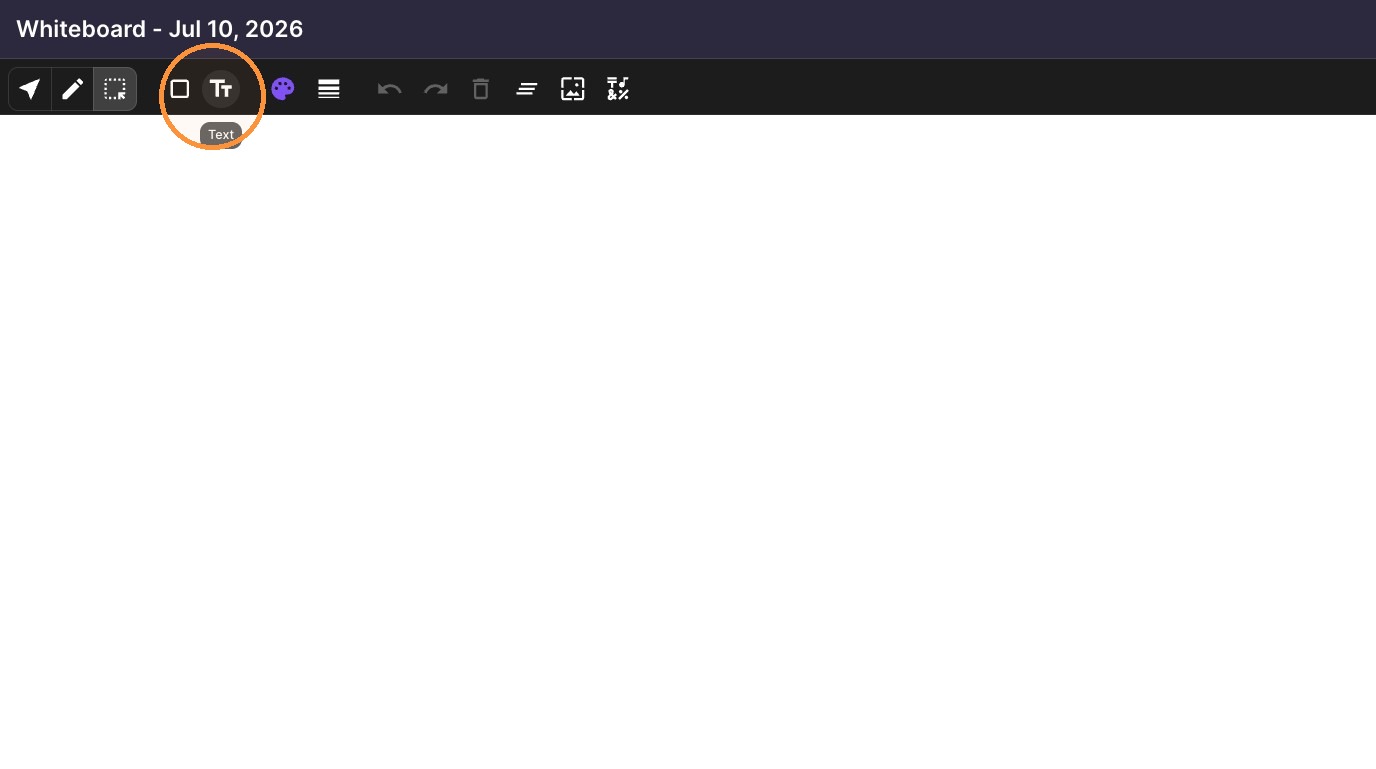
-
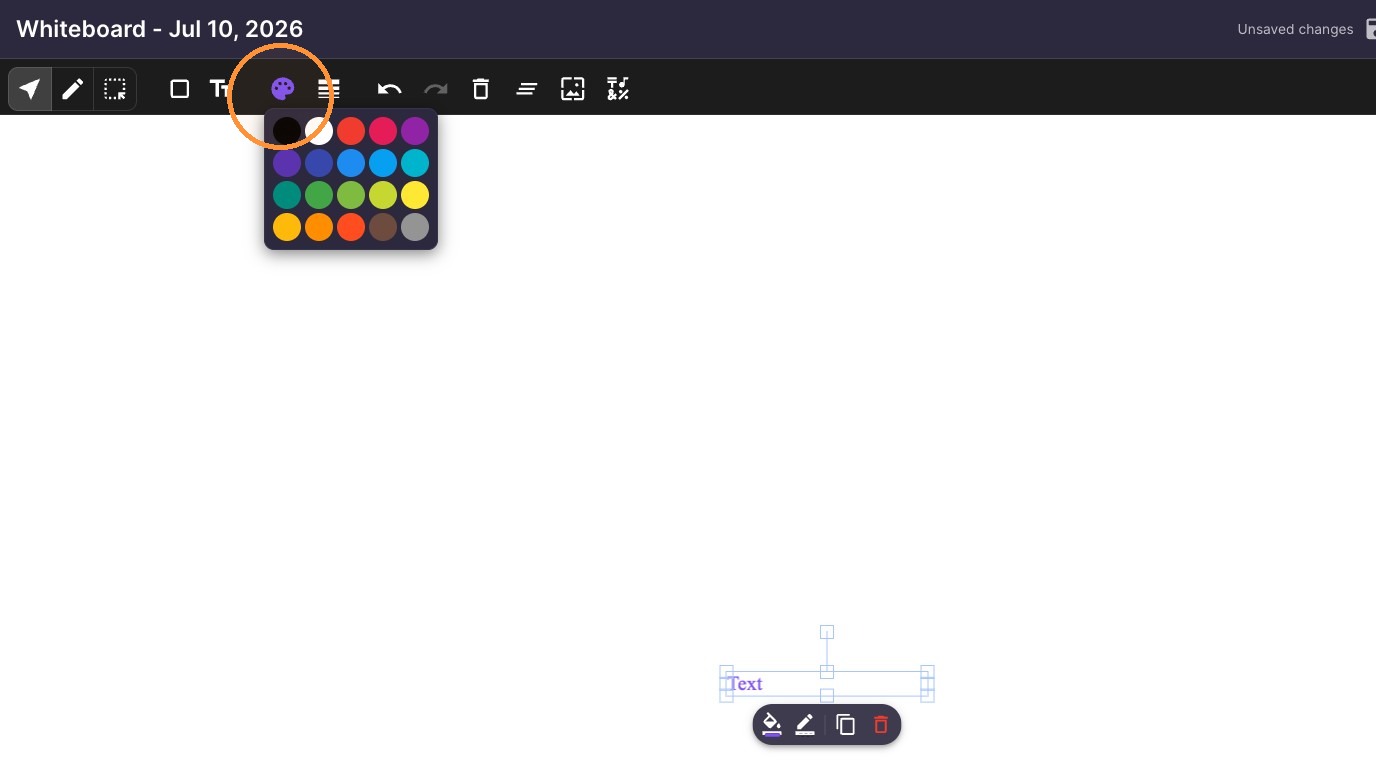
Open the Color picker
-
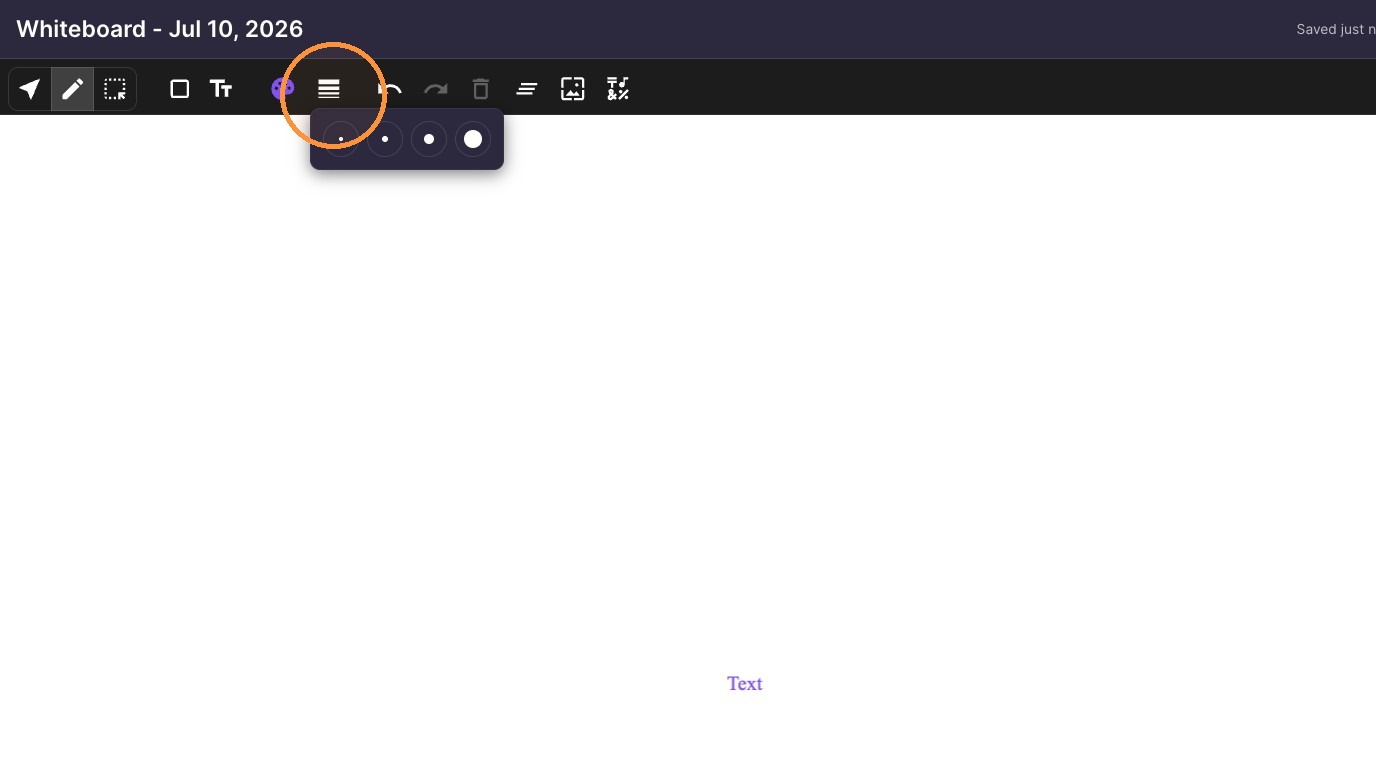
Open the line thickness size menu
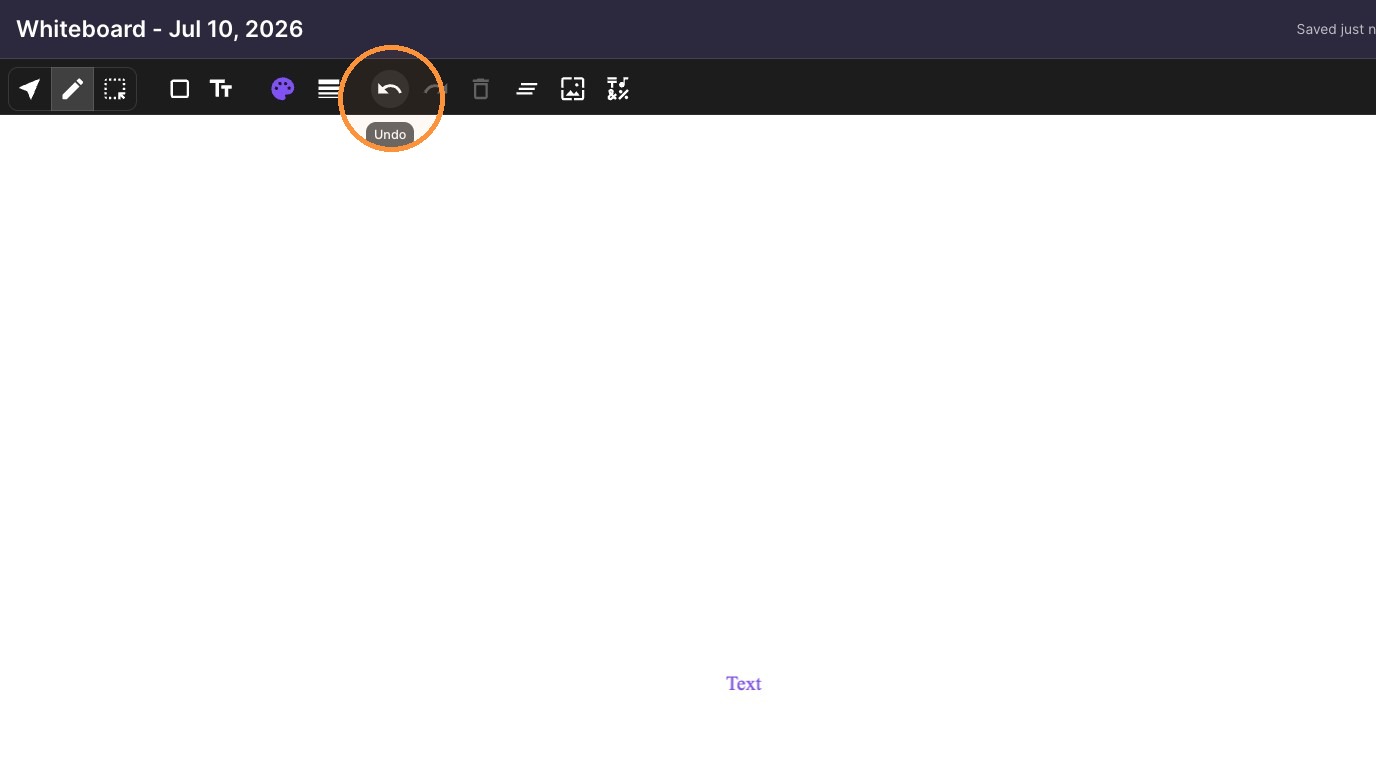
10. Click Undo
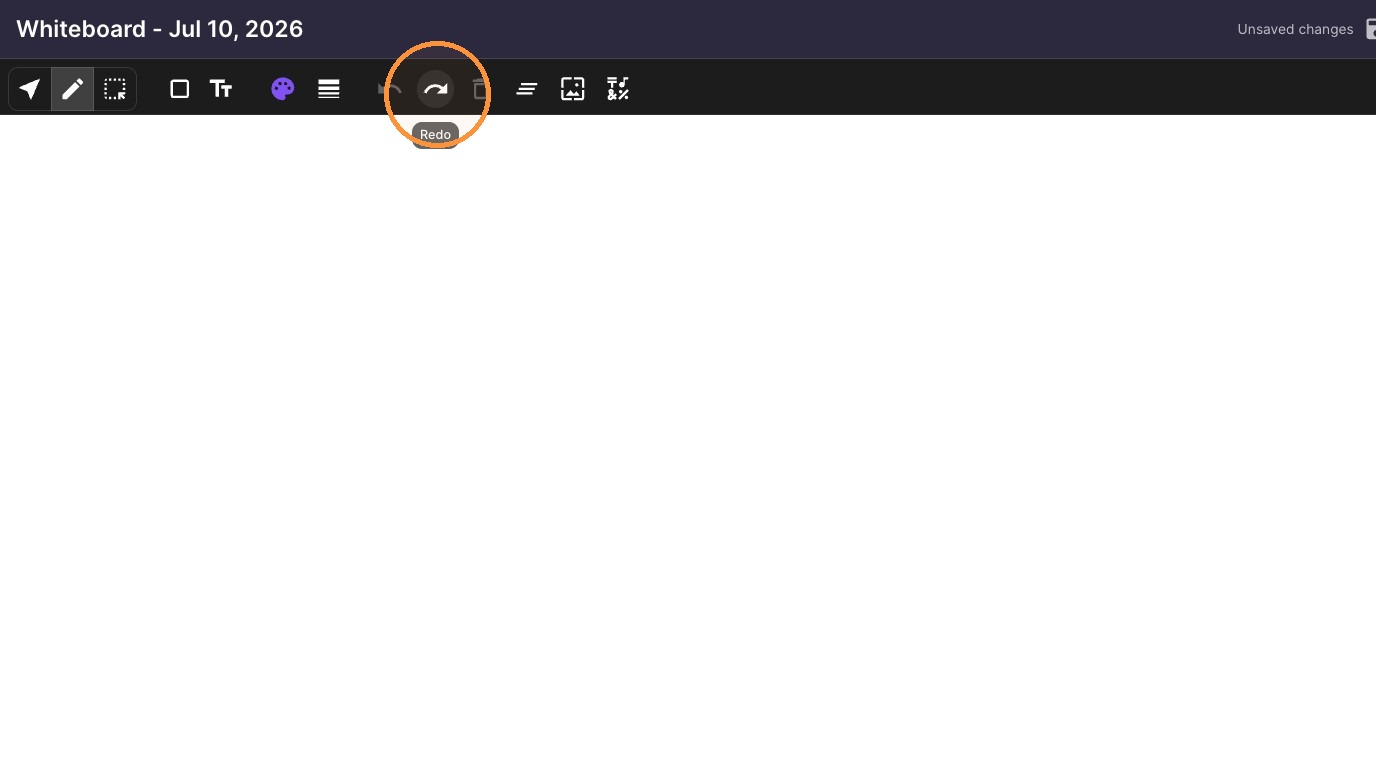
11. Click Redo
12. Click Delete
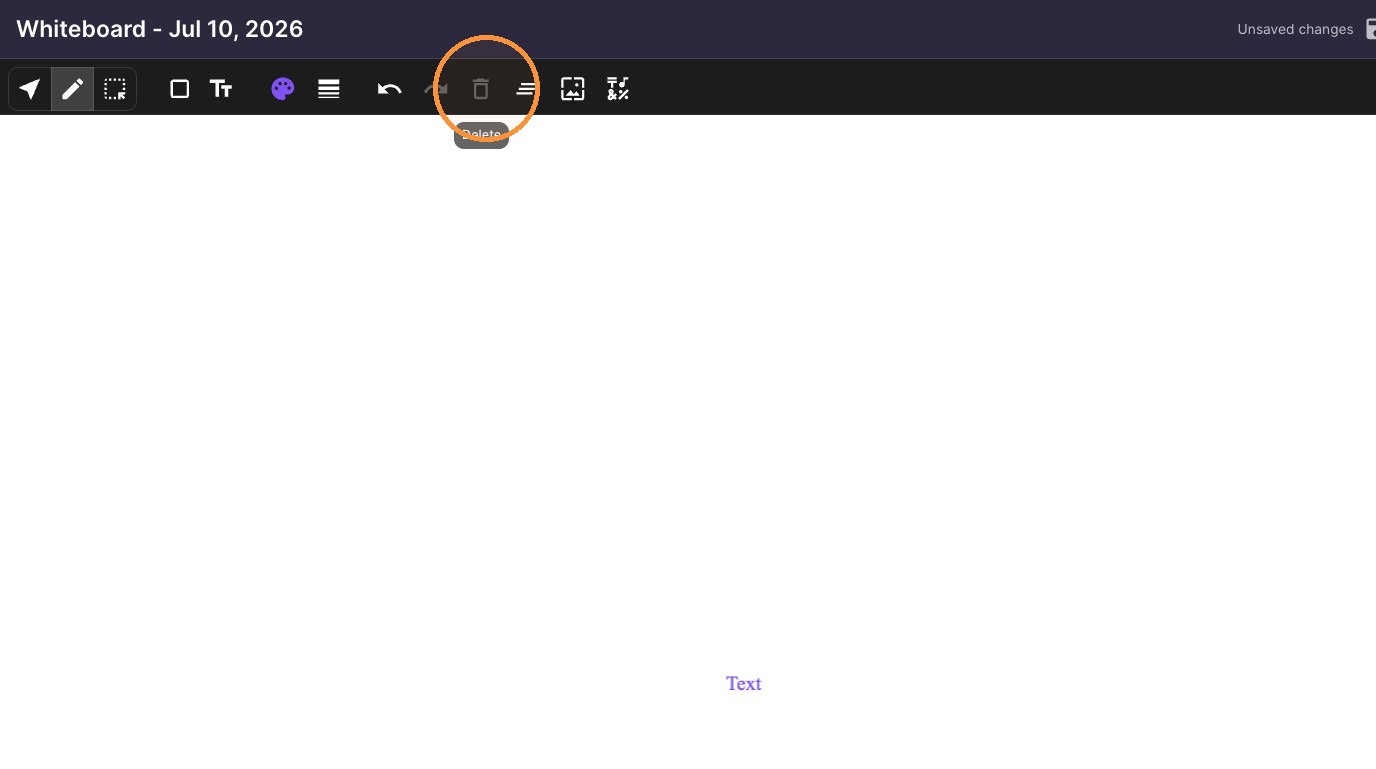
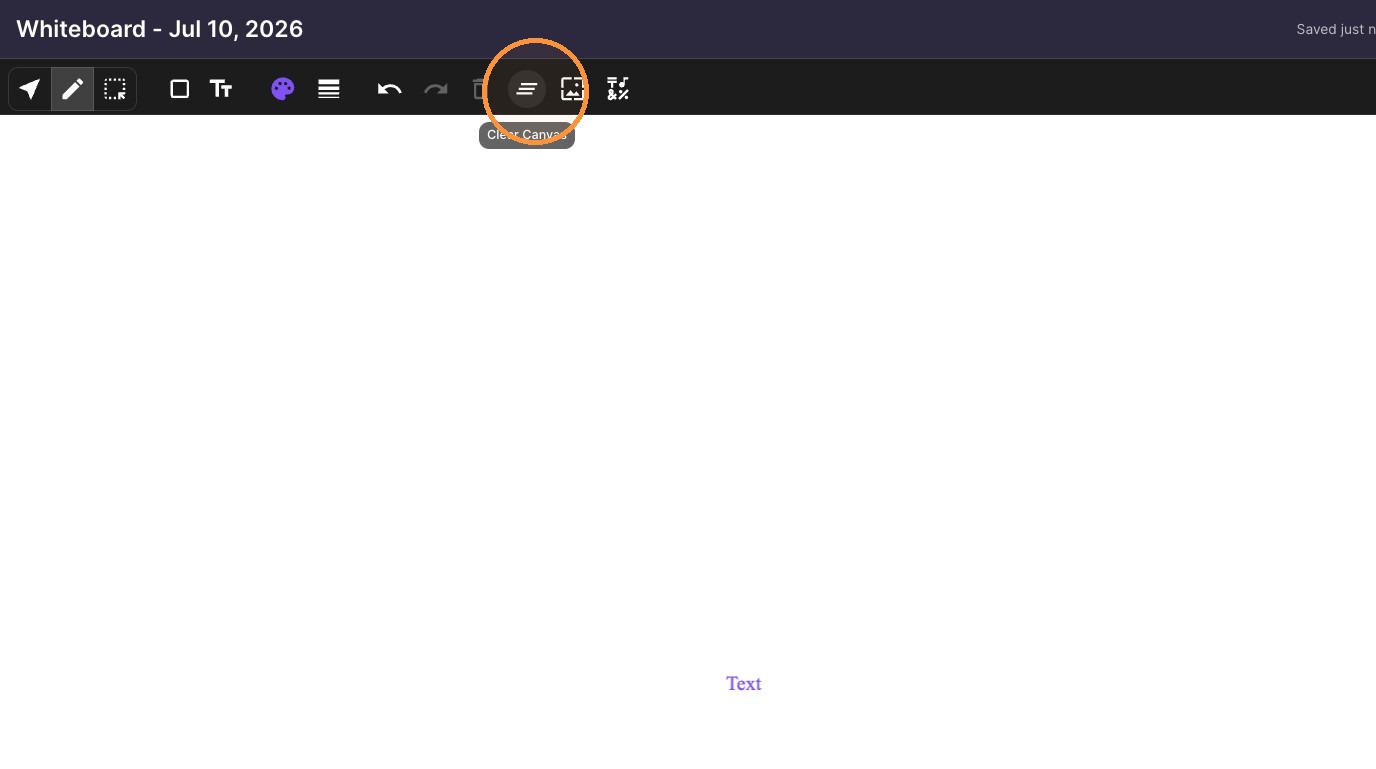
13. Click Clear Canvas
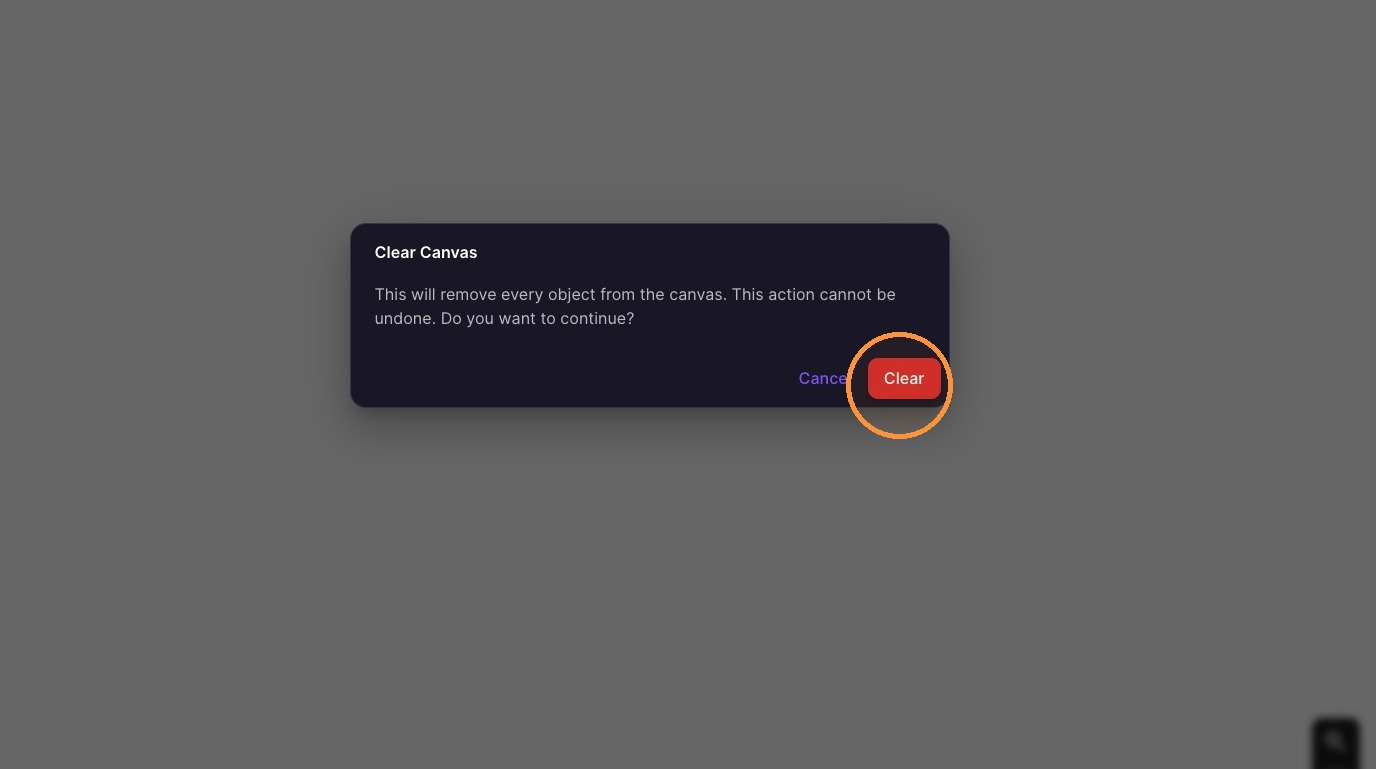
14. Click "Clear"
Background and Symbols
15. Open the Background menu
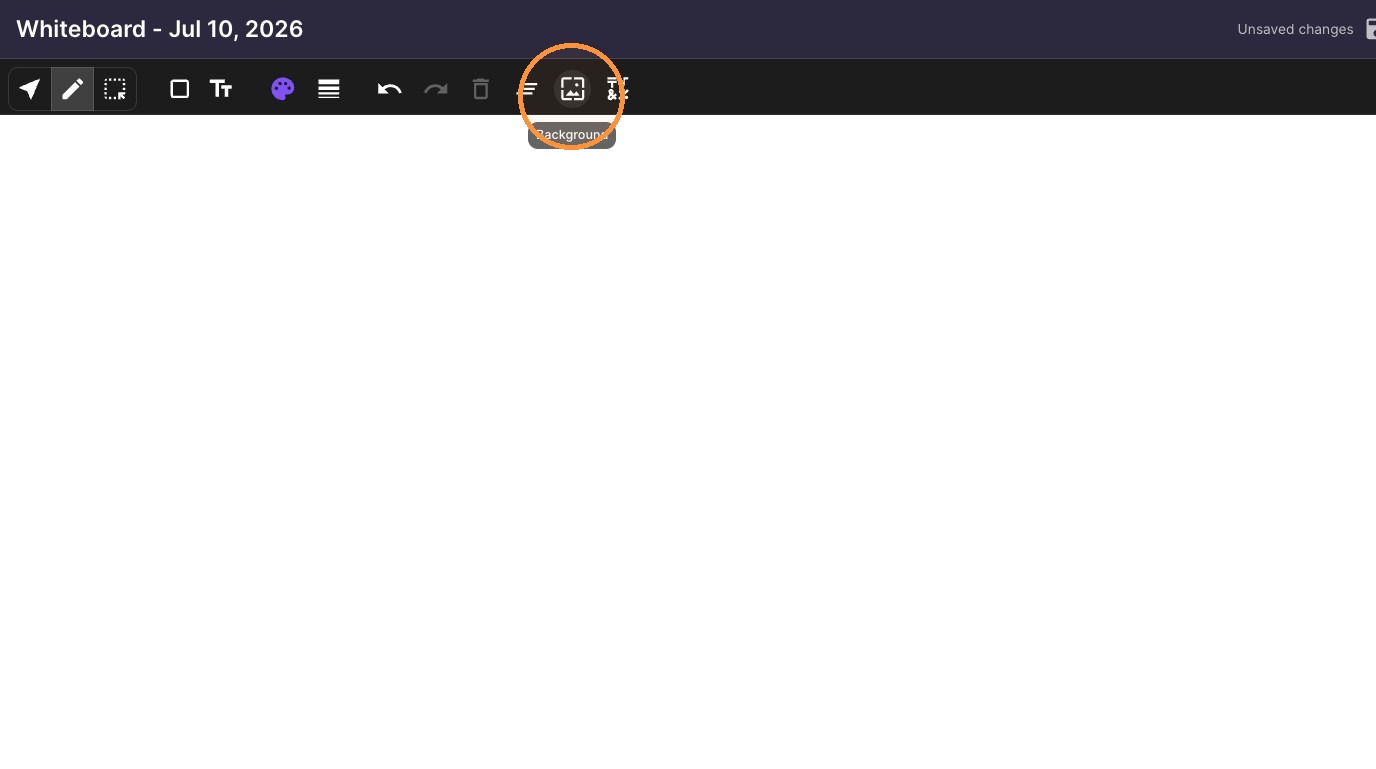
16. Select a background template from the list
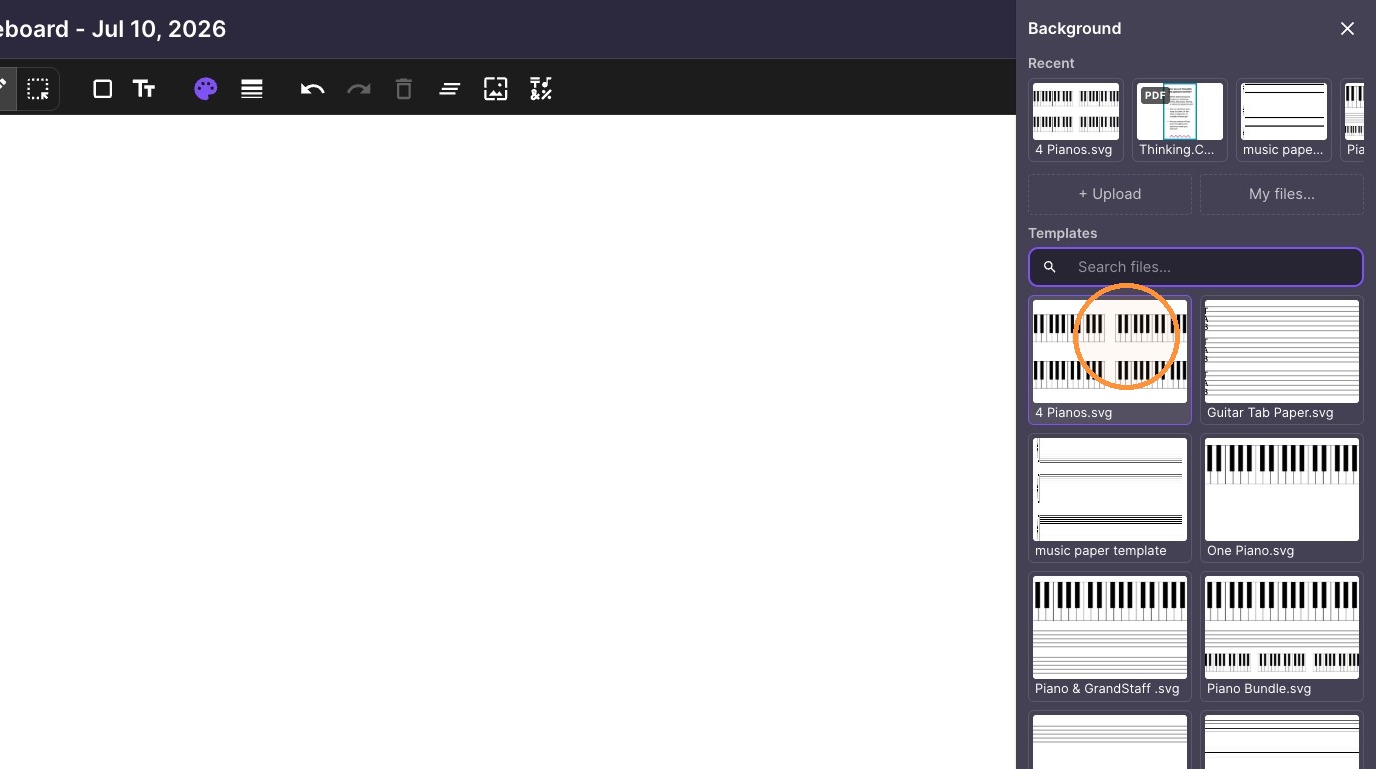
17. Upload a New File or pull from My Files
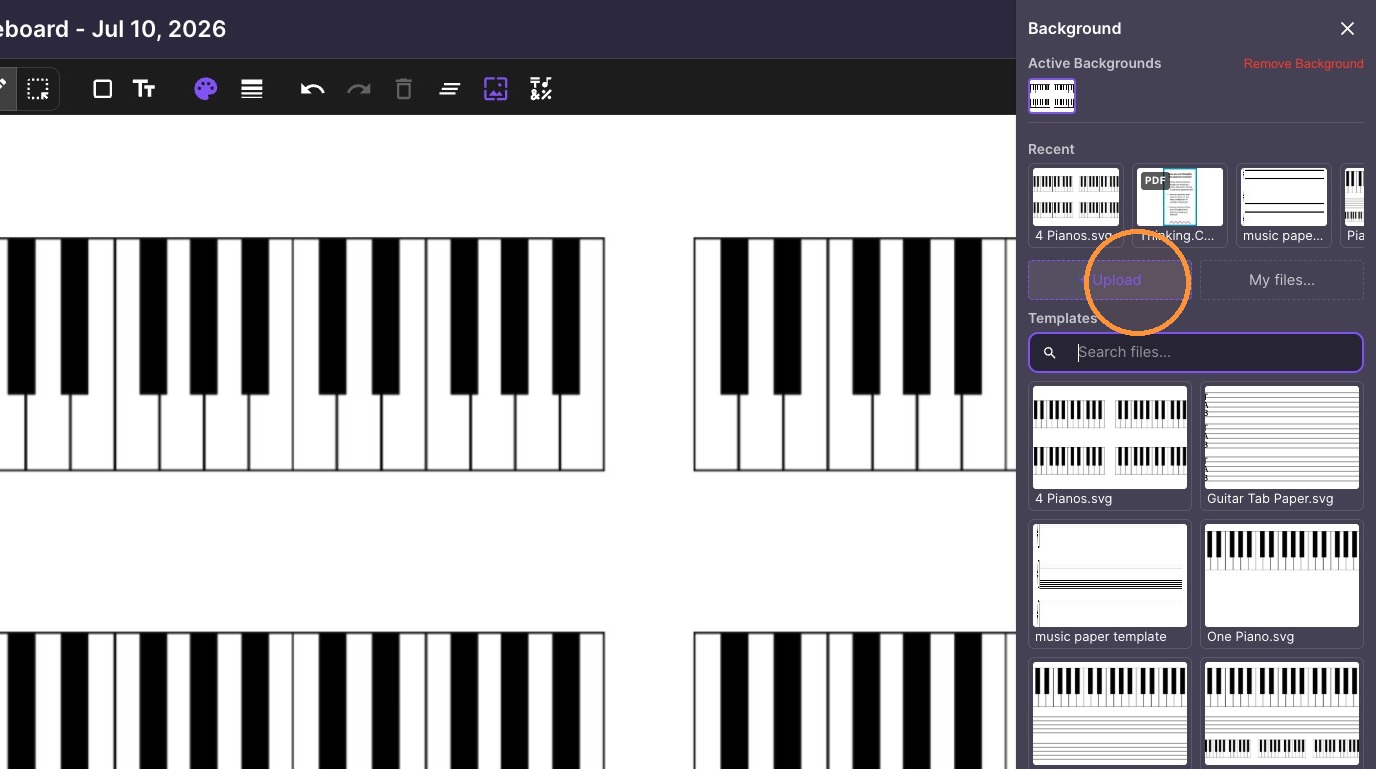
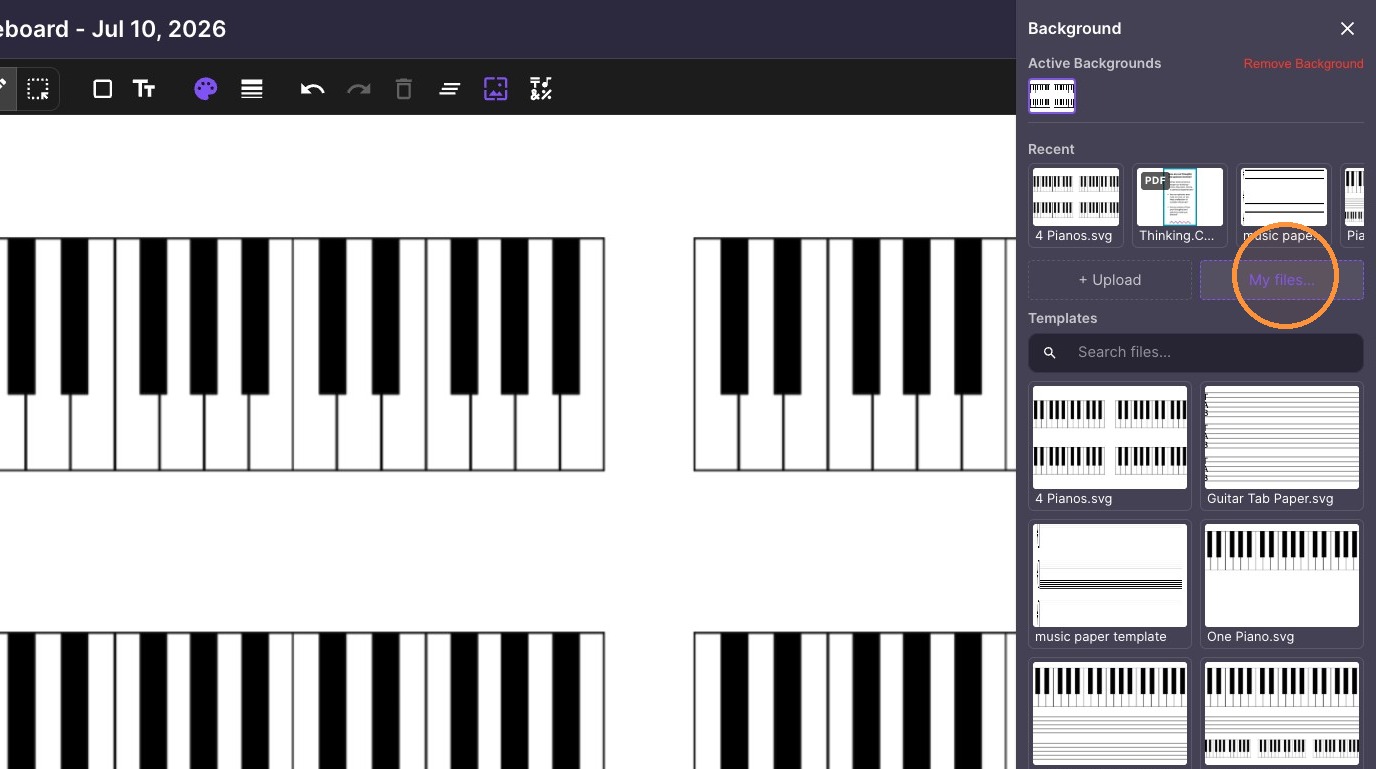
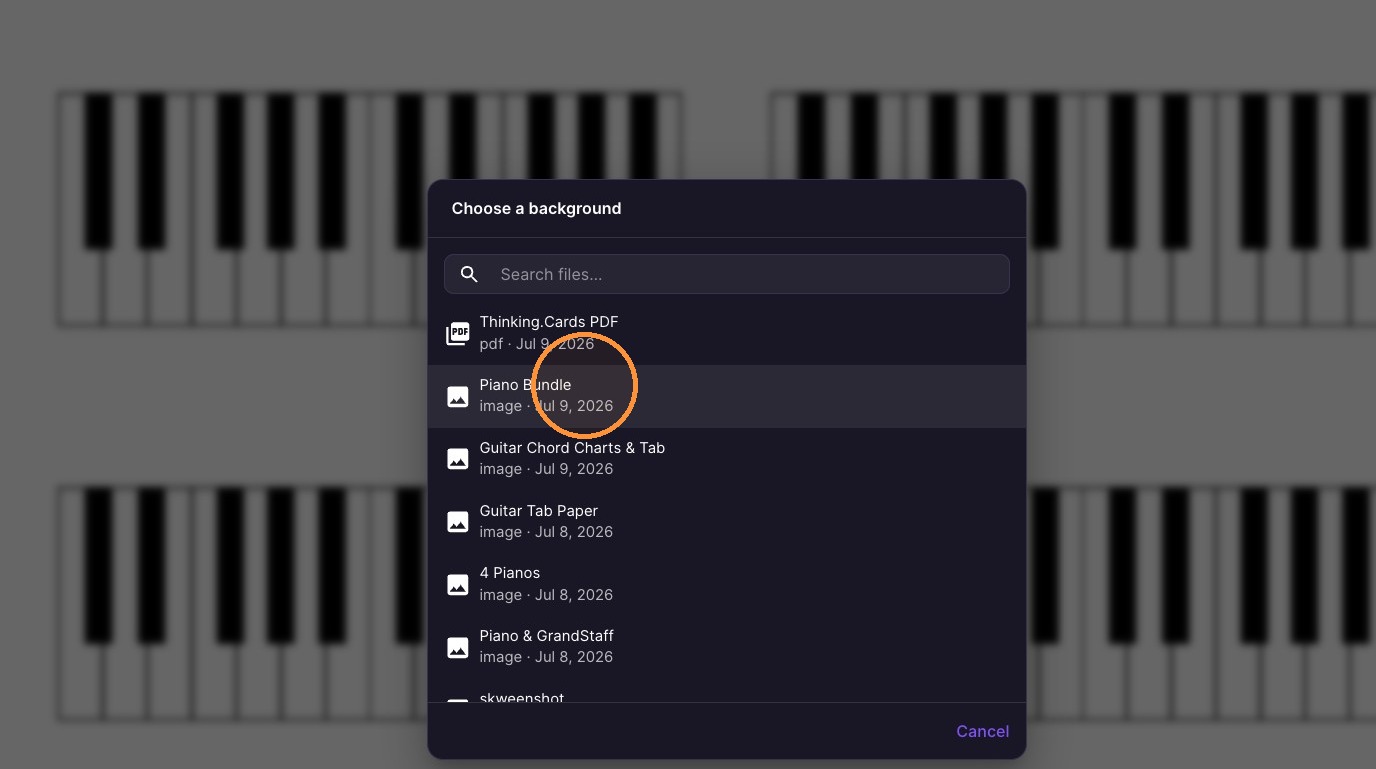
18. Choose a file as the new background
19. Open the Symbols menu
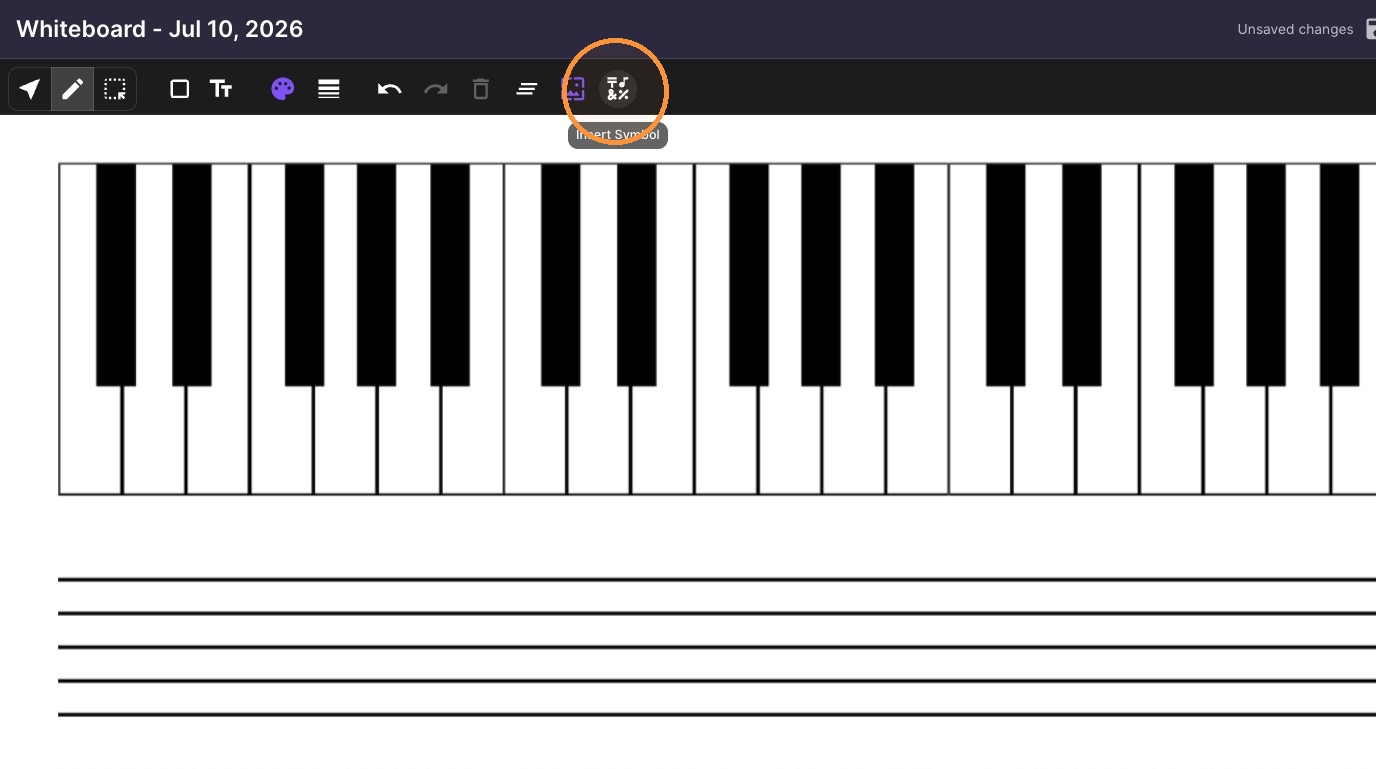
20. Insert a music symbol onto the canvas
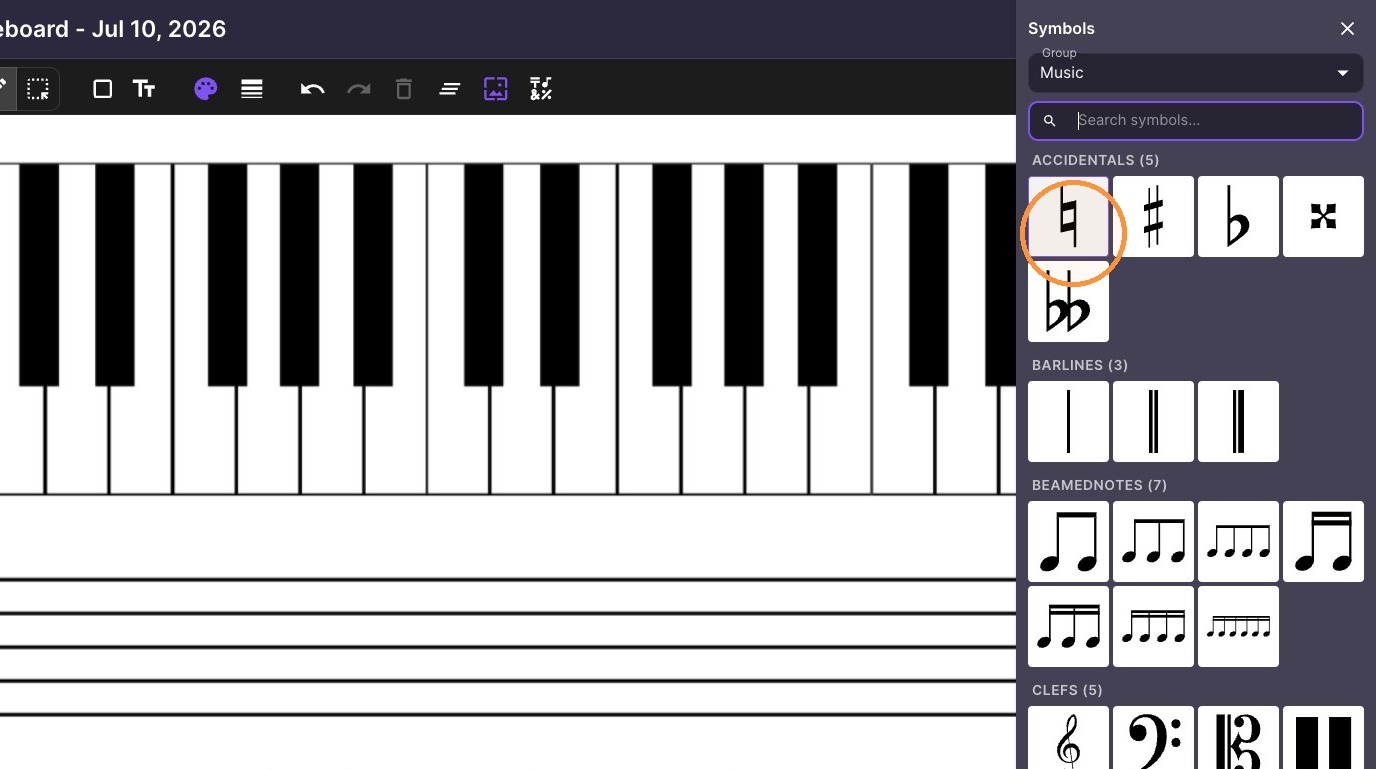
21. Insert an 8th note symbol
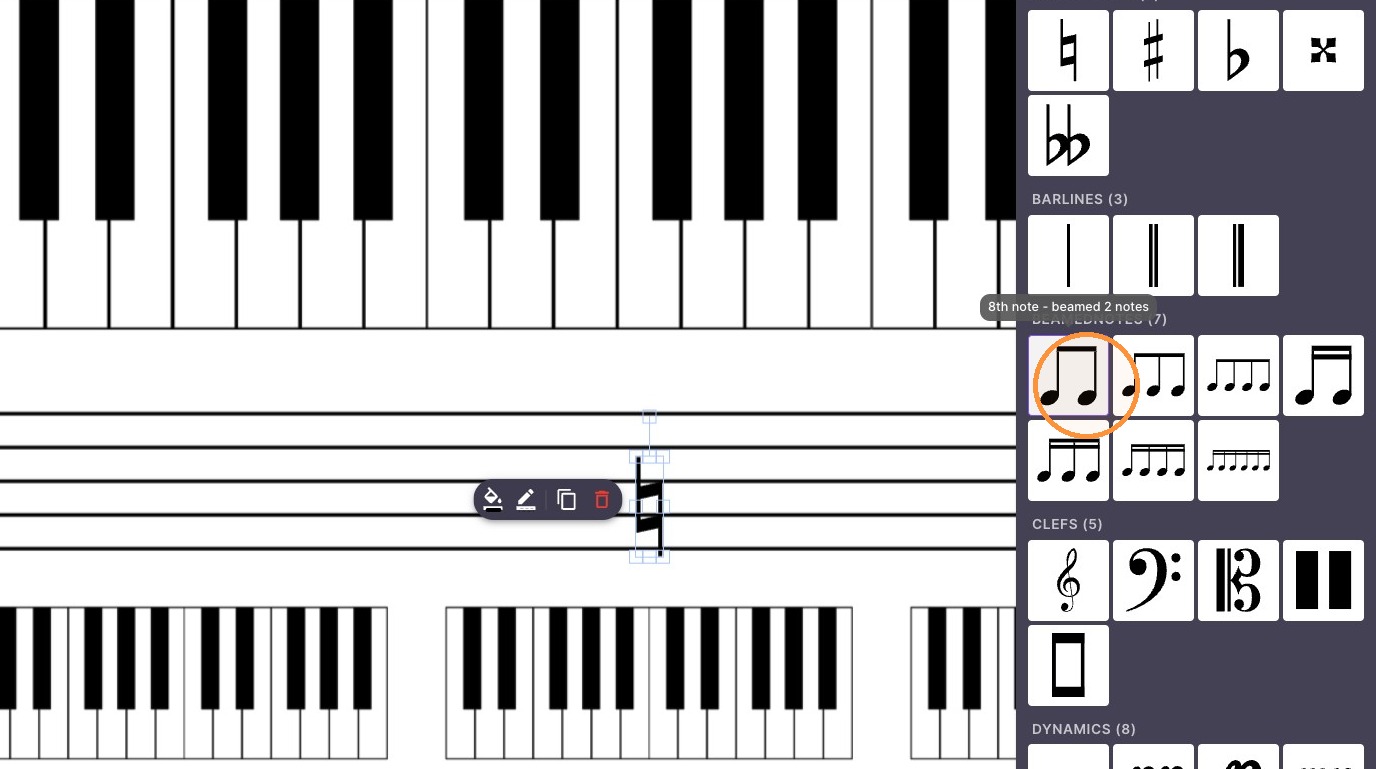
22. Change the symbol category to "All"
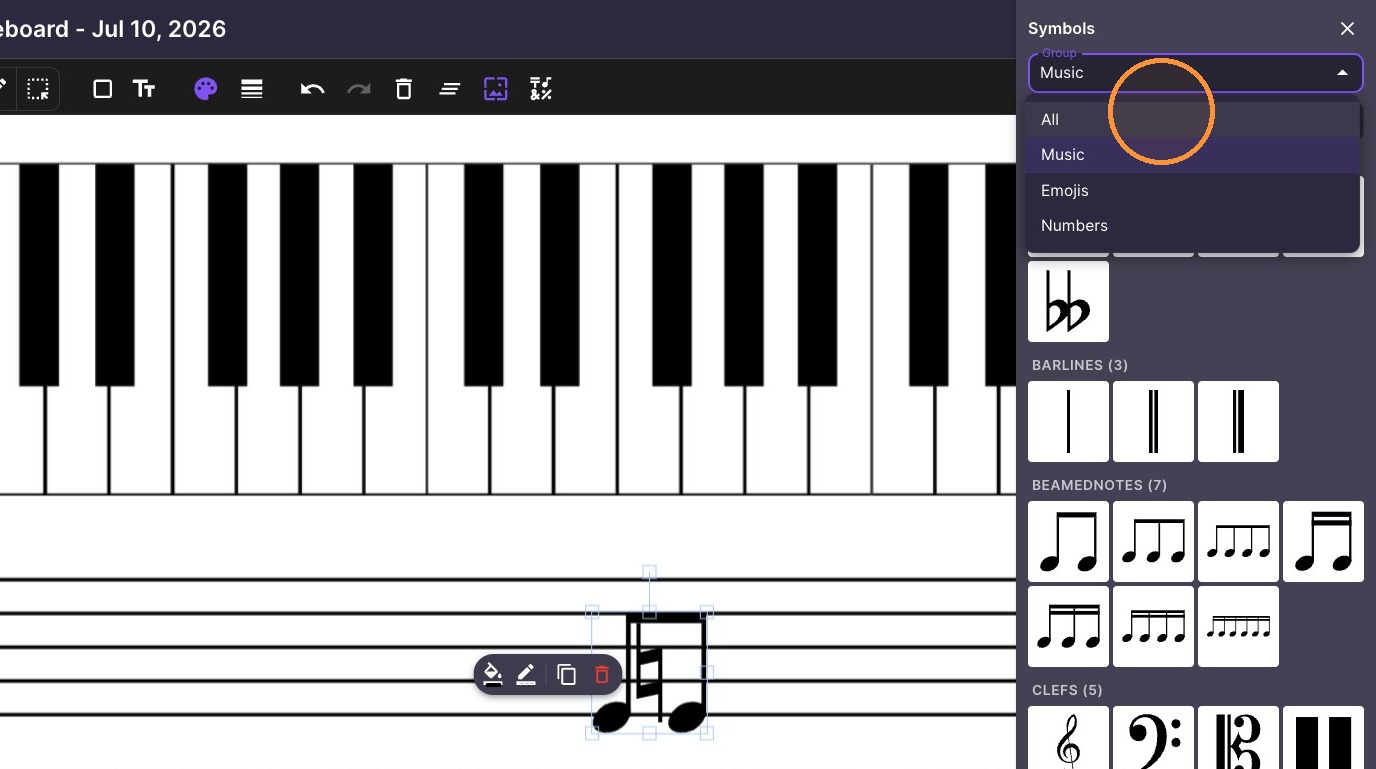
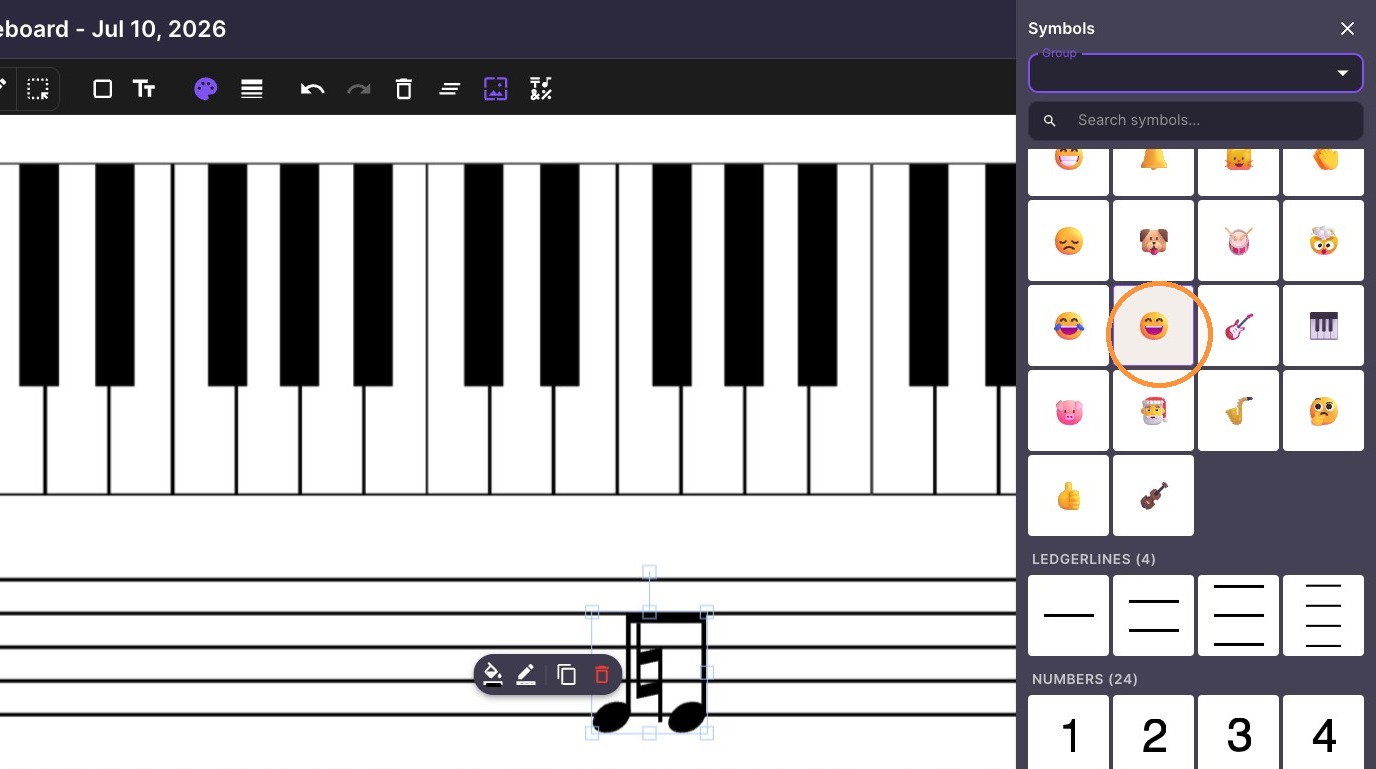
23. Insert an emoji symbol
Object Interactions
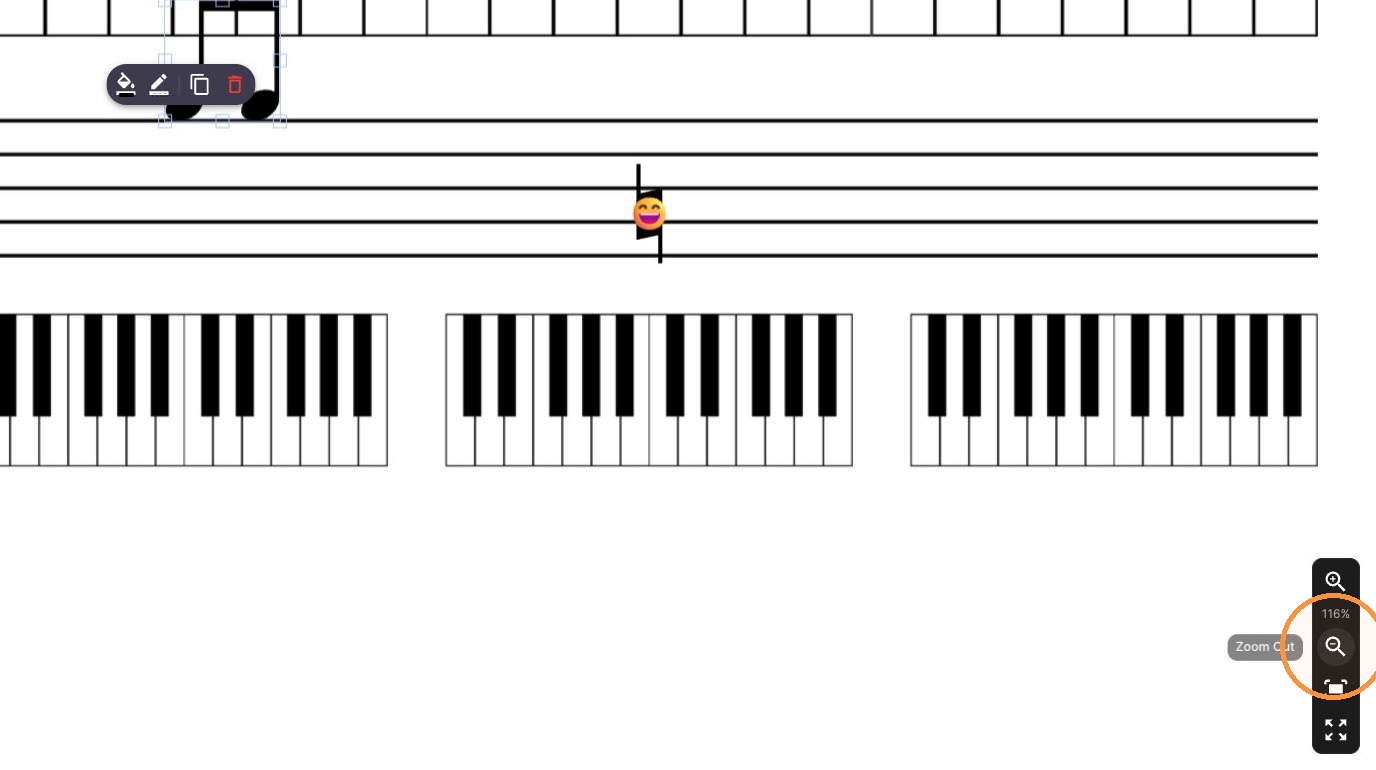
24. Zoom in and out on the canvas
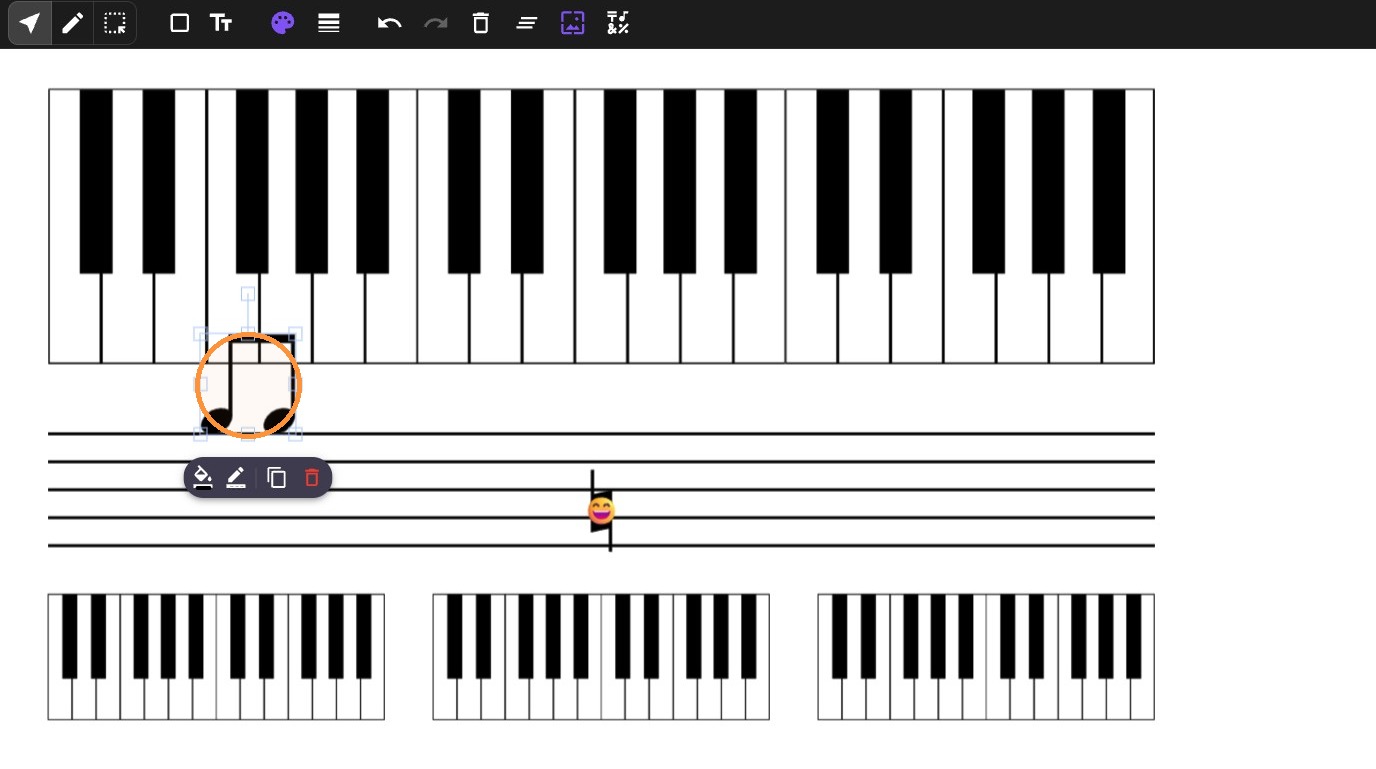
25. Select an object on the canvas
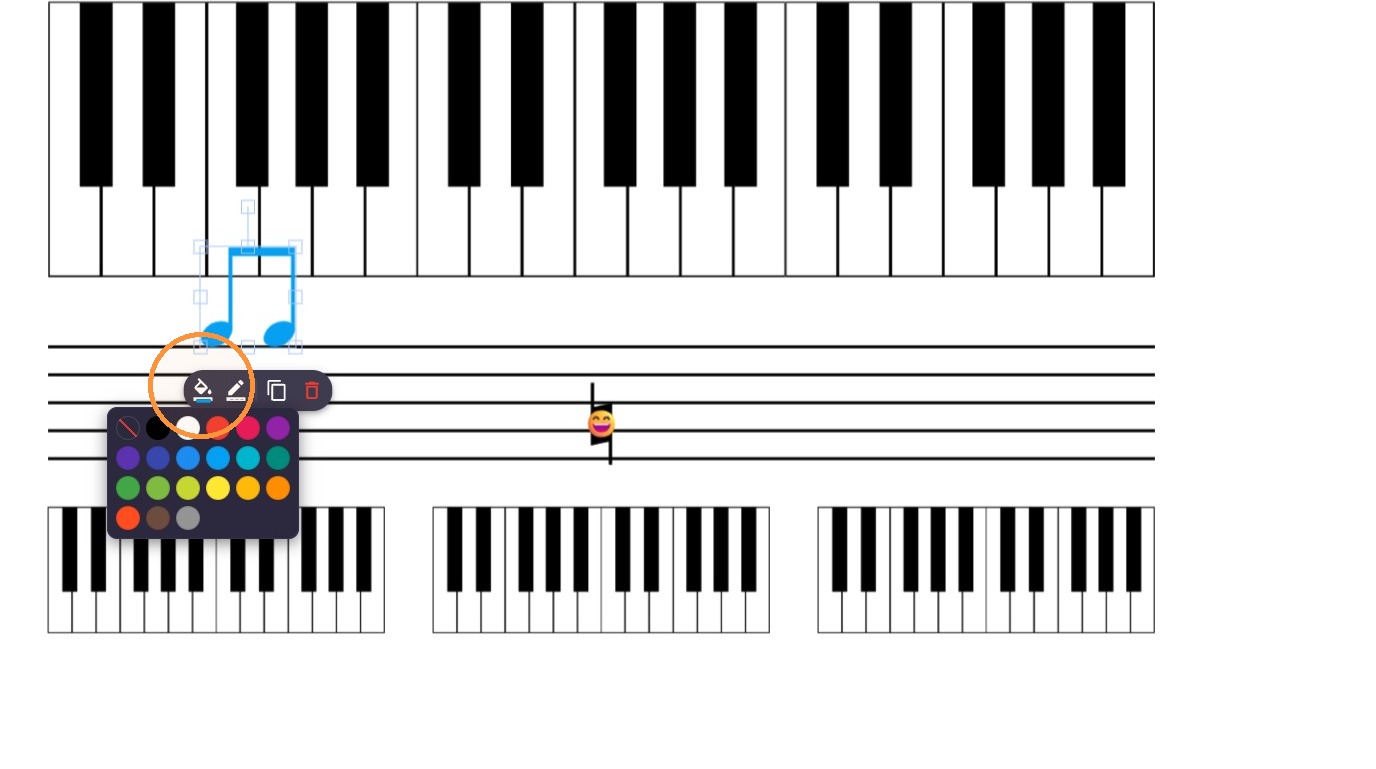
26. Open the color settings for the selected object
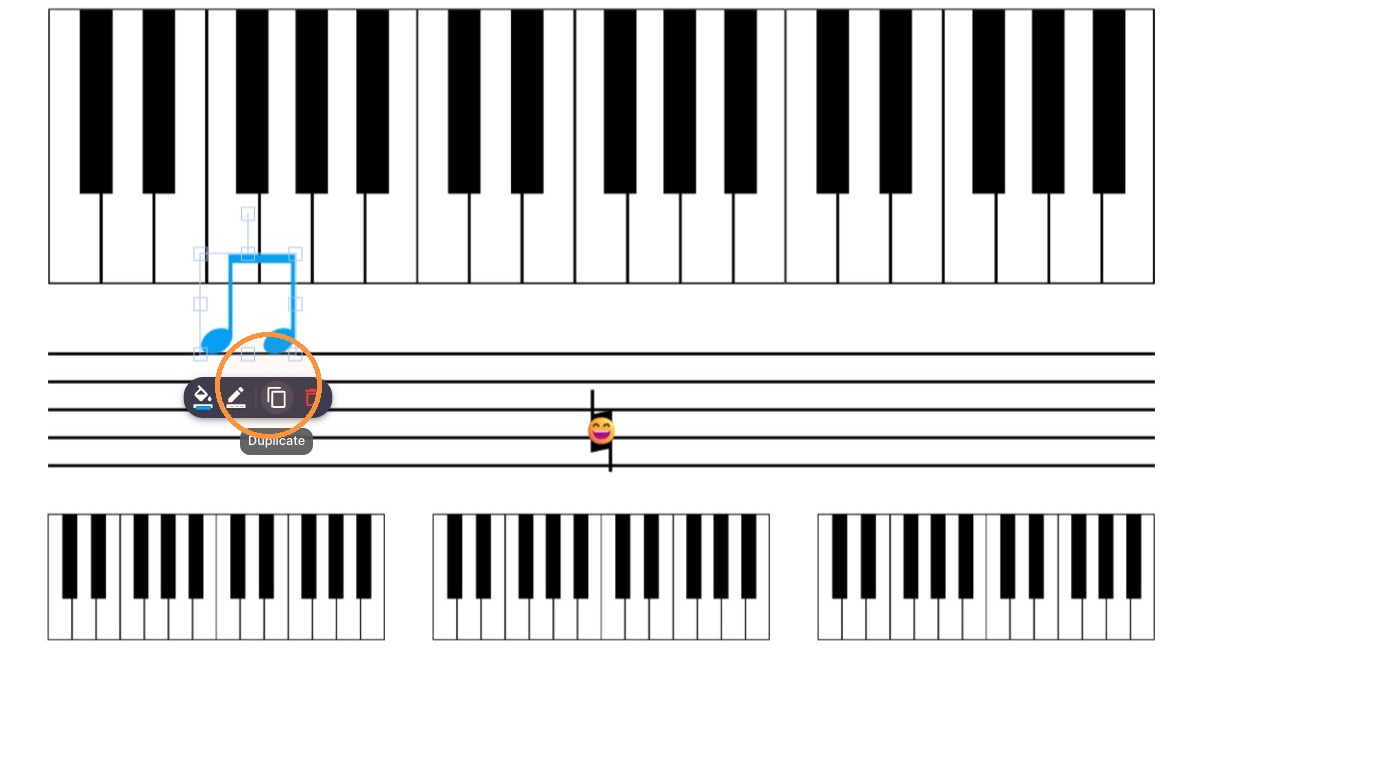
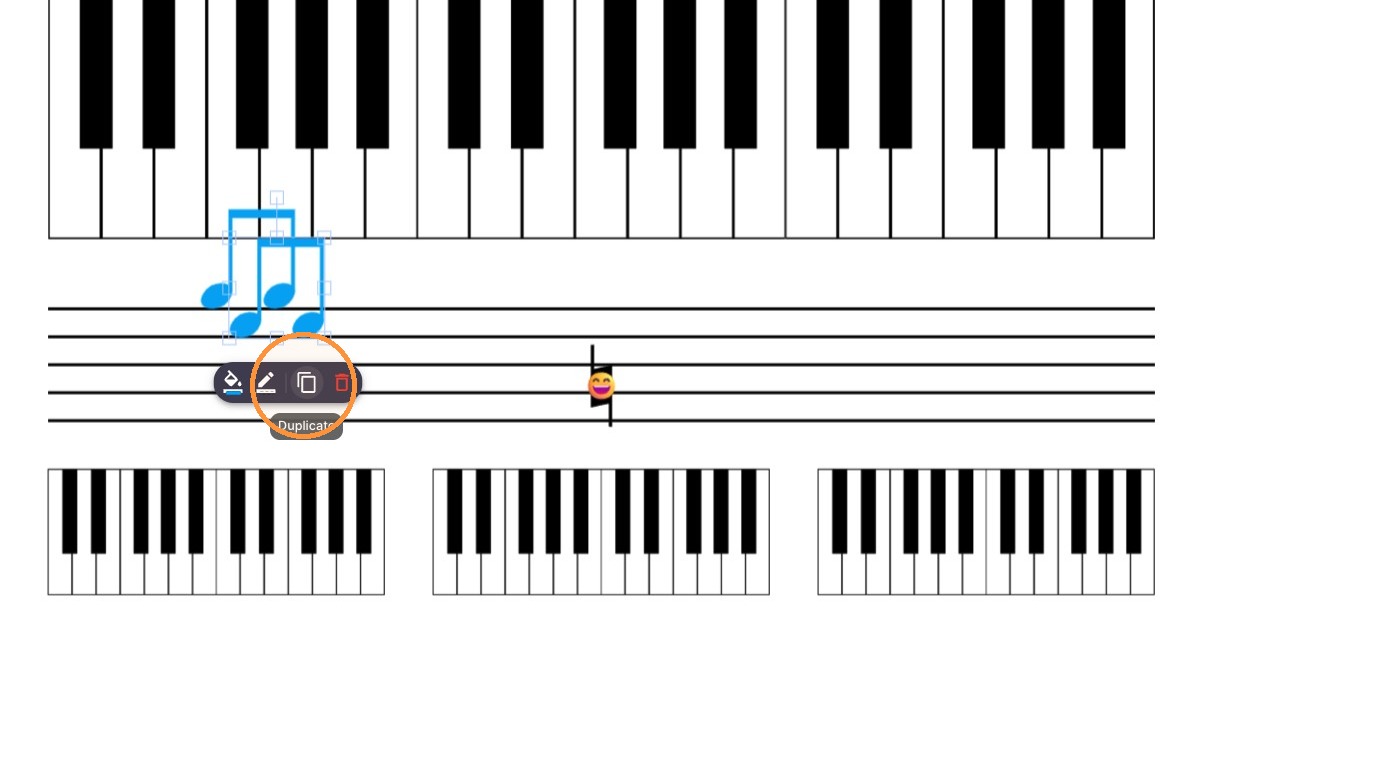
27. Duplicate the selected object
28. Delete the selected object