

As a student, use this guide to record or import clips and organize them into a composition so you can easily review your work. You’ll learn how to save and name clips, control playback, create regions, and add timeline comments - plus how to record a new clip while listening to existing clips - so your practice or assignment recordings stay clear and organized.
Initial Setup
-
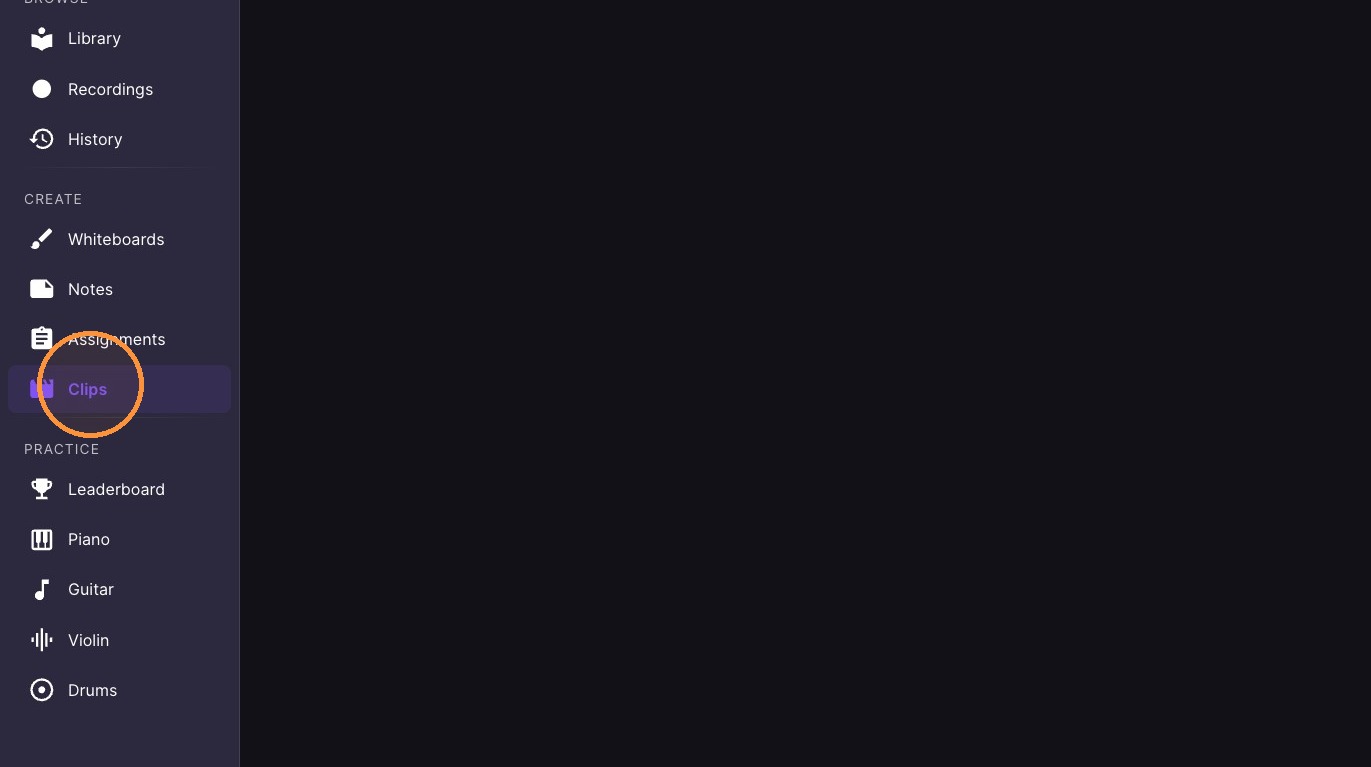
Click "Clips"
-
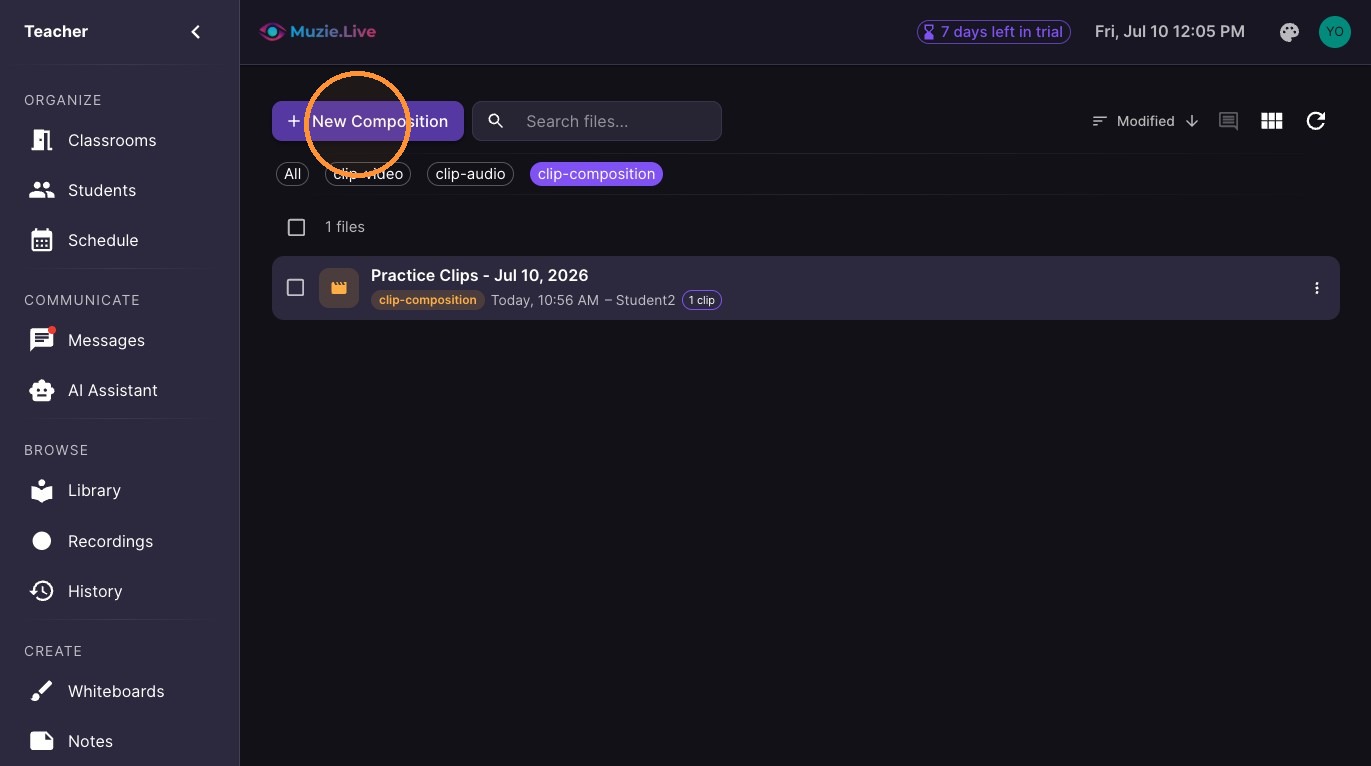
Click "New Composition"
Clip Recording
Tip: Choose between recording Audio/Video or Audio Only
-
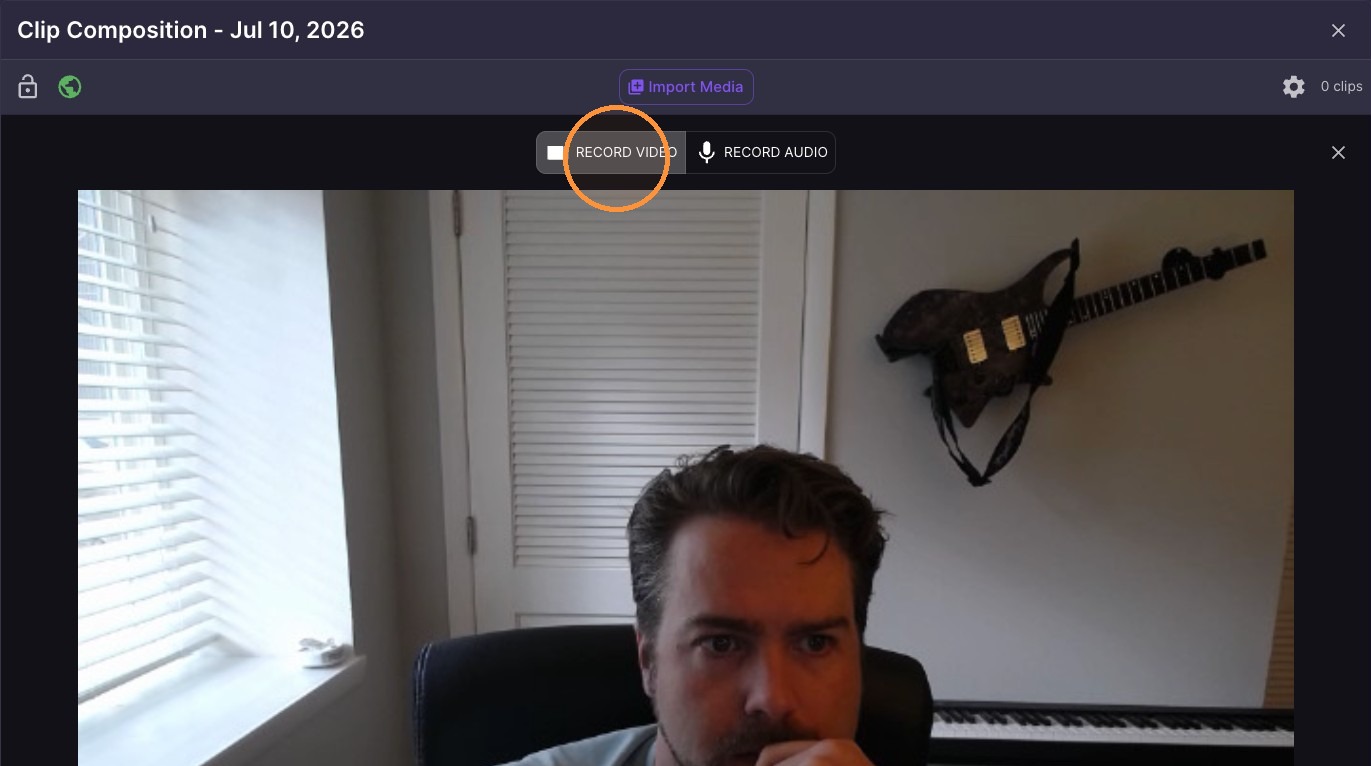
Click "Record video"
-
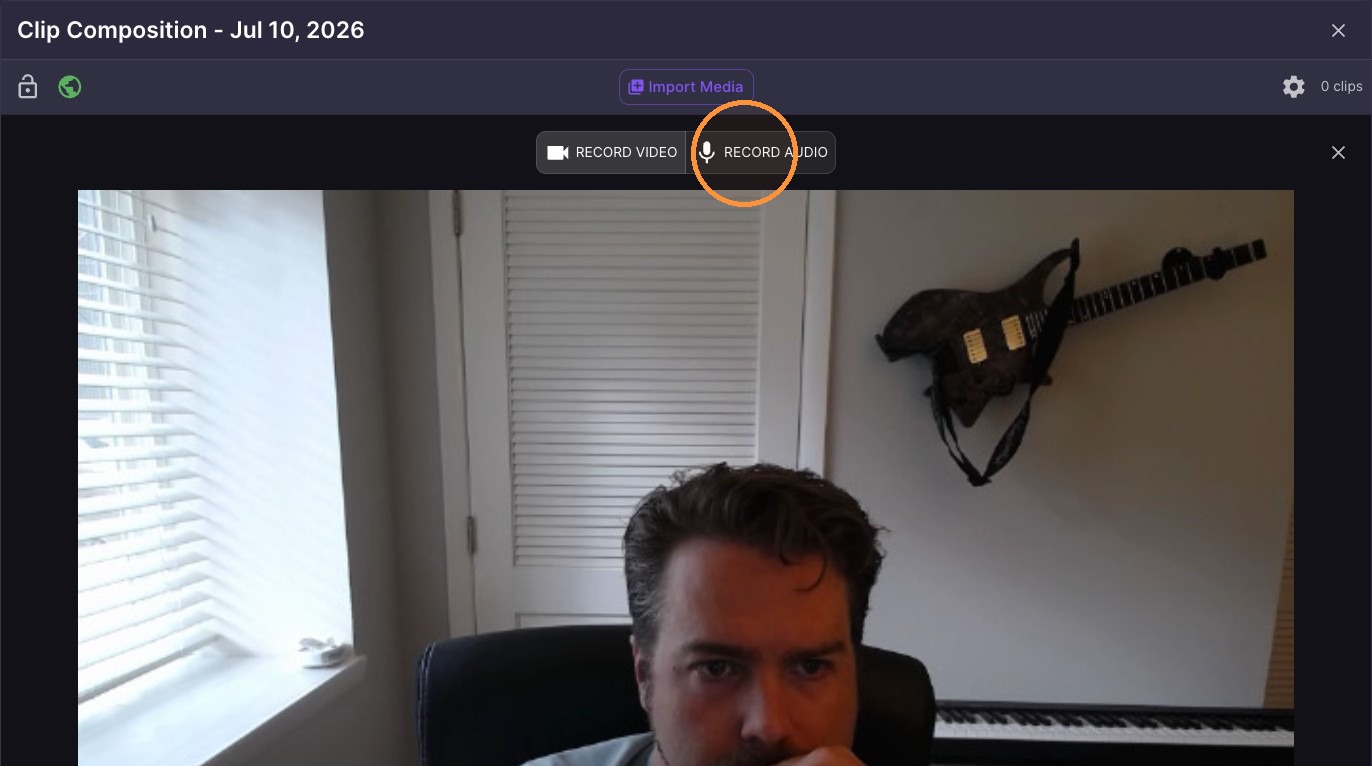
Select 'Record audio' option
-
Click "Start recording"
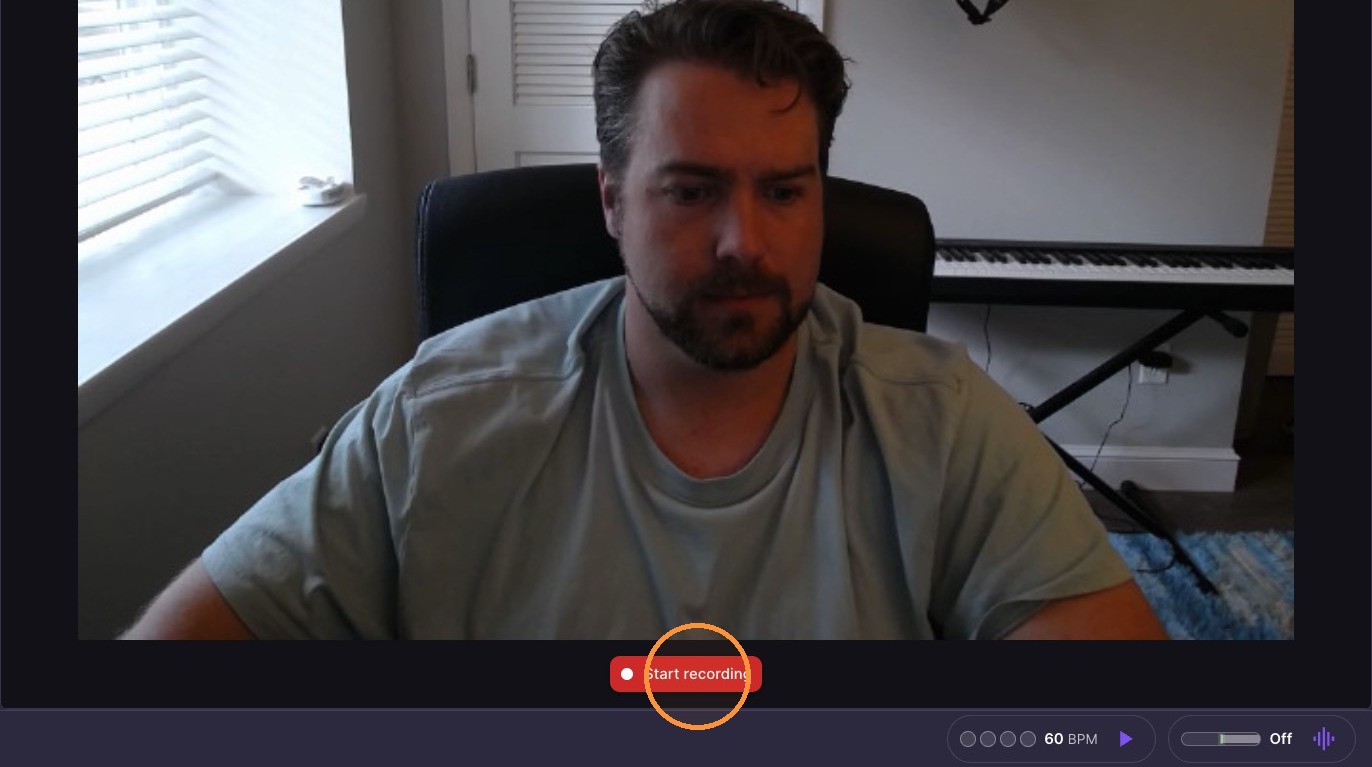
-
Pause recording
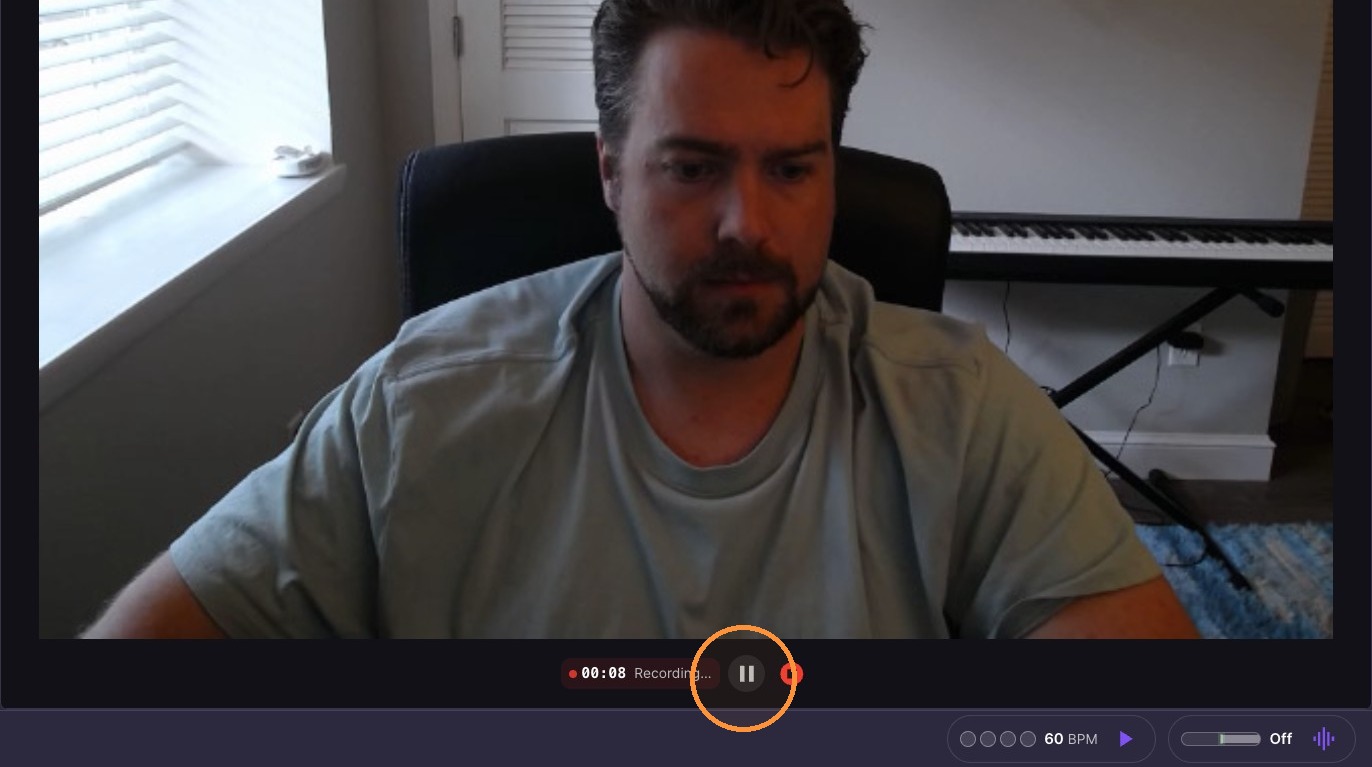
-
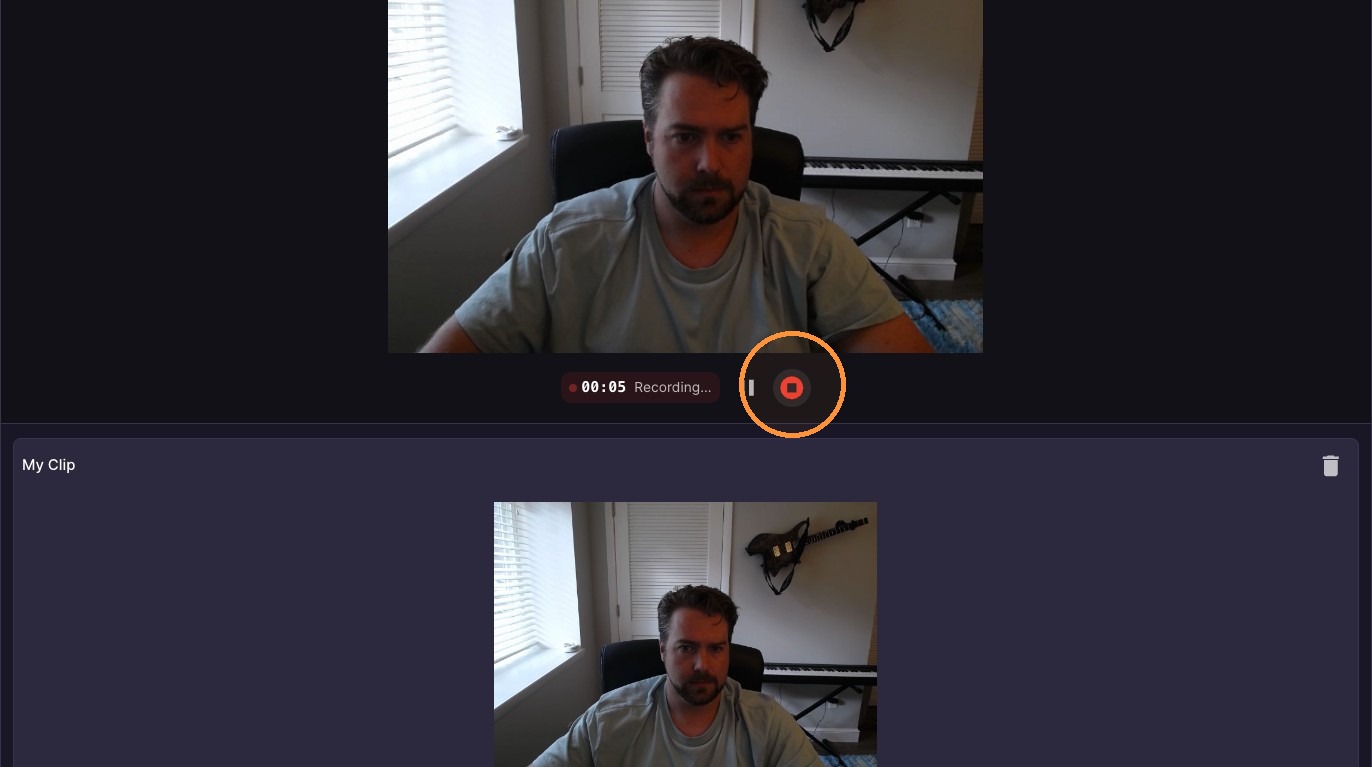
Stop recording
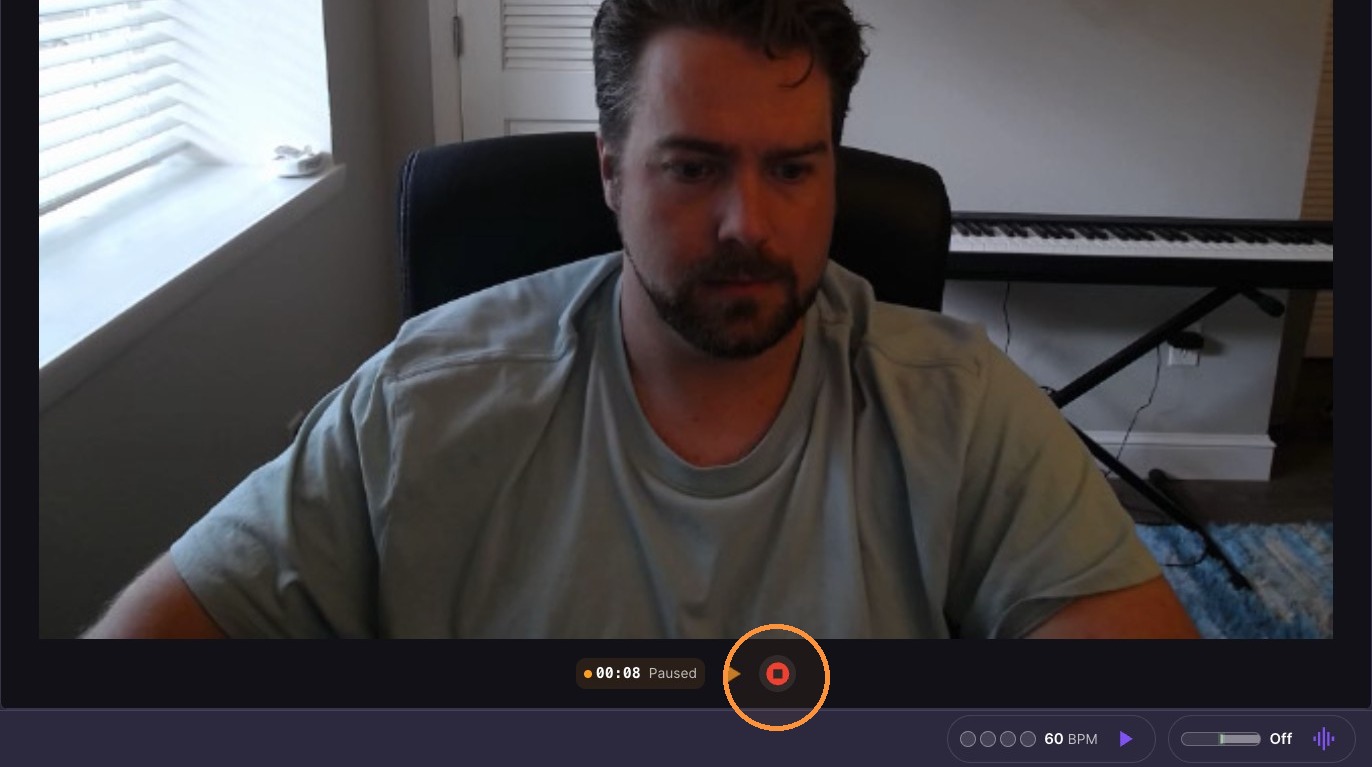
Clip Management
-
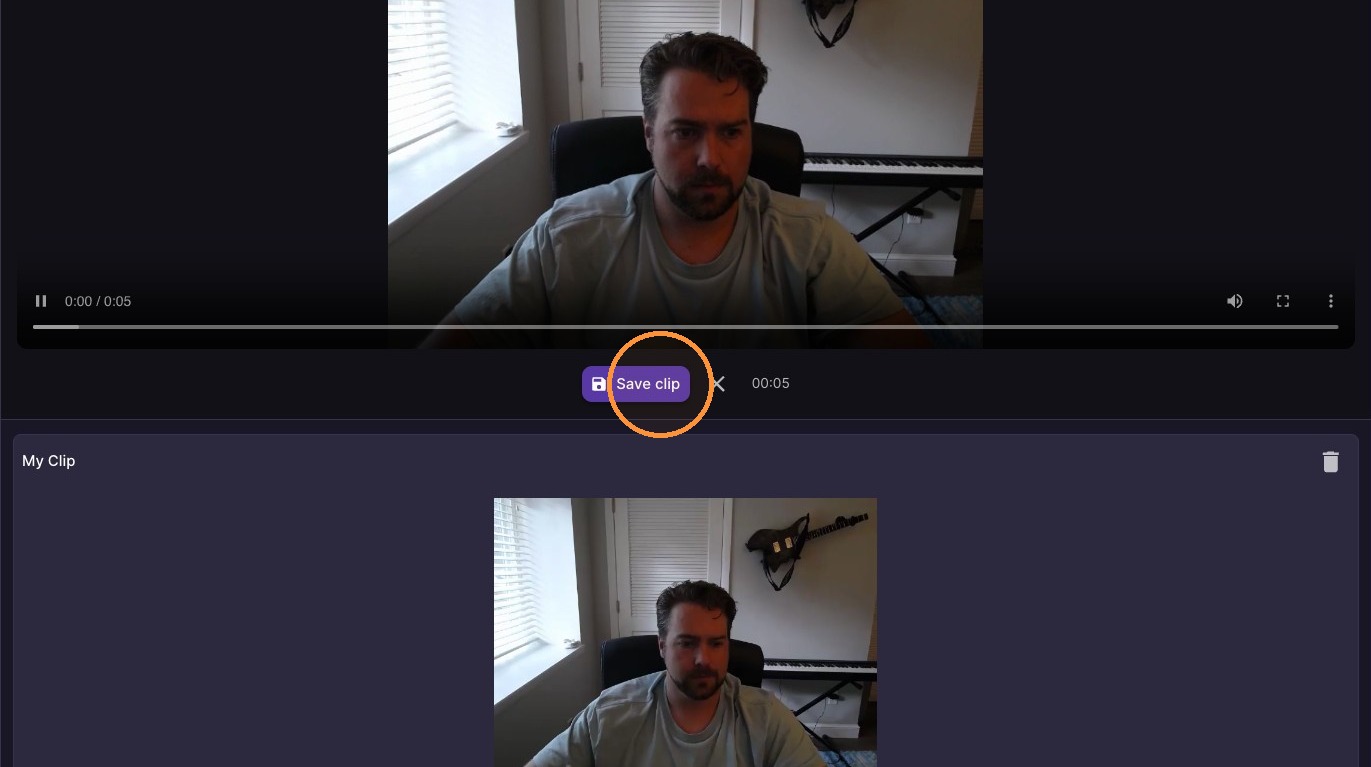
Click "Save clip"
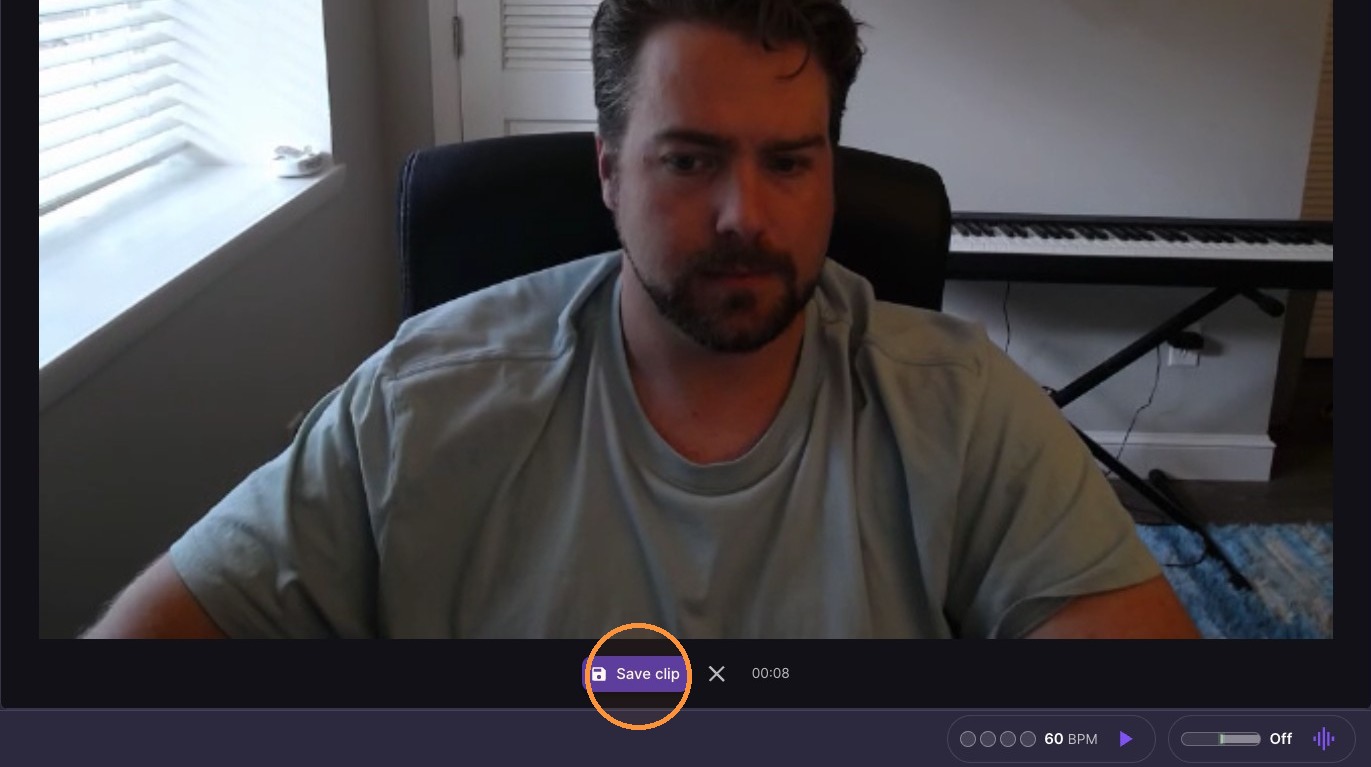
-
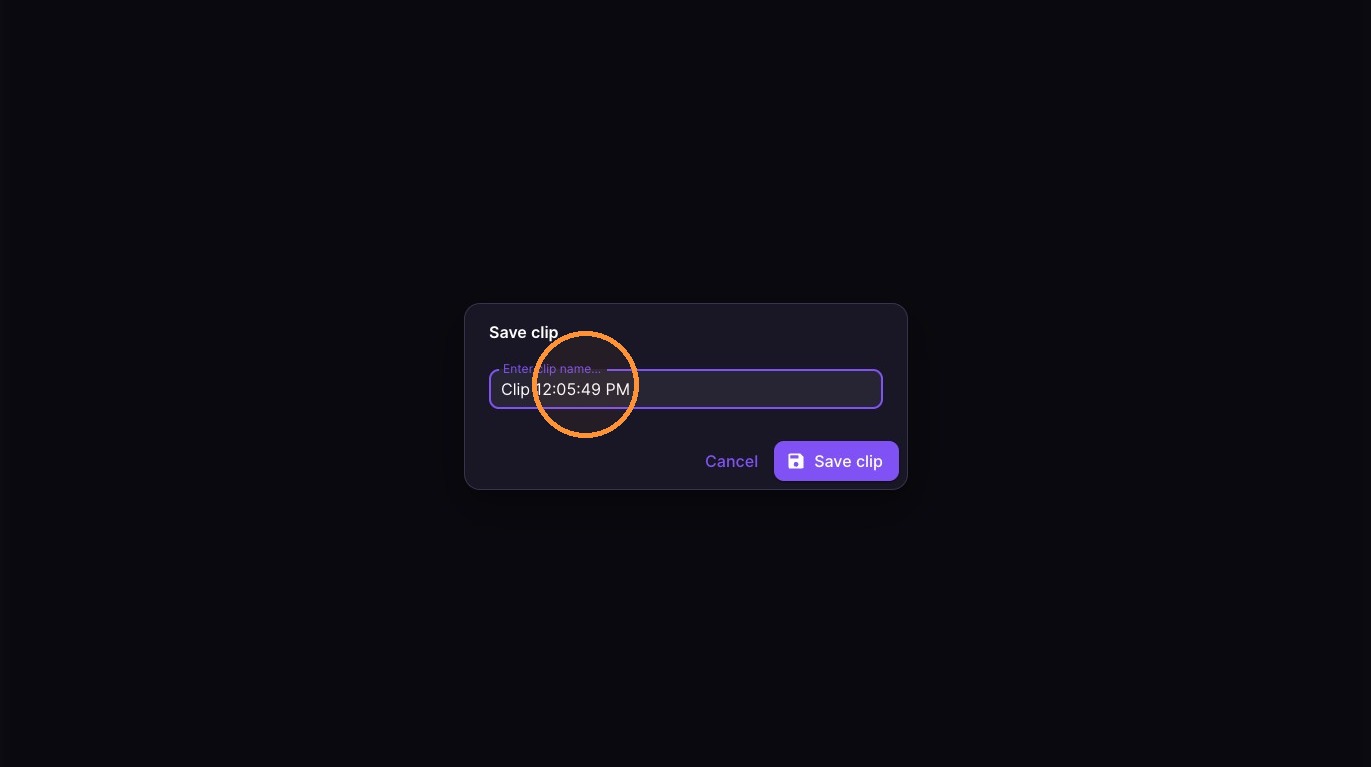
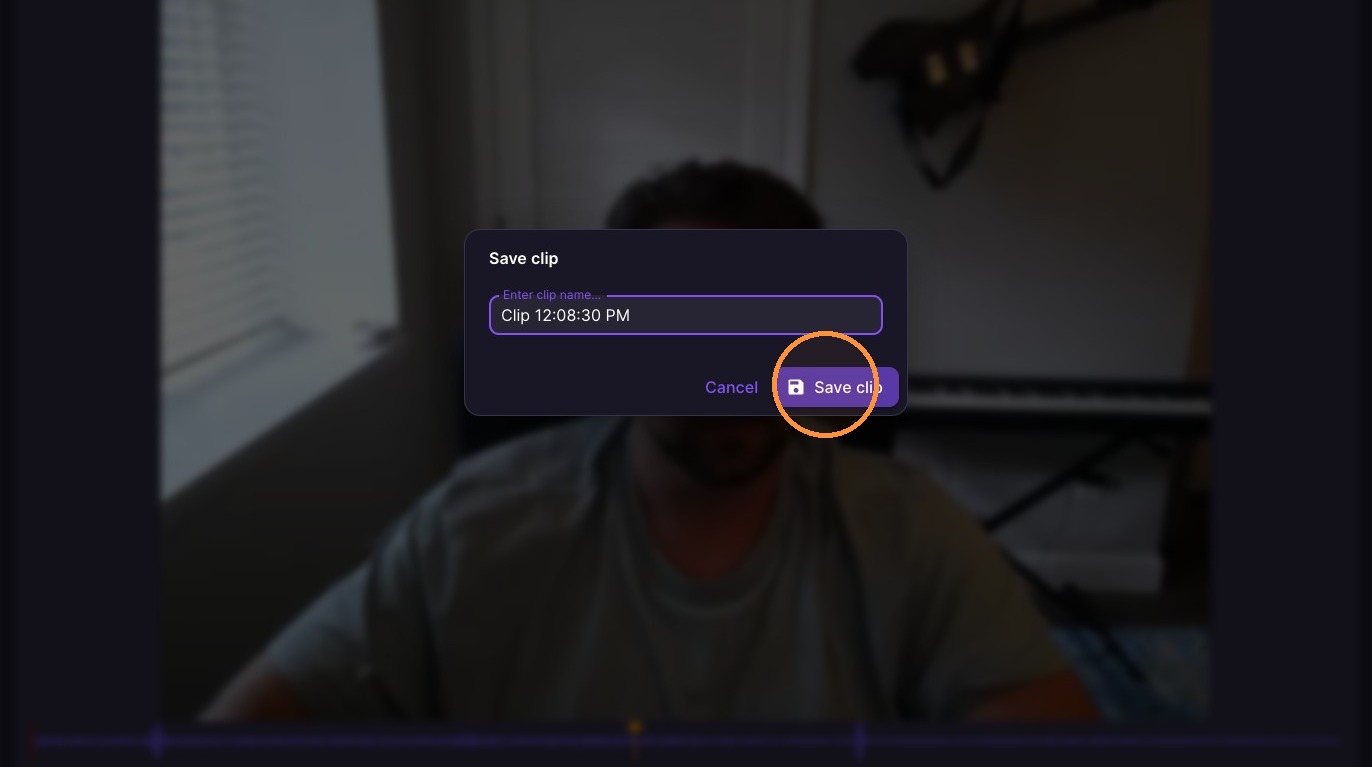
Enter a clip name
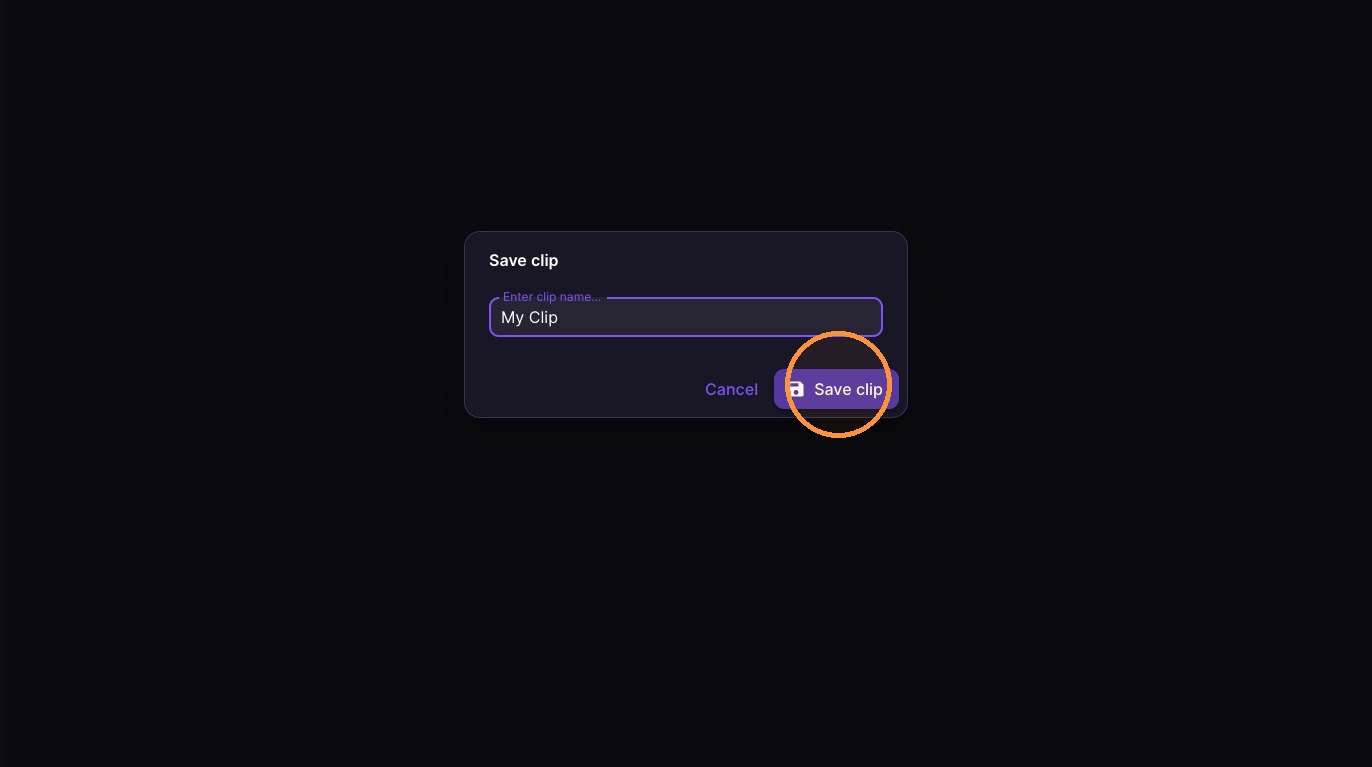
10. Click "Save clip"
Clip Playback Controls
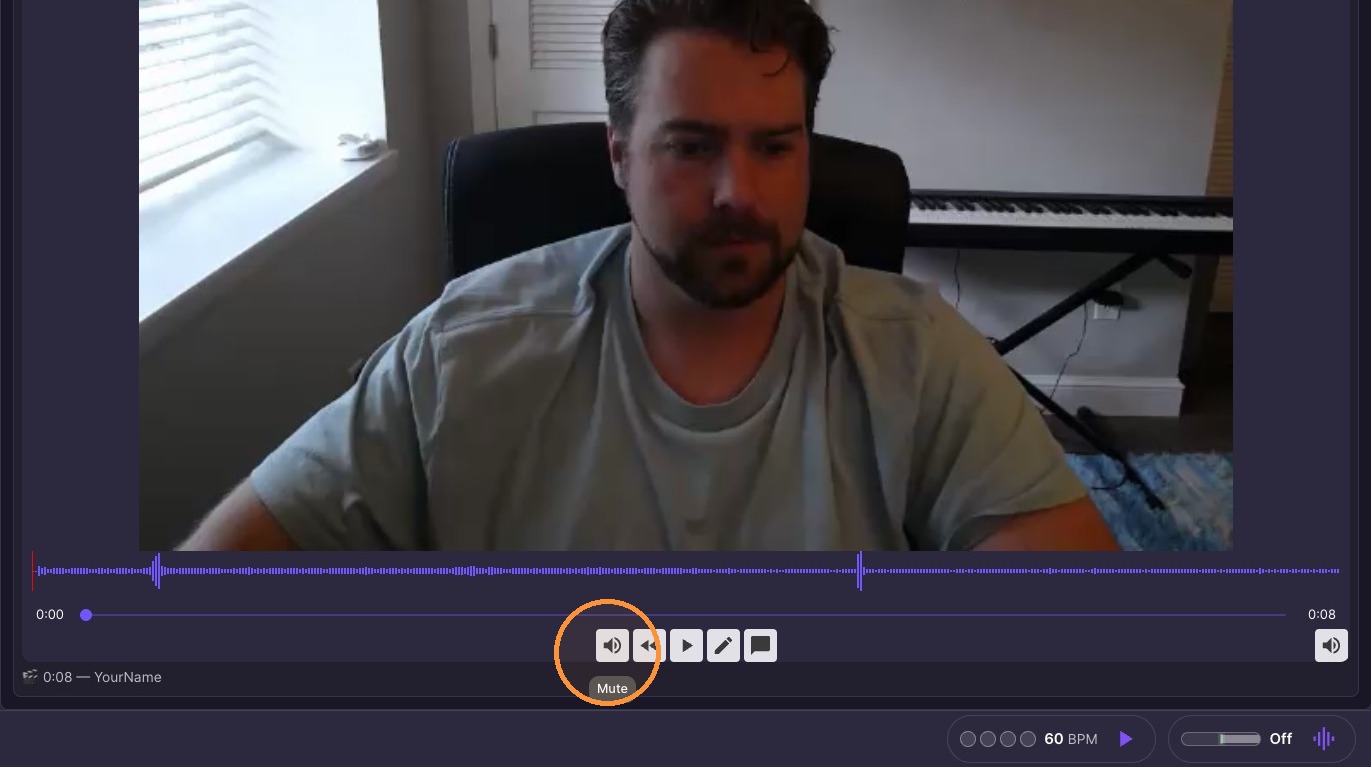
11. Mute clip audio
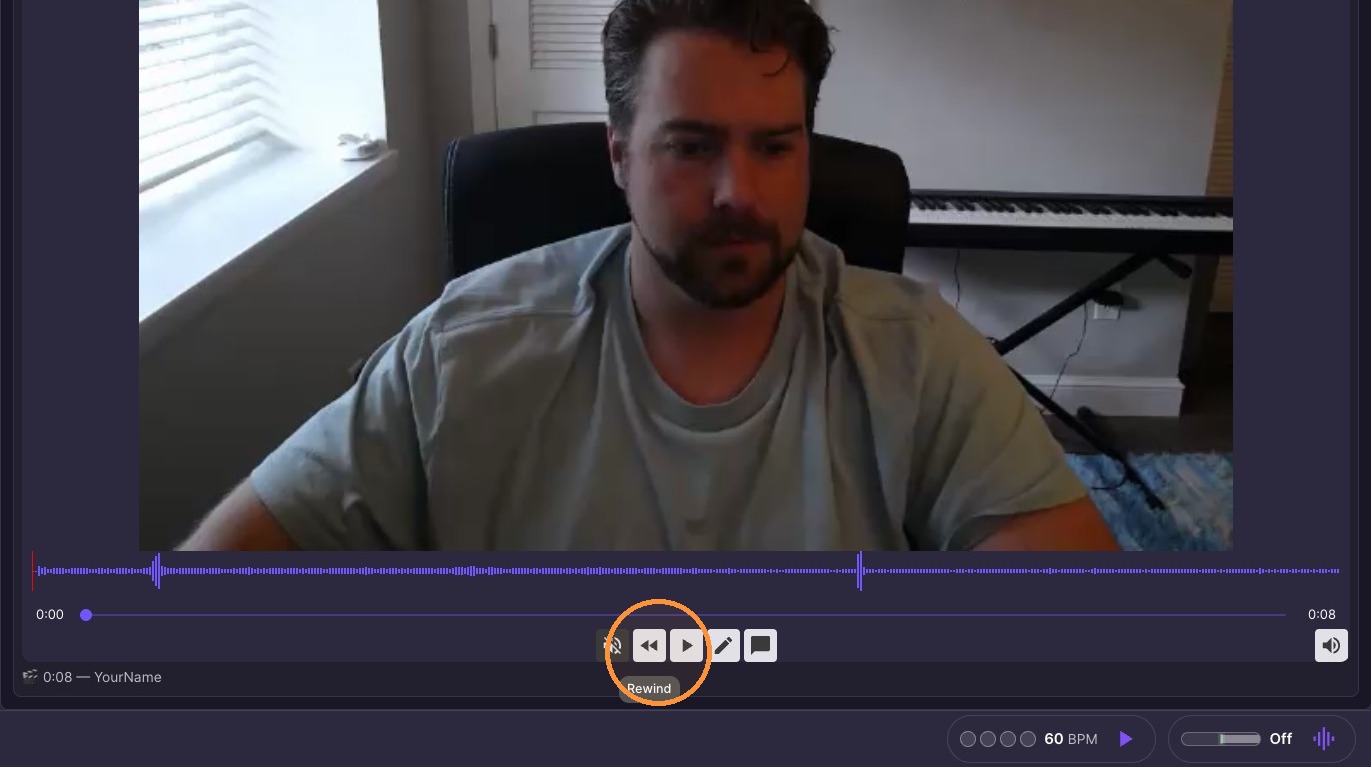
12. Rewind clip
13. Play clip
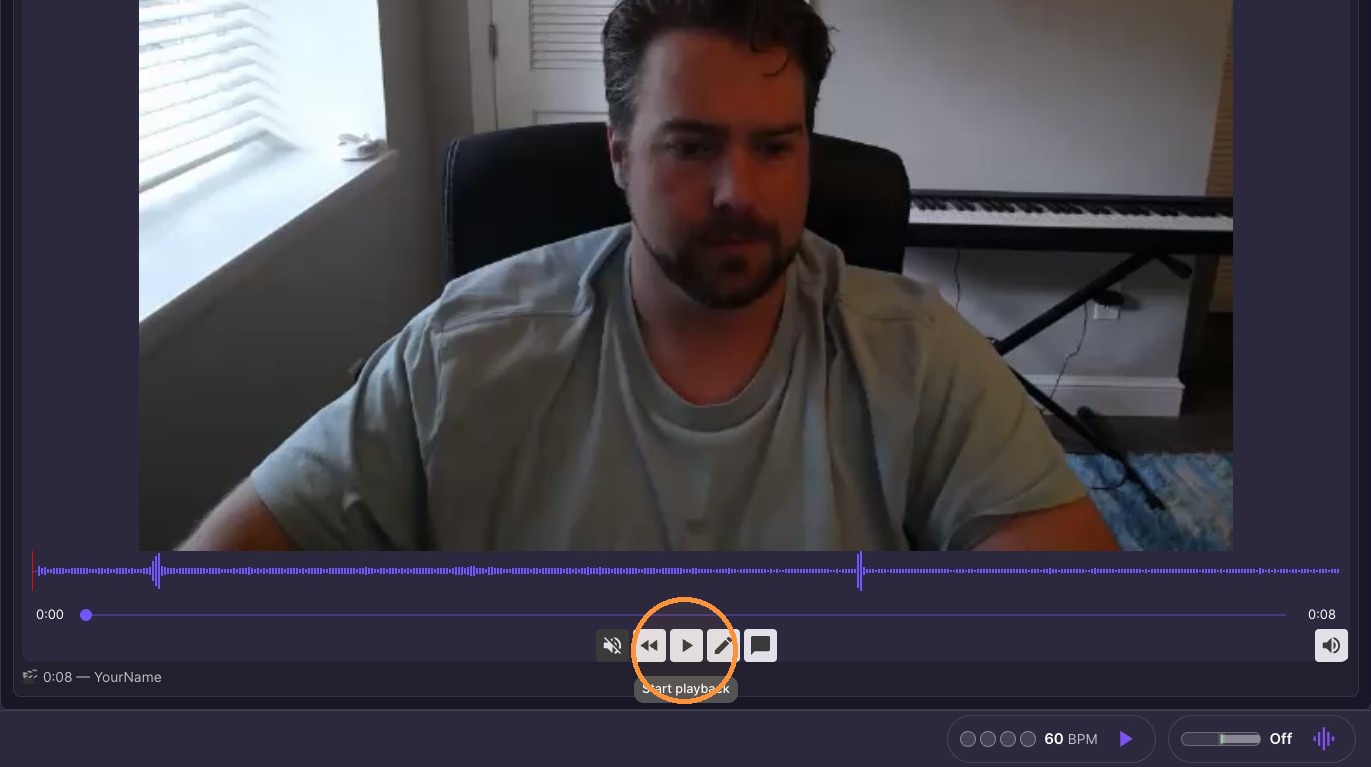
14. Open region editor
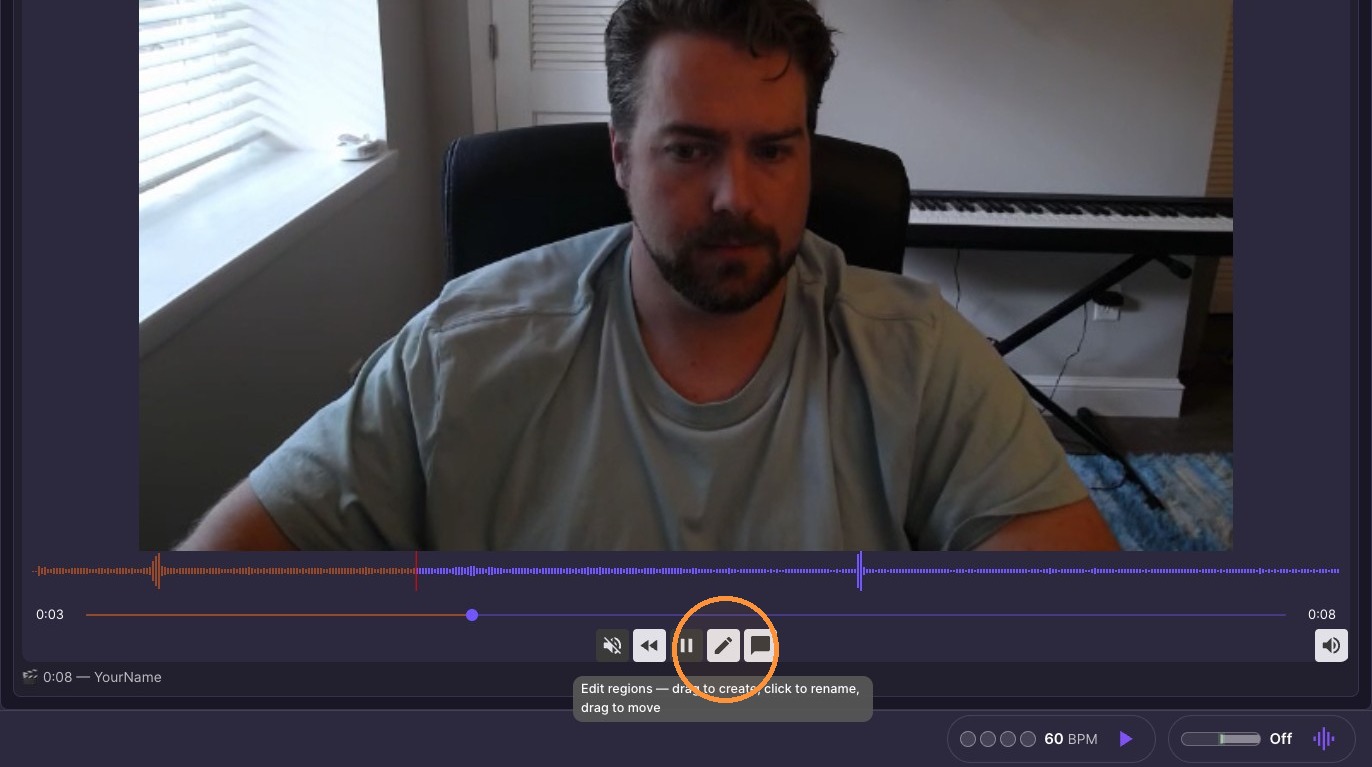
15. Click & drag on timeline to create new region
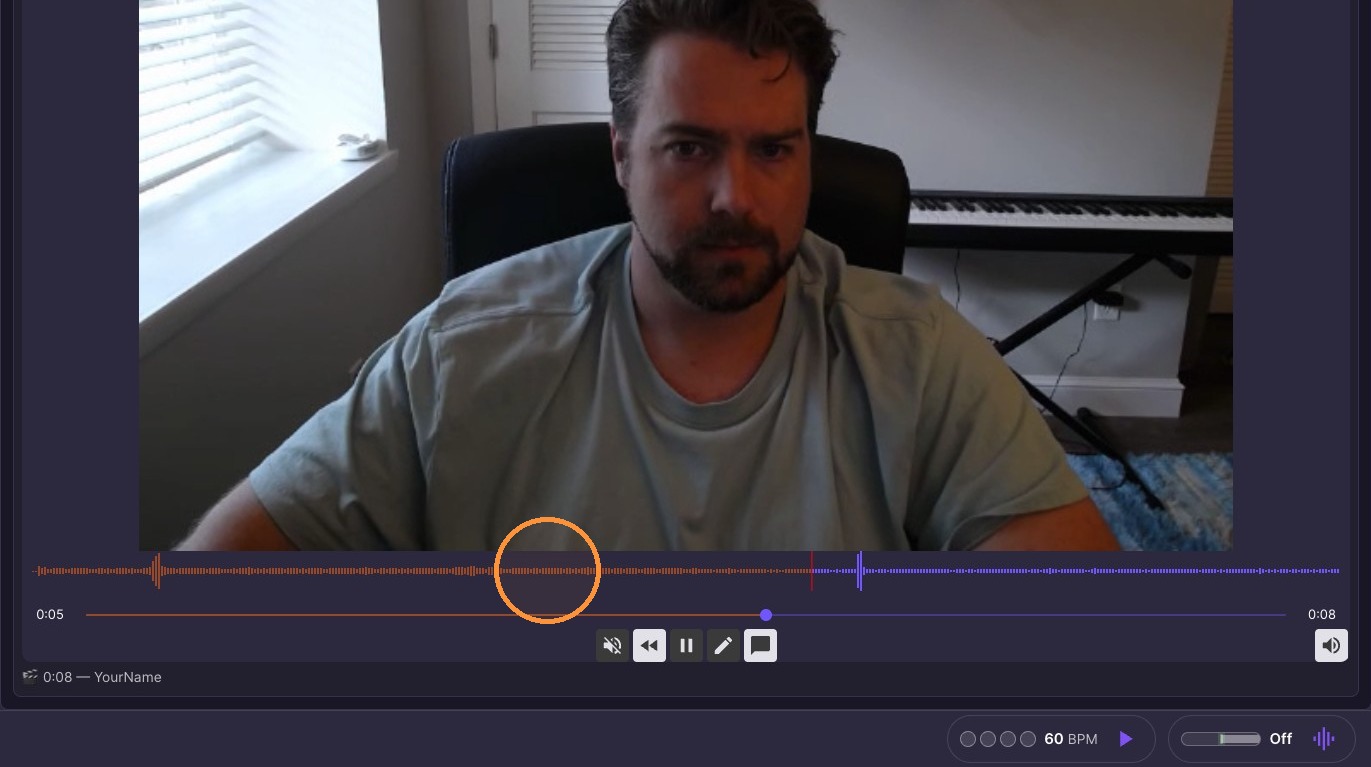
16. Edit region details
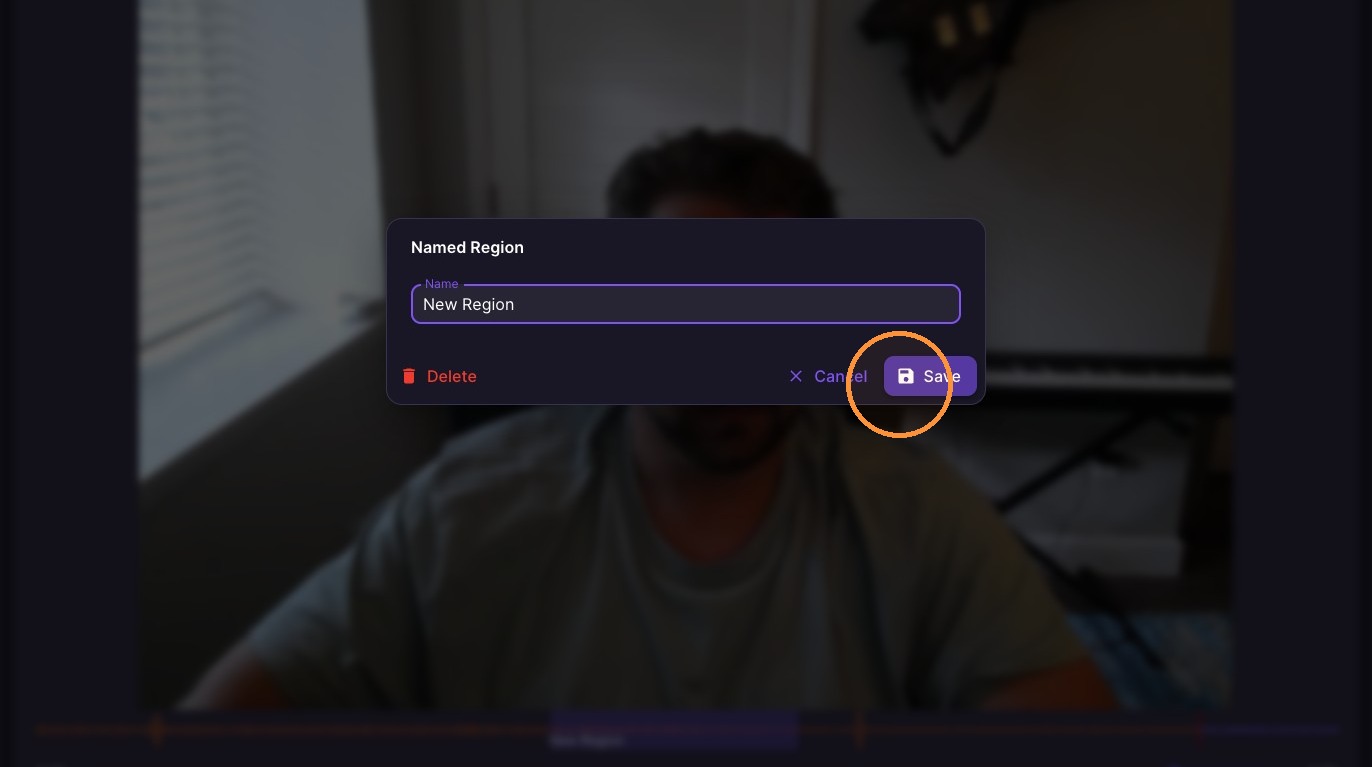
17. Save region changes
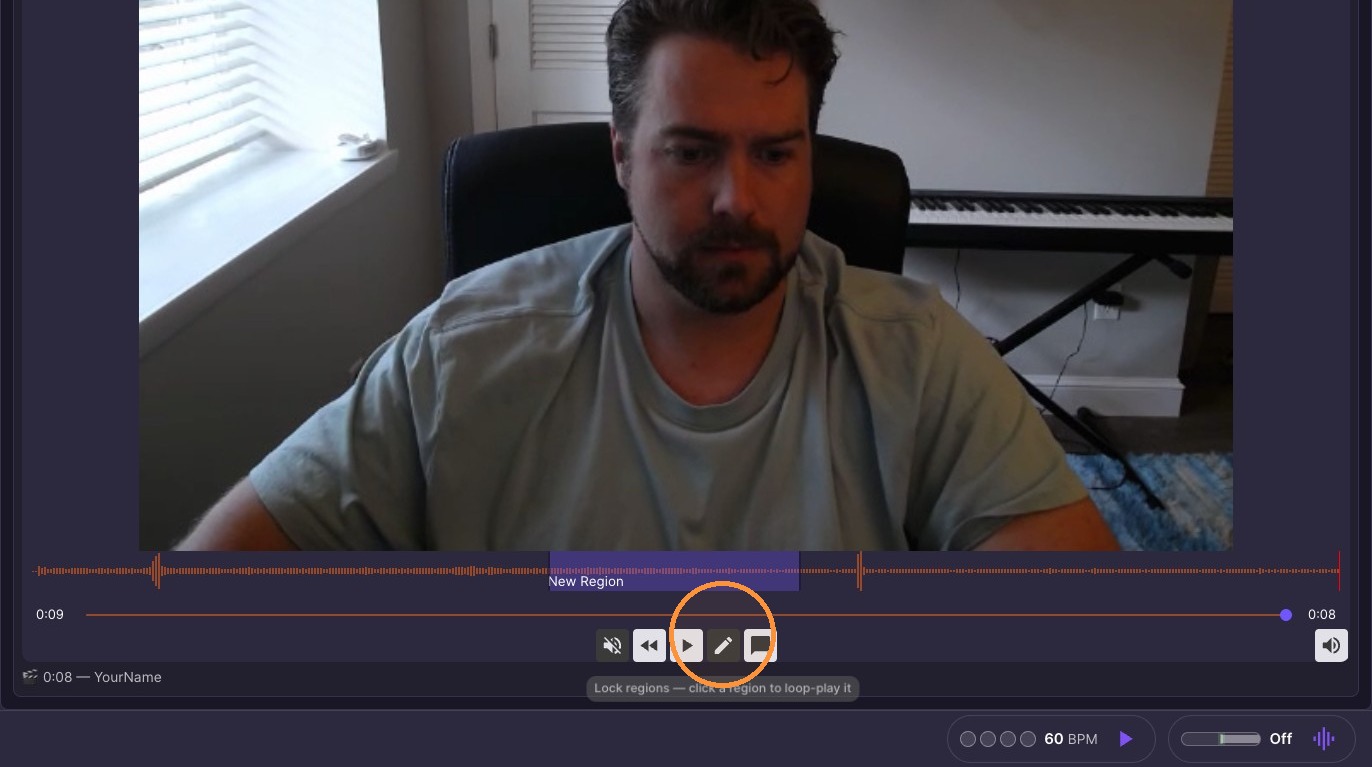
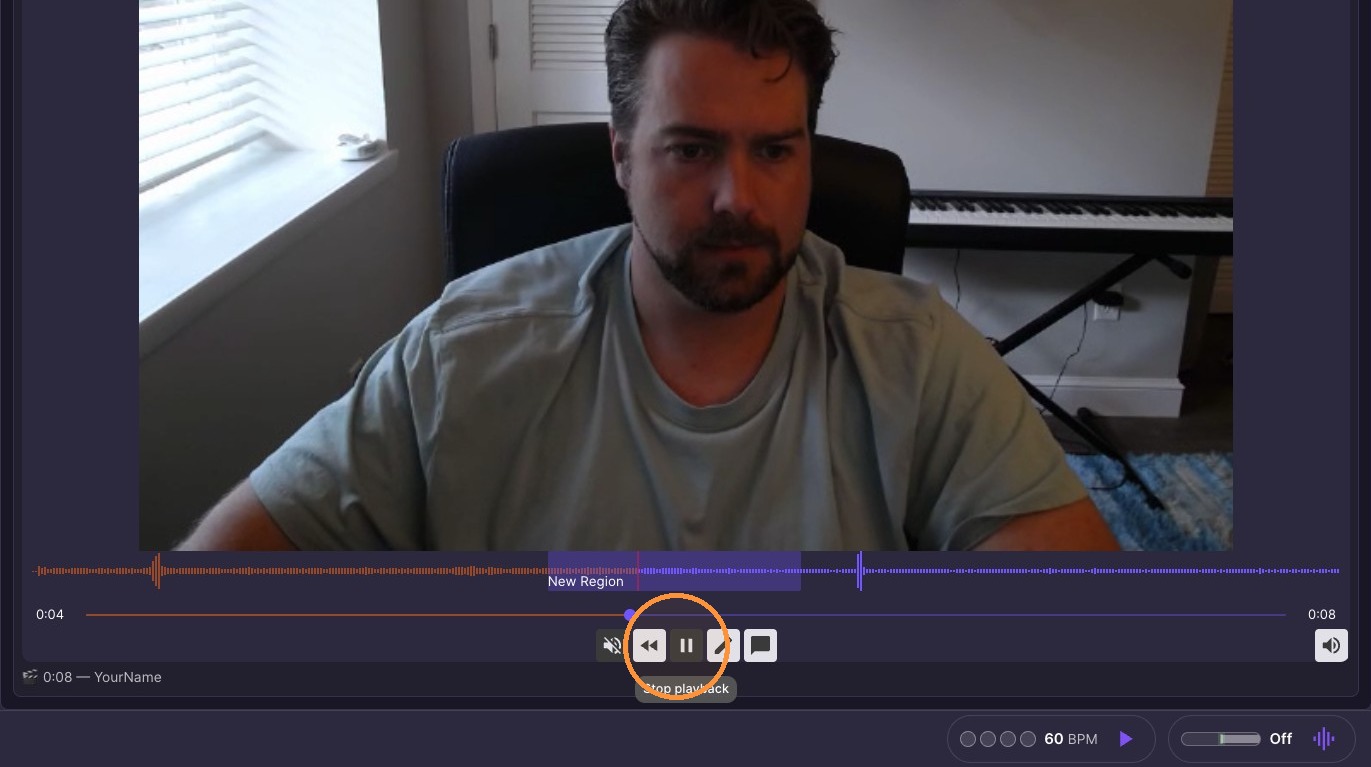
18. Pause clip playback
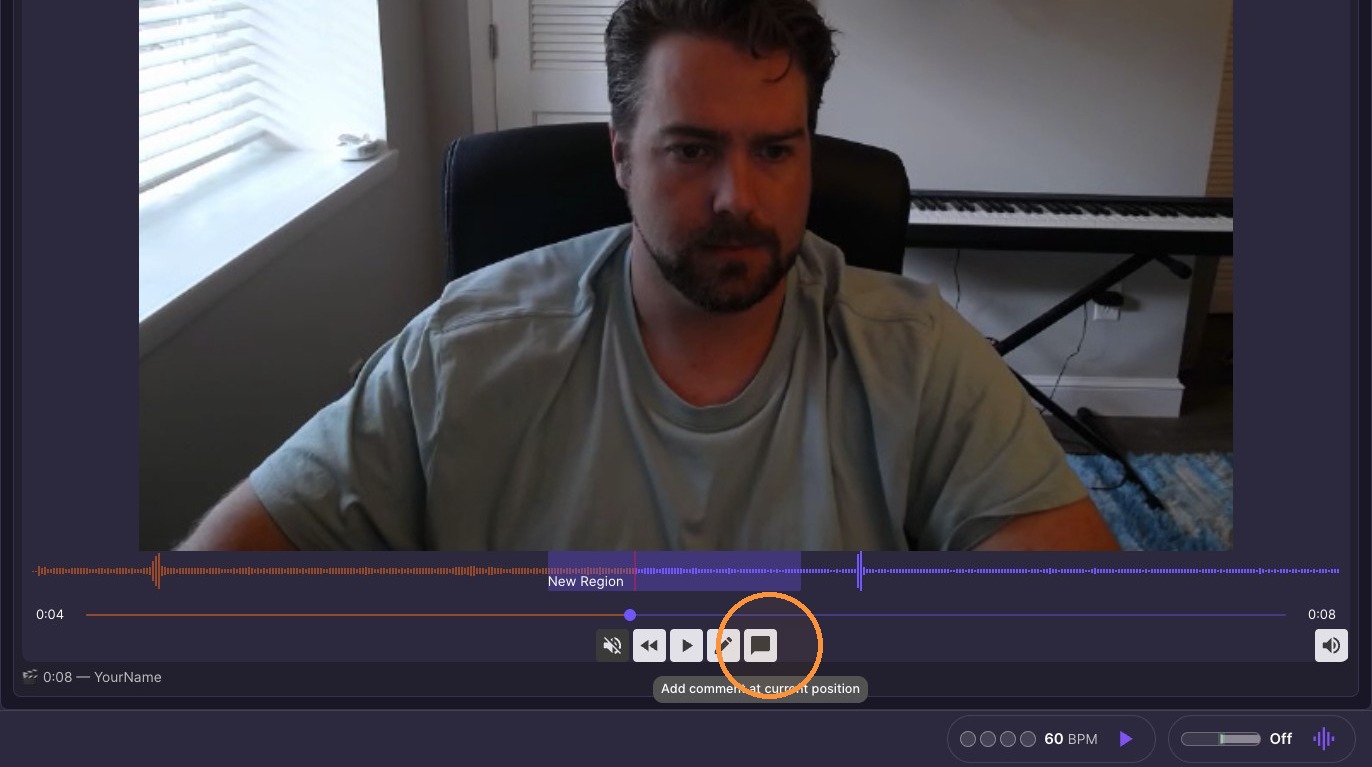
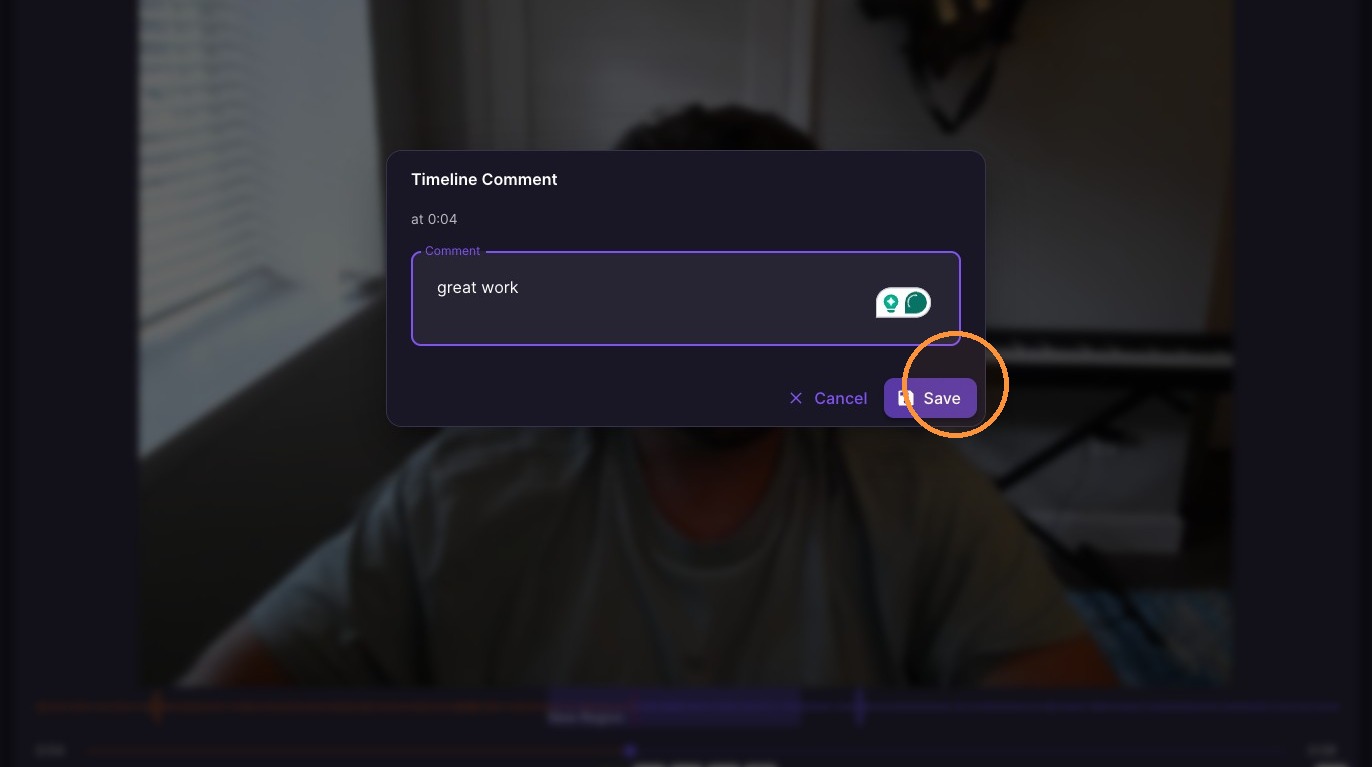
19. Add comment to timeline at current position
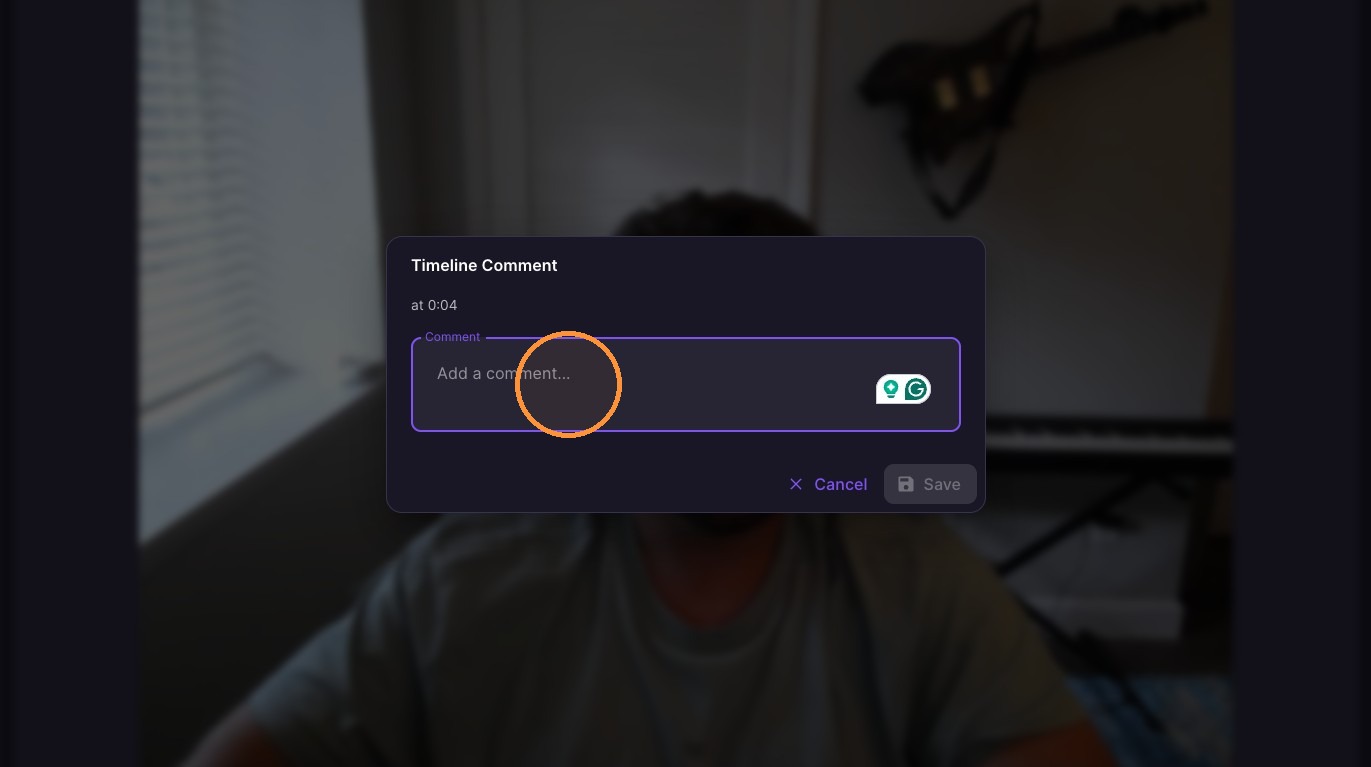
20. Enter comment and click "Save"
Multi-Clip Workflow
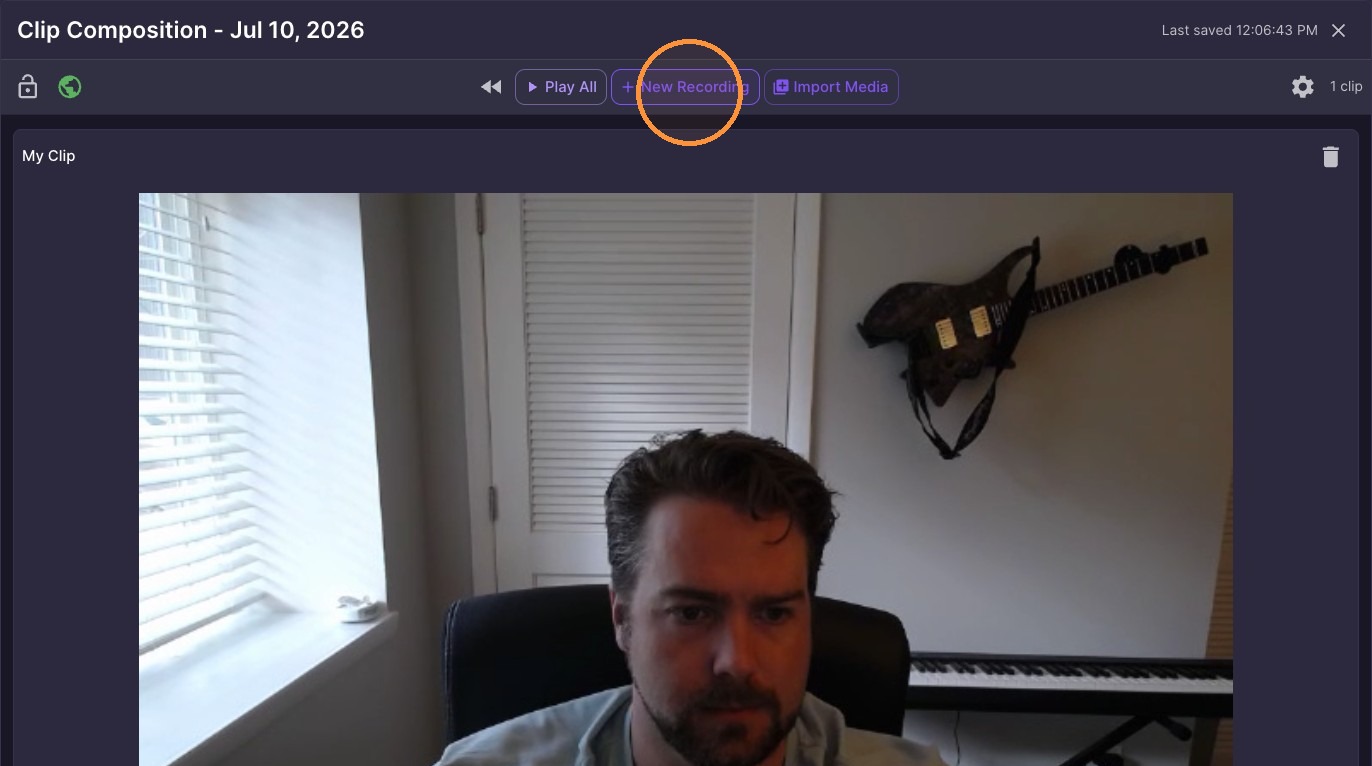
21. Click "New Recording"
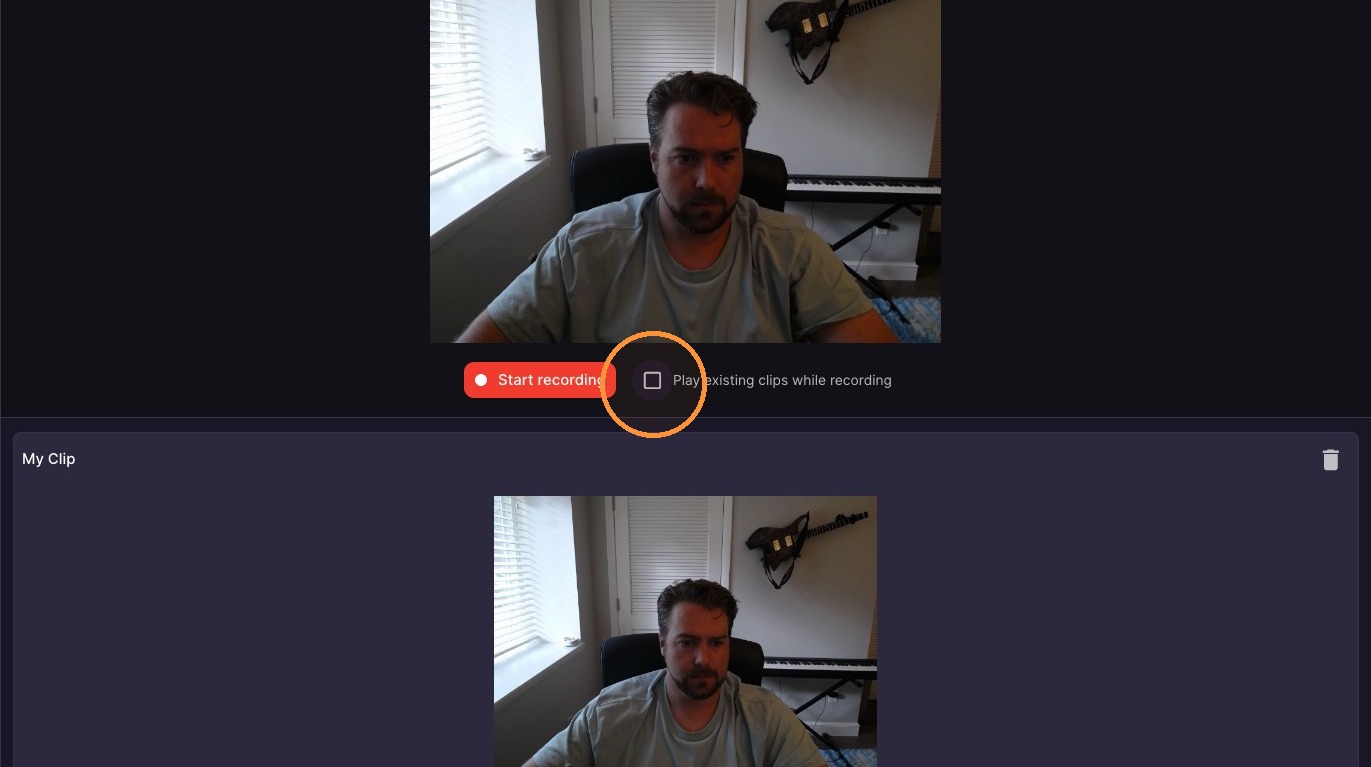
22. Toggle 'Play existing clips while recording'
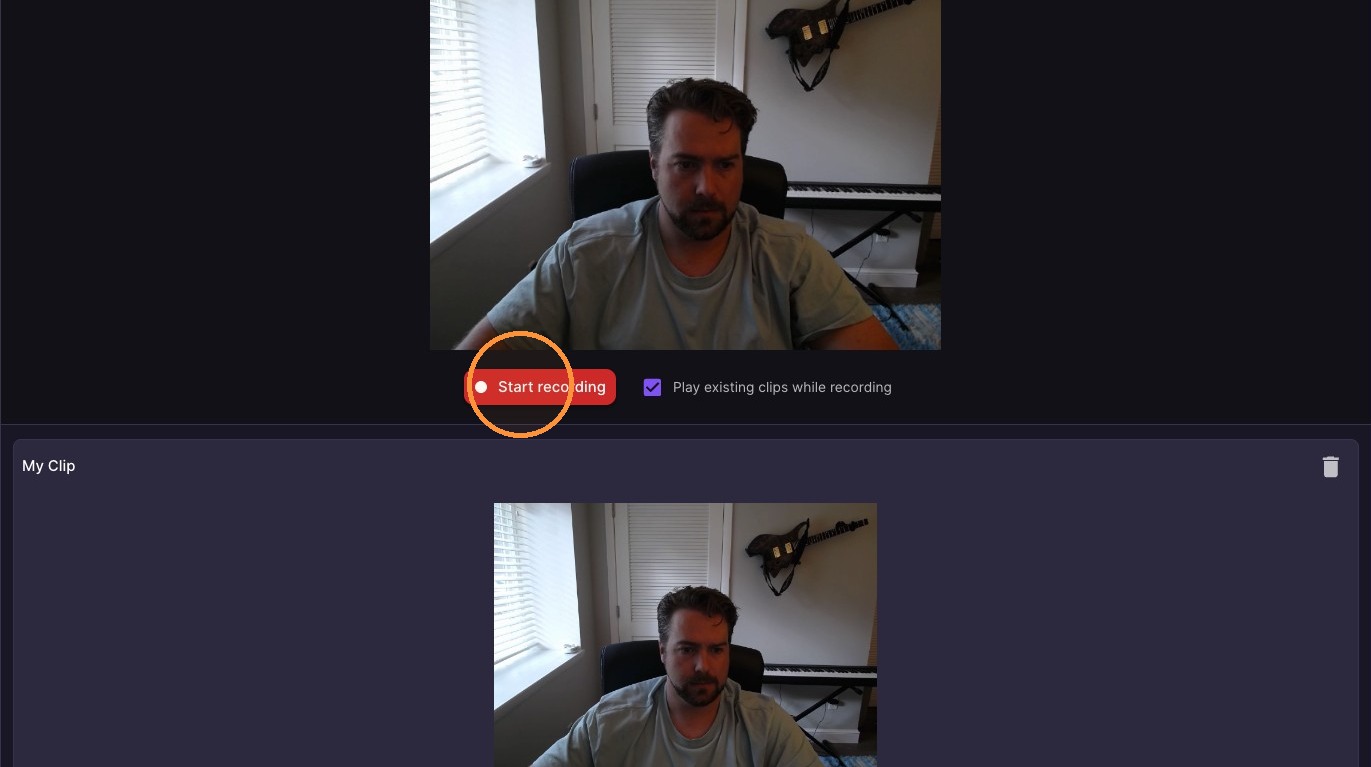
23. Click "Start recording"
24. Stop recording session
25. Click "Save clip" and confirm recording save
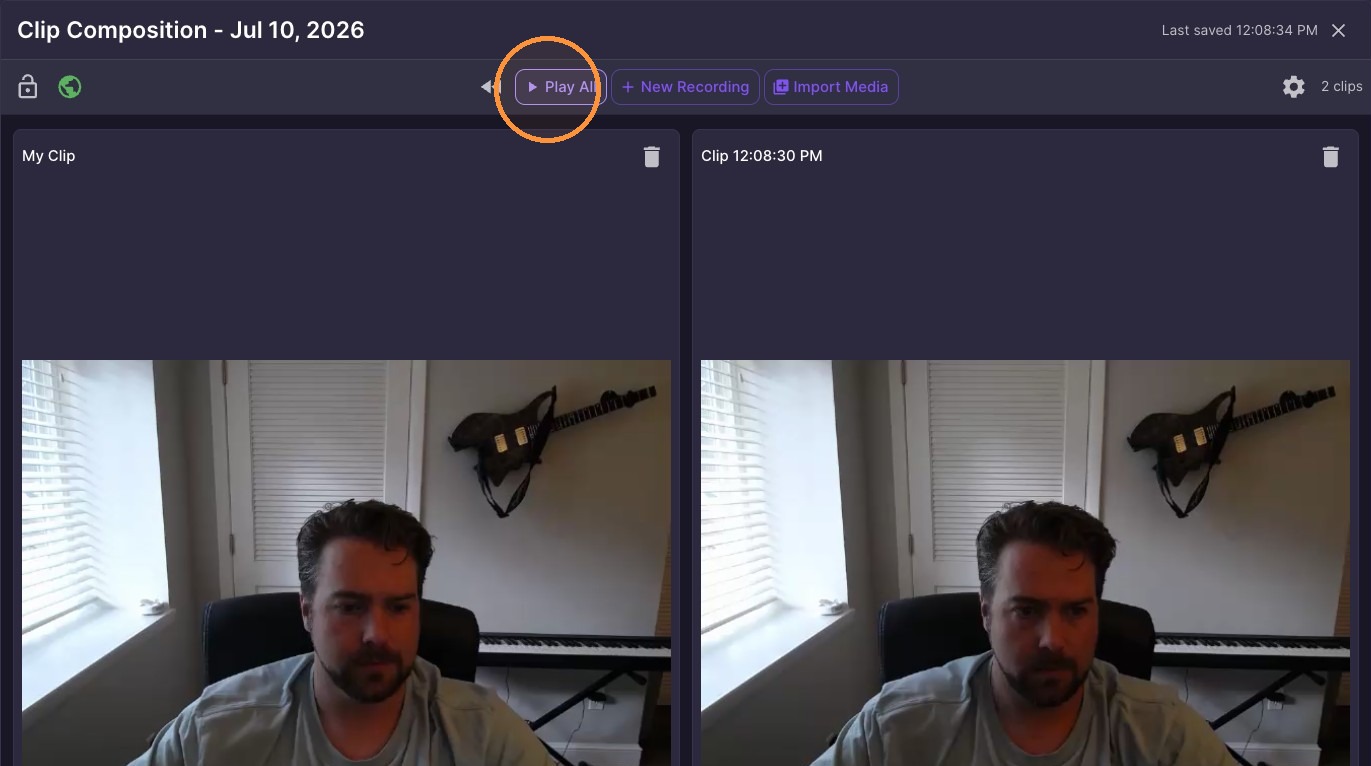
26. Click "Play All"
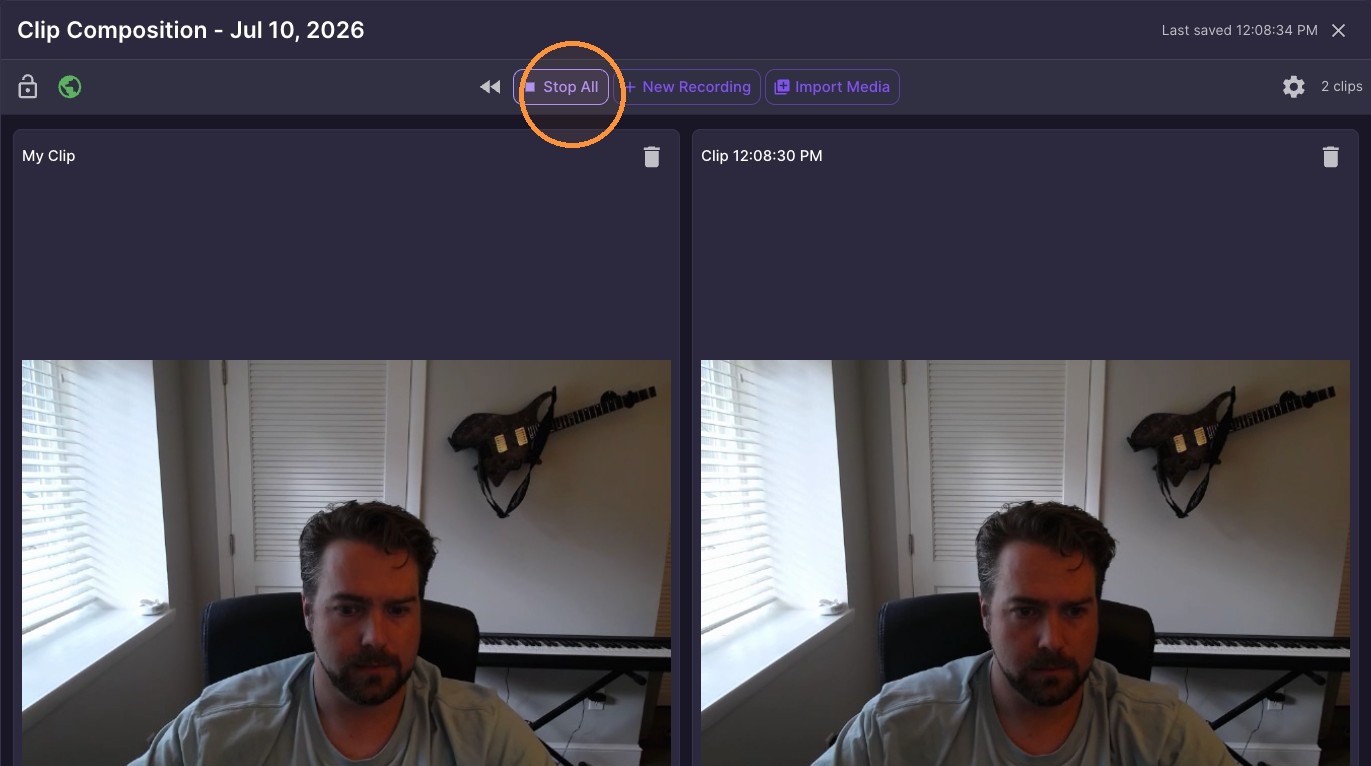
27. Click "Stop All"
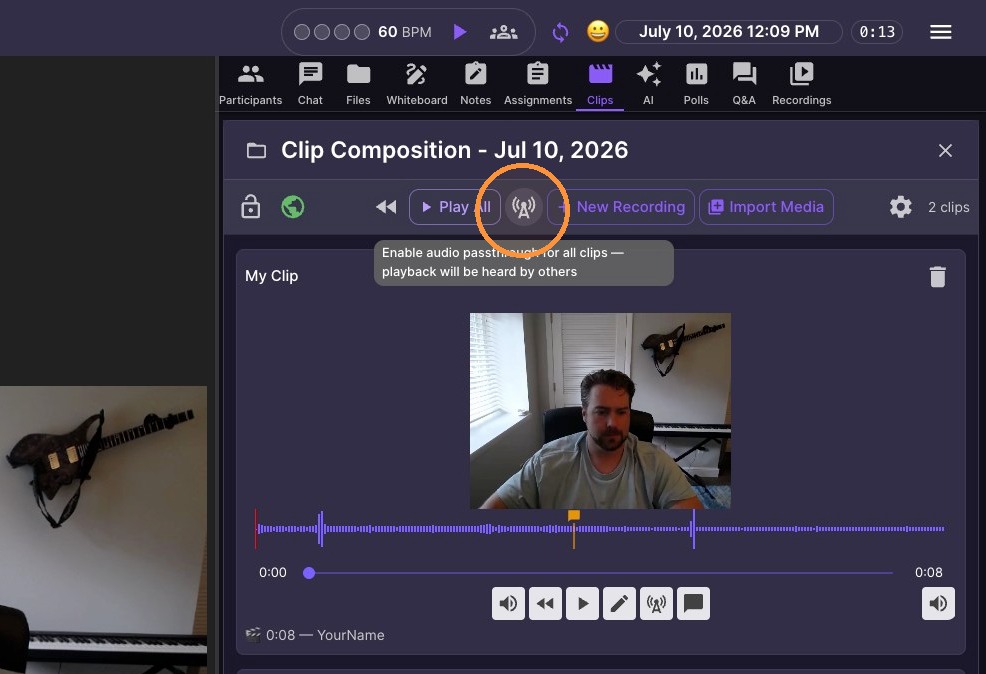
Audio Pass-thru
28. During a Lesson - Enable audio passthrough for clip audio to play out of your students speakers. (great to playing along with a clip during a lesson)
Made with Scribe
Looping and speed: click a saved region to play it on repeat. The volume icon on the far right of the clip has both volume and speed controls, so a passage can be slowed down for practice and worked back up to full speed.
The pen icon is the region editor — most people look for the pen rather than the words. Click the pen to open it, drag across the part of the clip you want, give the region a name and save it, then click the pen again to put the tool away.